The problem
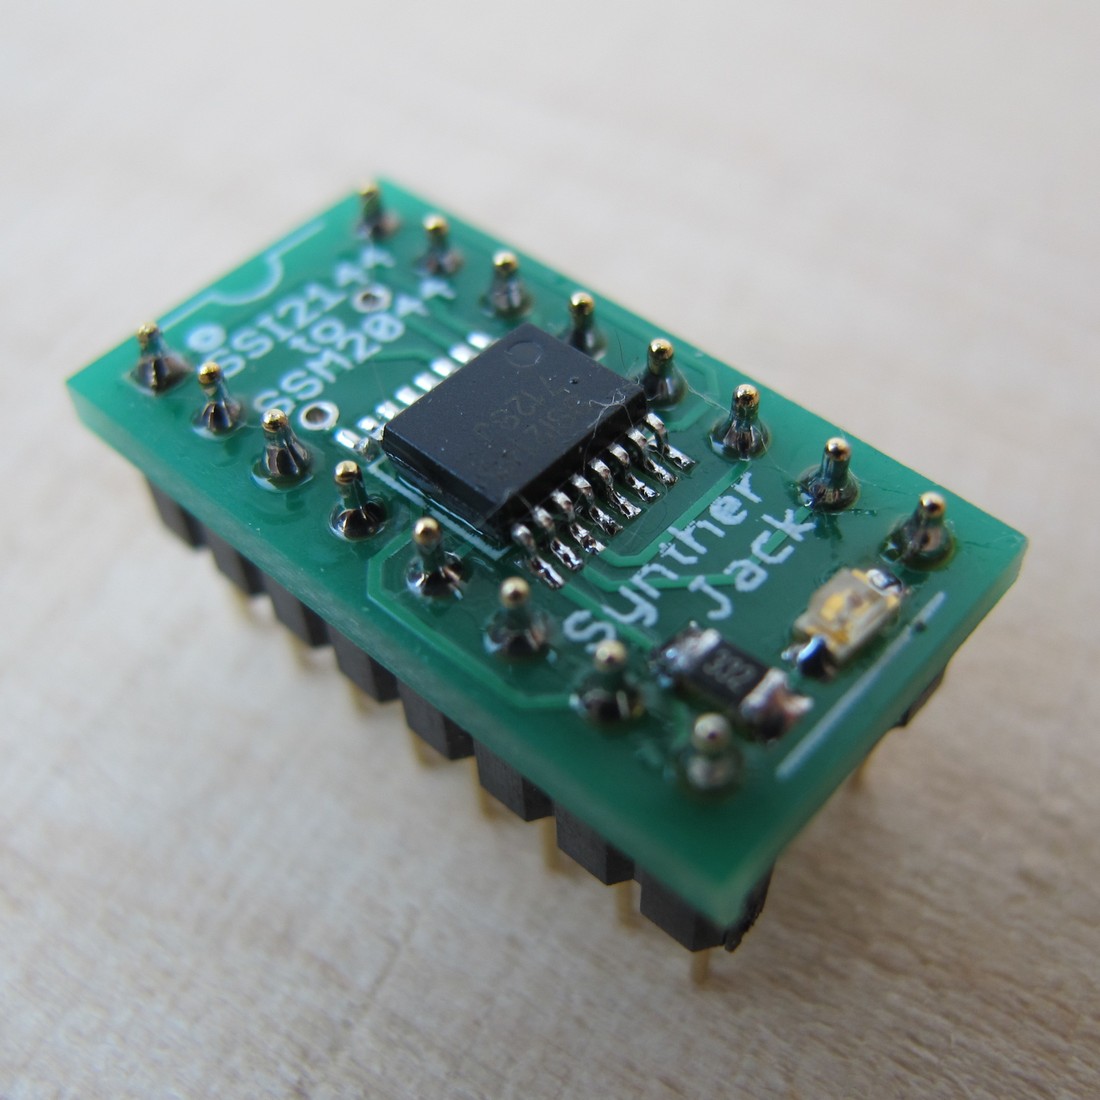
My SDSV drum voice project uses famous SSM2044 filter IC and many people complain about it – it is hard to find a reliable (and cheap) source. A year ago a price for the “original” SSM2044 exceeded 50$, so thanks God SSI2144 showed. The new IC is not a direct replacement of the vintage one – it comes in SSOP16 SMD package, the pinout is also not compatible with its predecessor. I’ve got 3 pieces of SSI from Roman Sowa and it was time to make a SSI2144 converter PCB. Of course, I could just buy it from one of synth shops, but I thought I will make my own, for fun.
Schematics and PCB
The schematic is very simple – just one IC on the top of other one. I have added a LED from GND to -VCC- those are very handy while troubleshooting. I’ve set the LED current to around 5 mA. Both LED and resistor comes in 0805 package and you don’t have to solder them if you like.
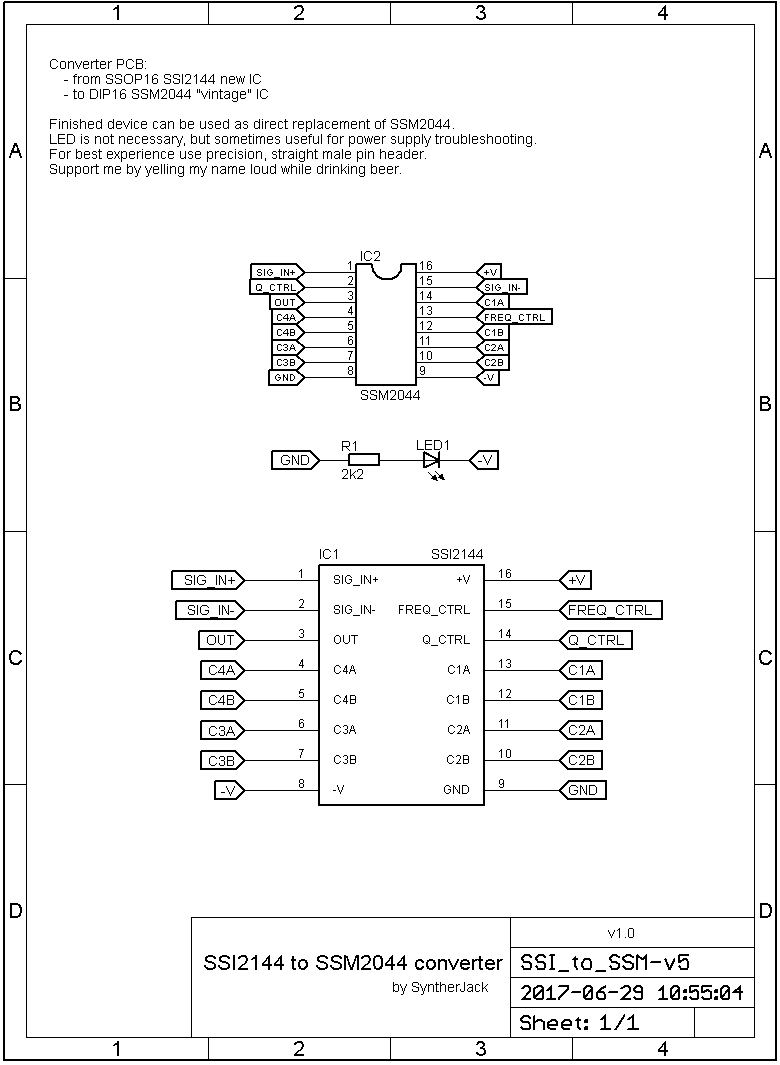
The SSI2144 converter PCB is very small to fit into tight spaces – as a replacement it should have size comparable with original DIP packaged SSM2044. I tried to make it idiot proof (special feature especially for me) – pin 1 is marked with DIP package outline, big dot and a square pad.
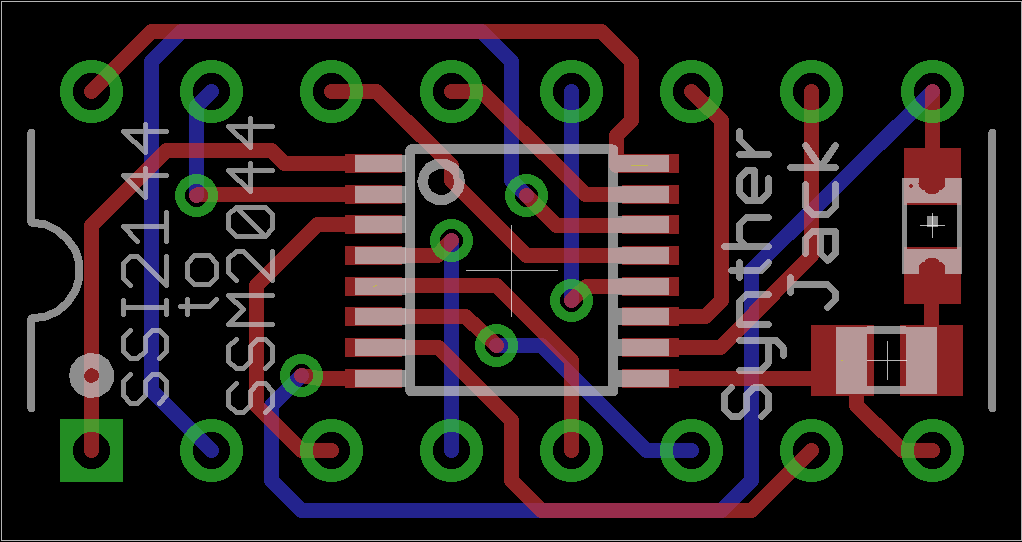
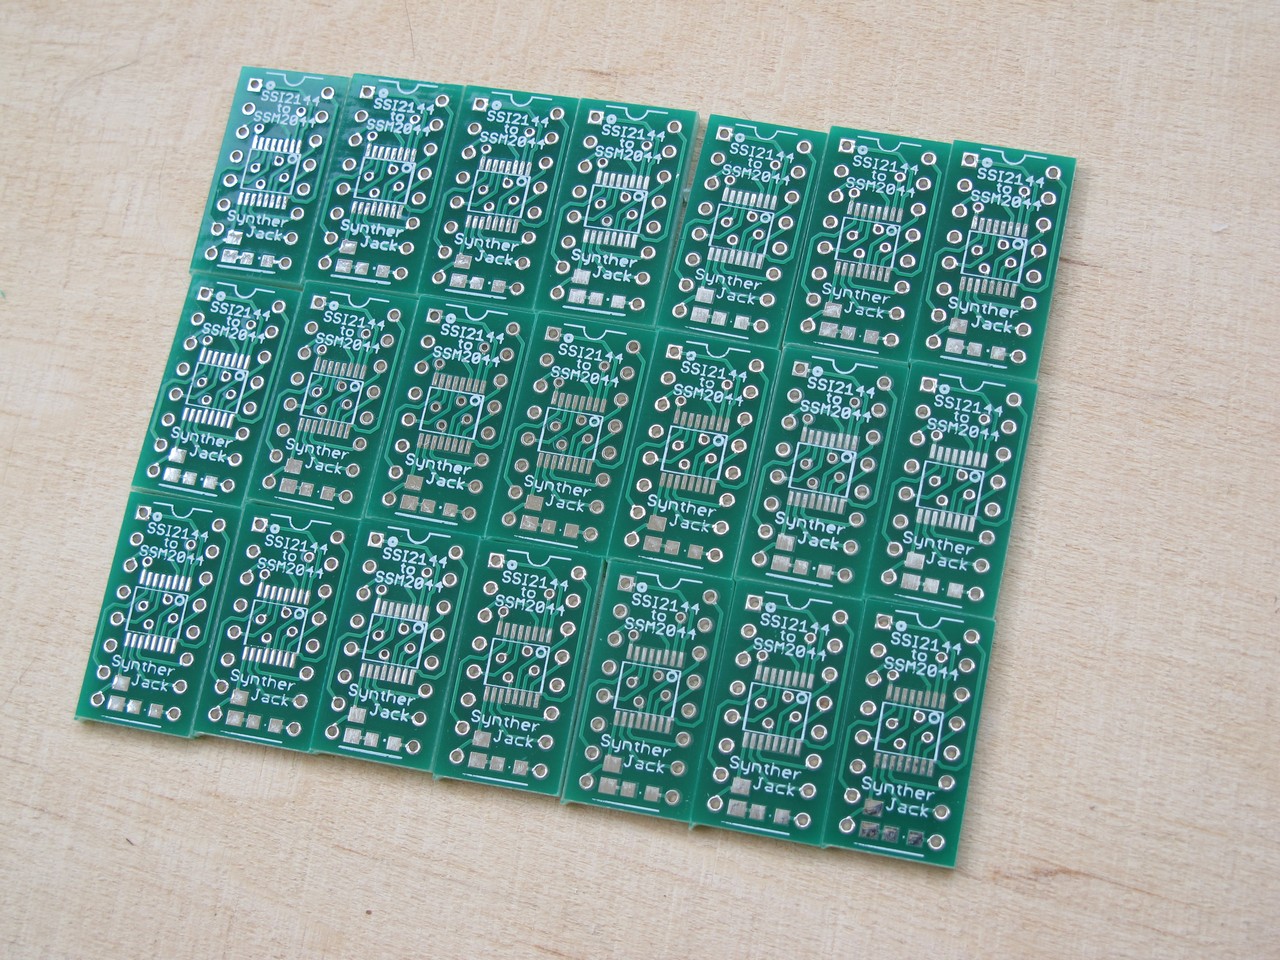
The design is double sided with vias under the IC – it it almost impossible to etch such PCB at home. I’ve chosen more efficient way and outsourced it to specialized PCB shop (Elecrow). I’ve ordered 10 PCBs (discounted green ones – 4,9$ / 10 pcs). The real suprise was I got 24 of them 🙂 With shipping the final price for one PCB was 0,4$.
Soldering
Soldering was not a problem – apply flux and you can solder SMDs even with crowbar heated in fire (joke). I used fine soldering tip with my Xytronic 369 station I bought in 2002 for ~30 bucks. Back in the day I used microwave tip, which is quite handy for very tight packages – now I’m too lazy to get it out of a drawer – I found fine tip sufficient for most precise work. But microwave itself performs very well and is also very useful when too much solder is applied – it can suck if off leaving clean joint.
A little soldering tip I use very often: use female pin header to keep the male header equally spaced. This way you will end with perfectly straight pins. The additional construction prevents also pins from moving in case plastic elements melt from excessive temperature. Notice, that standard, cheapest male 2,54 mm pin header will doesn’t fit into machined IC socket – thats why I used machined pin header.
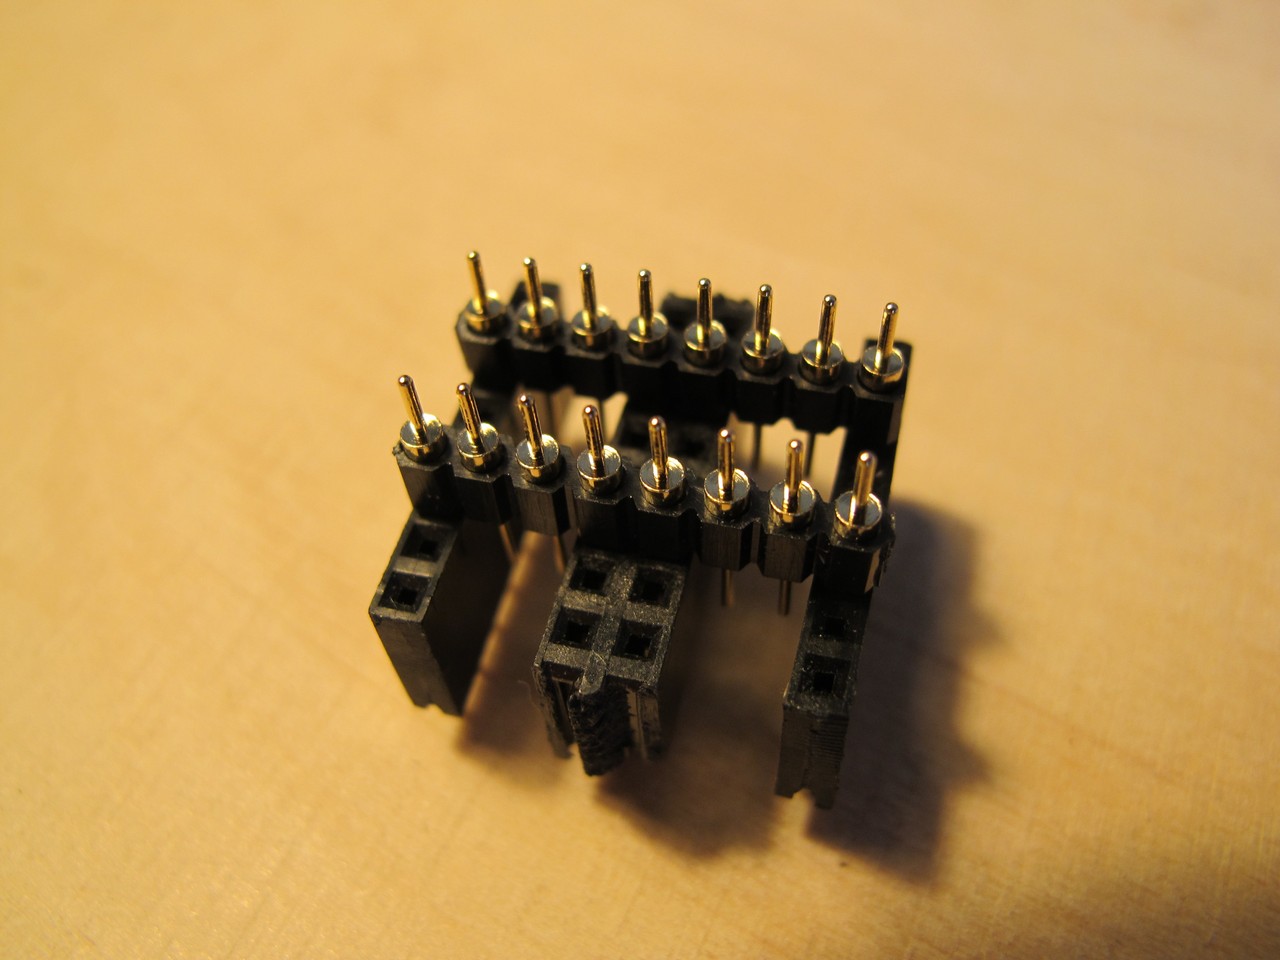
Now just put PCB on top and voila! Perfection!
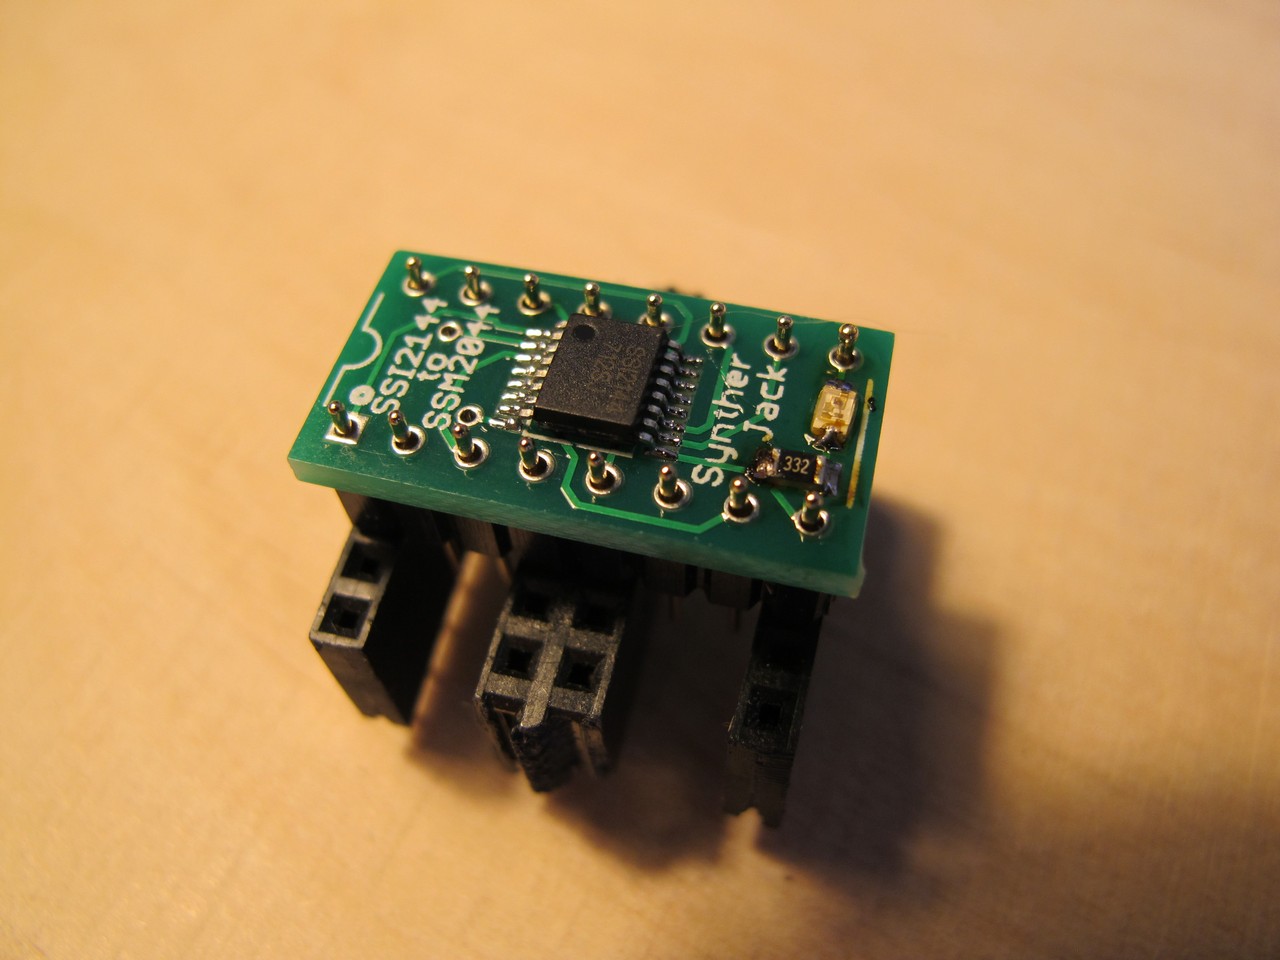
I have tested the finished device in my SDSV drum module. Works great, although CV response is slightly different, but doesn’t impact module functionality. Convertes fits really firmly in the machined socket, but it is not a problem to get it out.
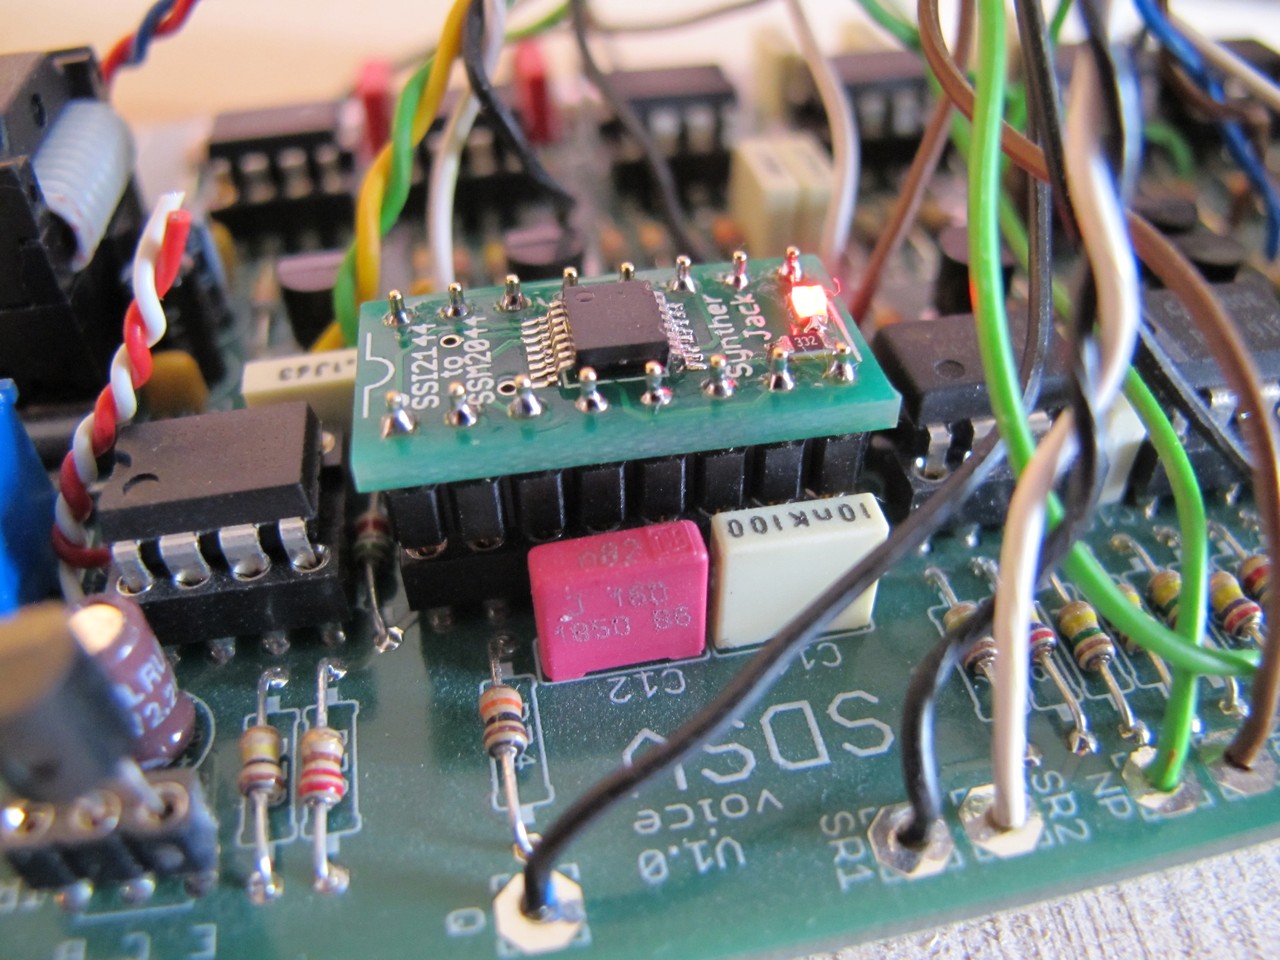
Bonus!
You can make your own SSI2144 converter (for hobby, non-commercial purposes) using attached zip. The gerbers / drill files were created using Elecrow CAM processor file for Eagle. All you have to do is send a zipped file to Elecrow (and pay) to get your converter. Look at the manufacturing settings below:
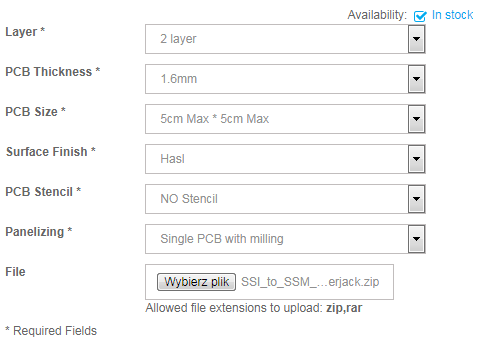
Other shops will probably also accept the files, they’re quite standard. If you are curious, you can check the files content using one of the gerber viewers, f.e. gerbv.
Licenced under CC BY-NC-ND 4.0. If you want to make more of these PCBs, give it for free! Let the people know about this wonderful filter!
Happy filtering!
Jack
