This article should not be considered as a beginner-friendly do-it-yourself synth list, more as a more general showcase of possible synth DIY entry points. Some devices presented here are already obsolete or hard to find, but I kept them as good examples of what you may looking for in the future. All photos are shown only as examples, please refer to the original sources.
Everyone knows that Synthesizer DIY is the best hobby. The common problem is how to start, as a subject seems very complex. But it’s not! I will try to give some advices about your first project.
If you plan to get into DIY, there could be a few reasons for that. You may want to:
- save some money,
- learn new stuff,
- make unique (or DIY-only) devices.
We don’t want to think now if mentioned statements are true or false. You are here to find your way into synth DIY (or SDIY). The beginning depends on your skills (and money). The real question is:
“Can you solder?”
Depending on your answer, there are many ways you can choose. Of course, even if you are an cutting-edge soldering man-machine, nothing is stopping you from making a simple “non-soldering” synthesizer. So, lets get to the point!
“I can’t solder, but I want to build a synth!”
You can do three things:
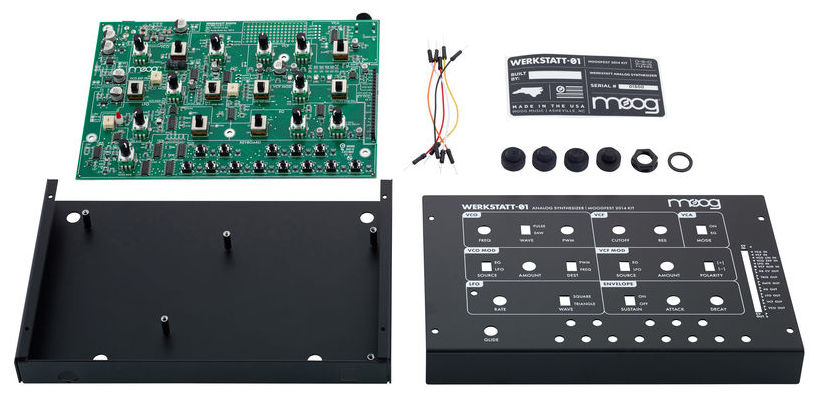
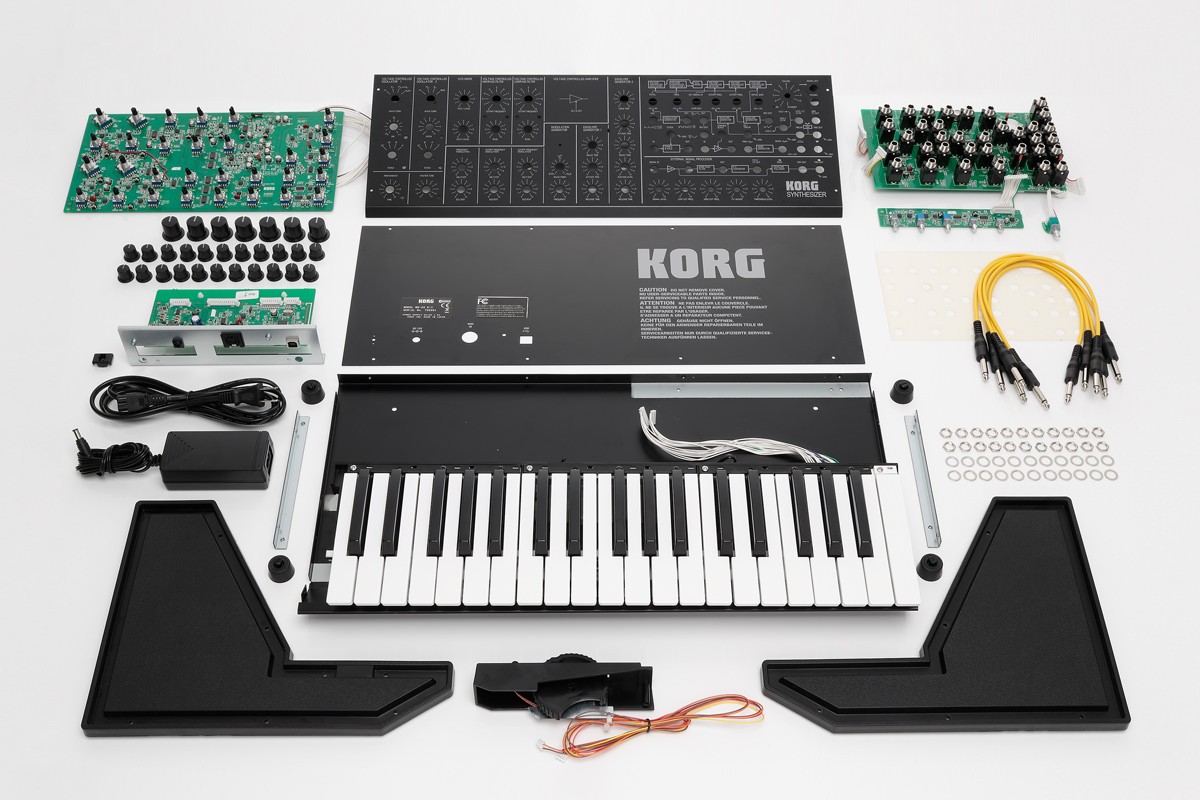
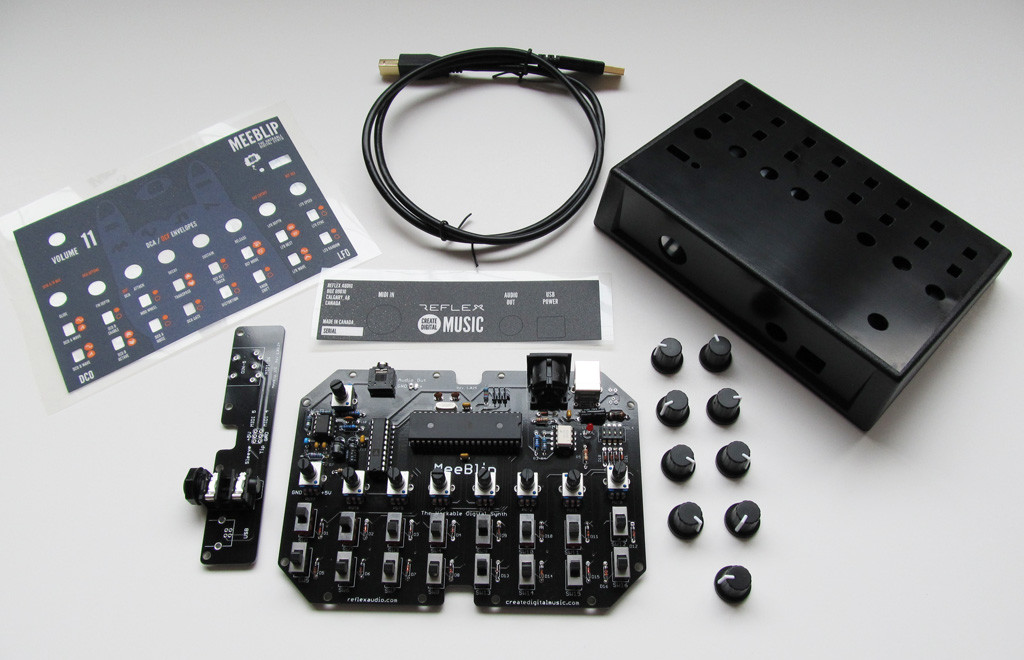
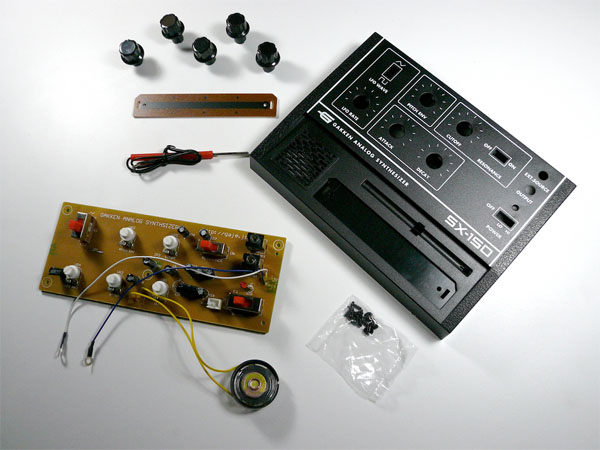
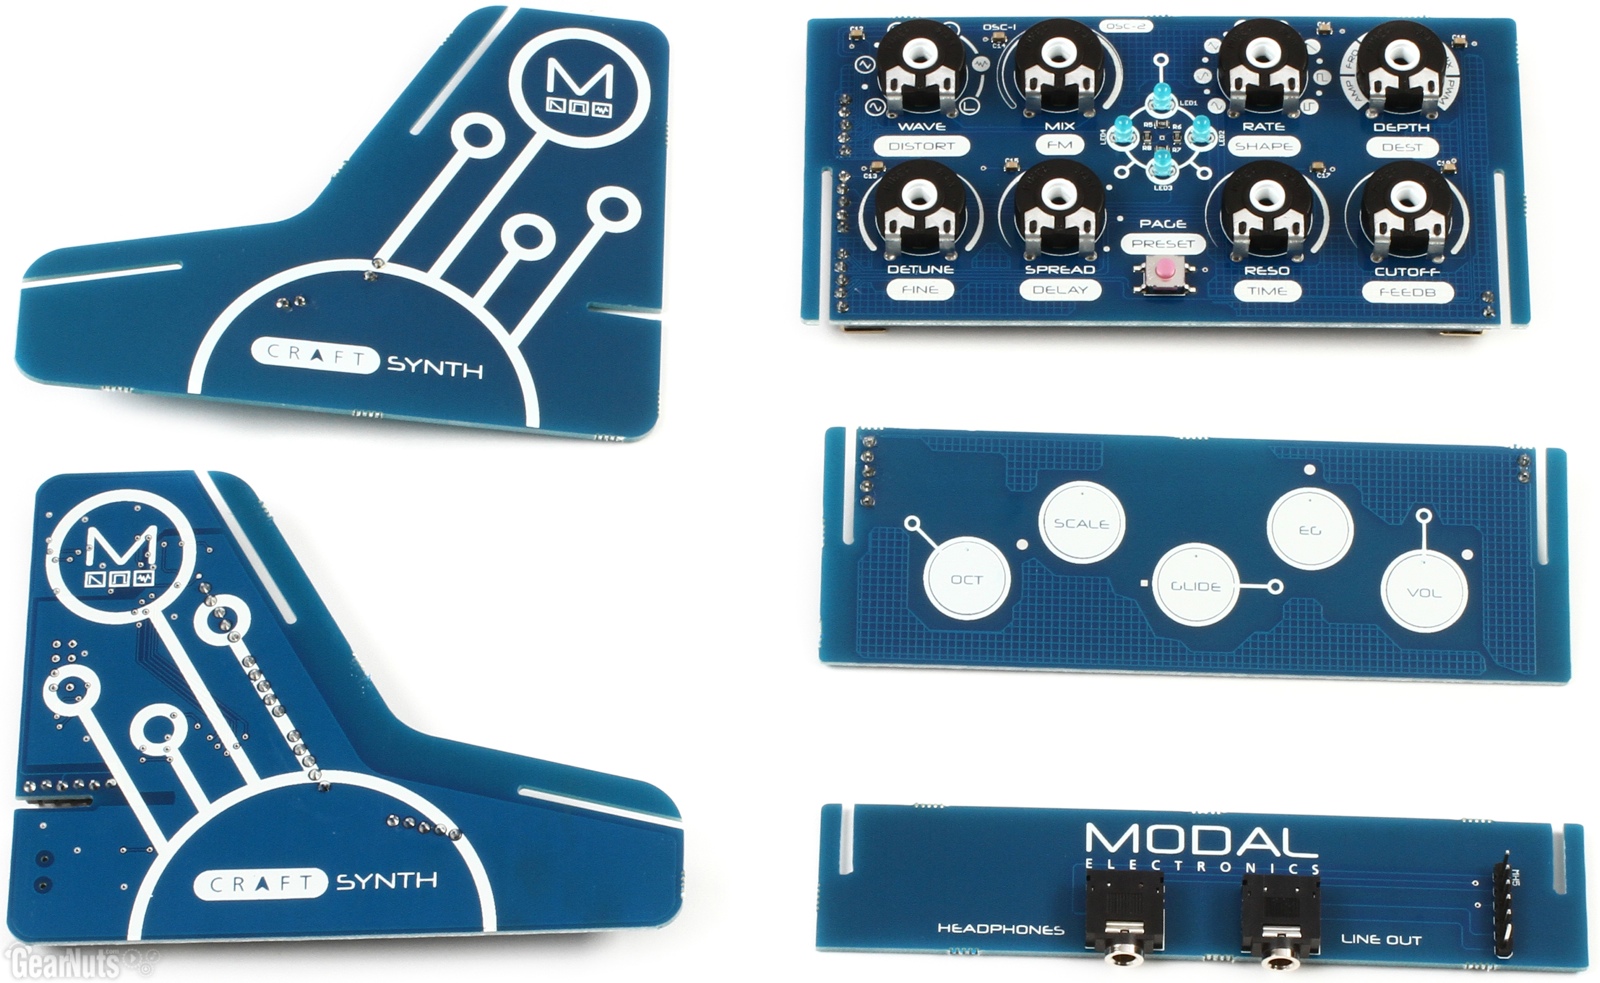
- Make some synths sold as full DIY kits, where only basic skills are needed (like using a screwdriver). For many it is even hard to consider as DIY, but can be good first step if you have two left hands. This way is often overpriced (as someone else done all soldering) and you will not gain many new skills. You can go for devices like Moog Werkstaat, Korg MS-20 DIY, Modal Electronics KraftSynth / KraftRhythm, Meeblip Kit or Gakken SX-150. Some of them are obsolete but can be bought via eBay.
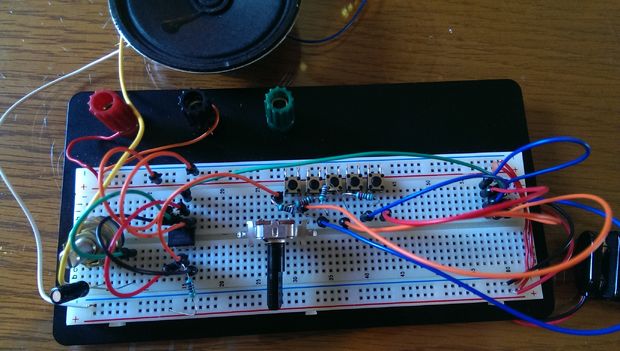
- Go for full DIY breadboard synths projects. You have all components shipped and just have to stick them into breadboard and connect with jumpers. This kind of project are not popular and rather hard to find.
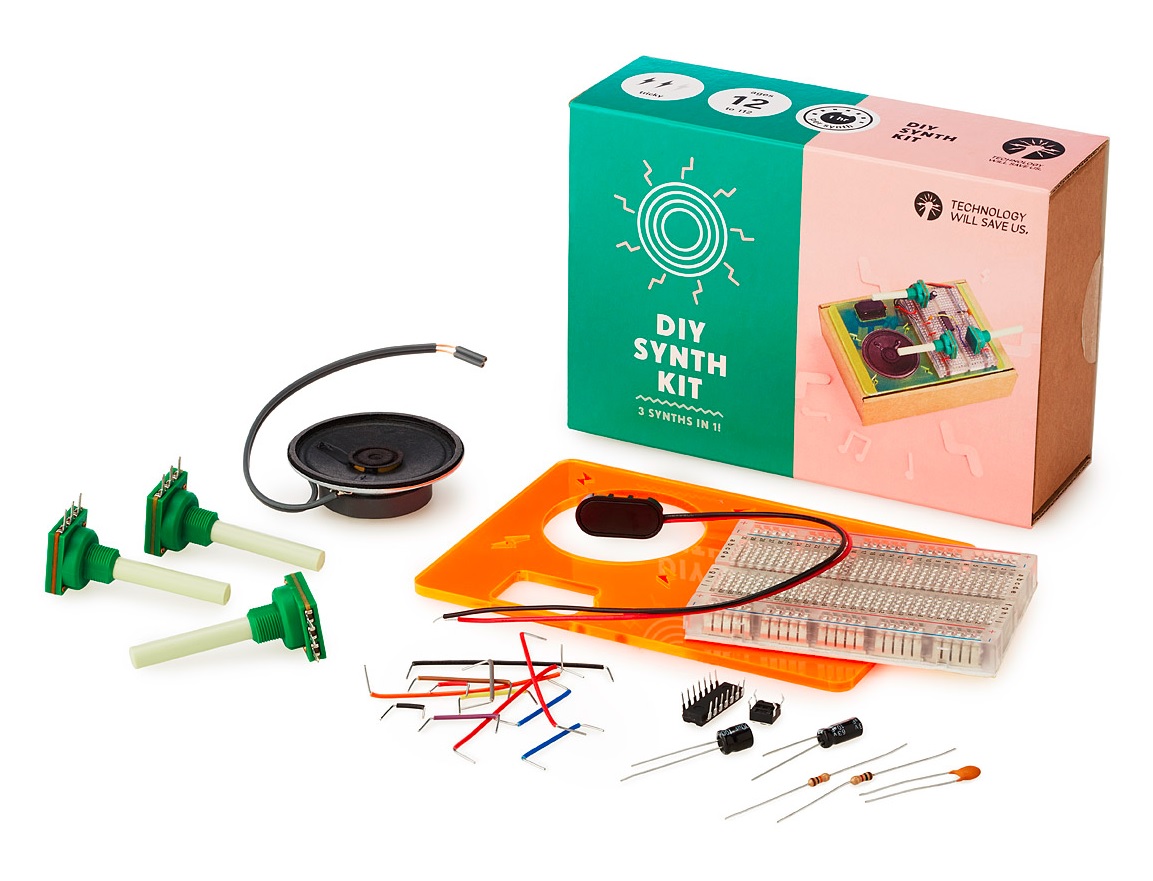
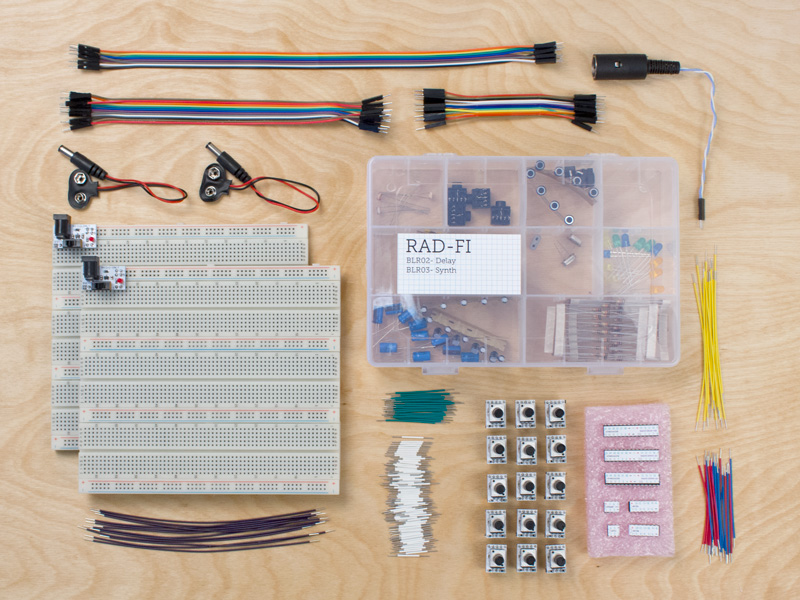
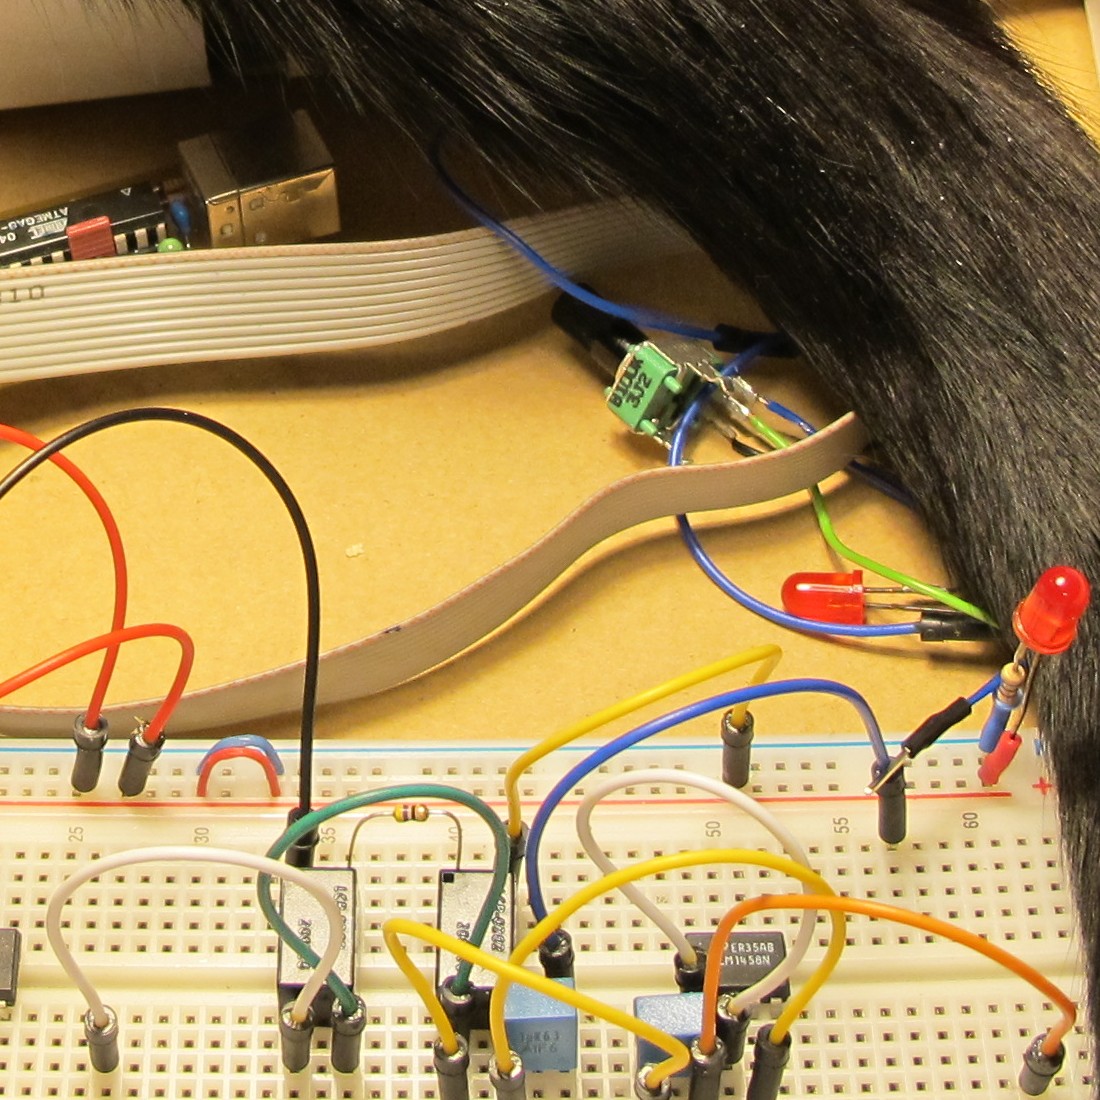
- Try a breadboard synth project, but source all parts for your own. This is tricky, because not all parts fit into breadboard directly (like 90% of potentiometers) and you have to buy prebuild modules or look for exotic parts (and it can be difficult for a beginner). In most cases you have to be able to read breadboard schematic diagrams or electronic schematics. Look upon them as “temporary builds”, as breaboards are often unreliable.
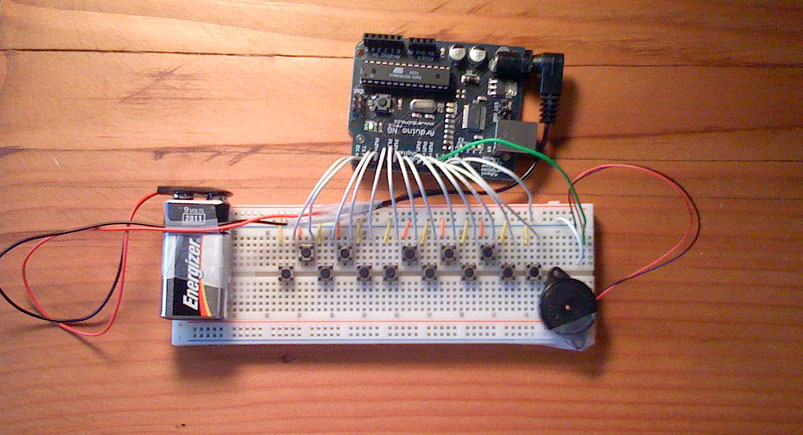
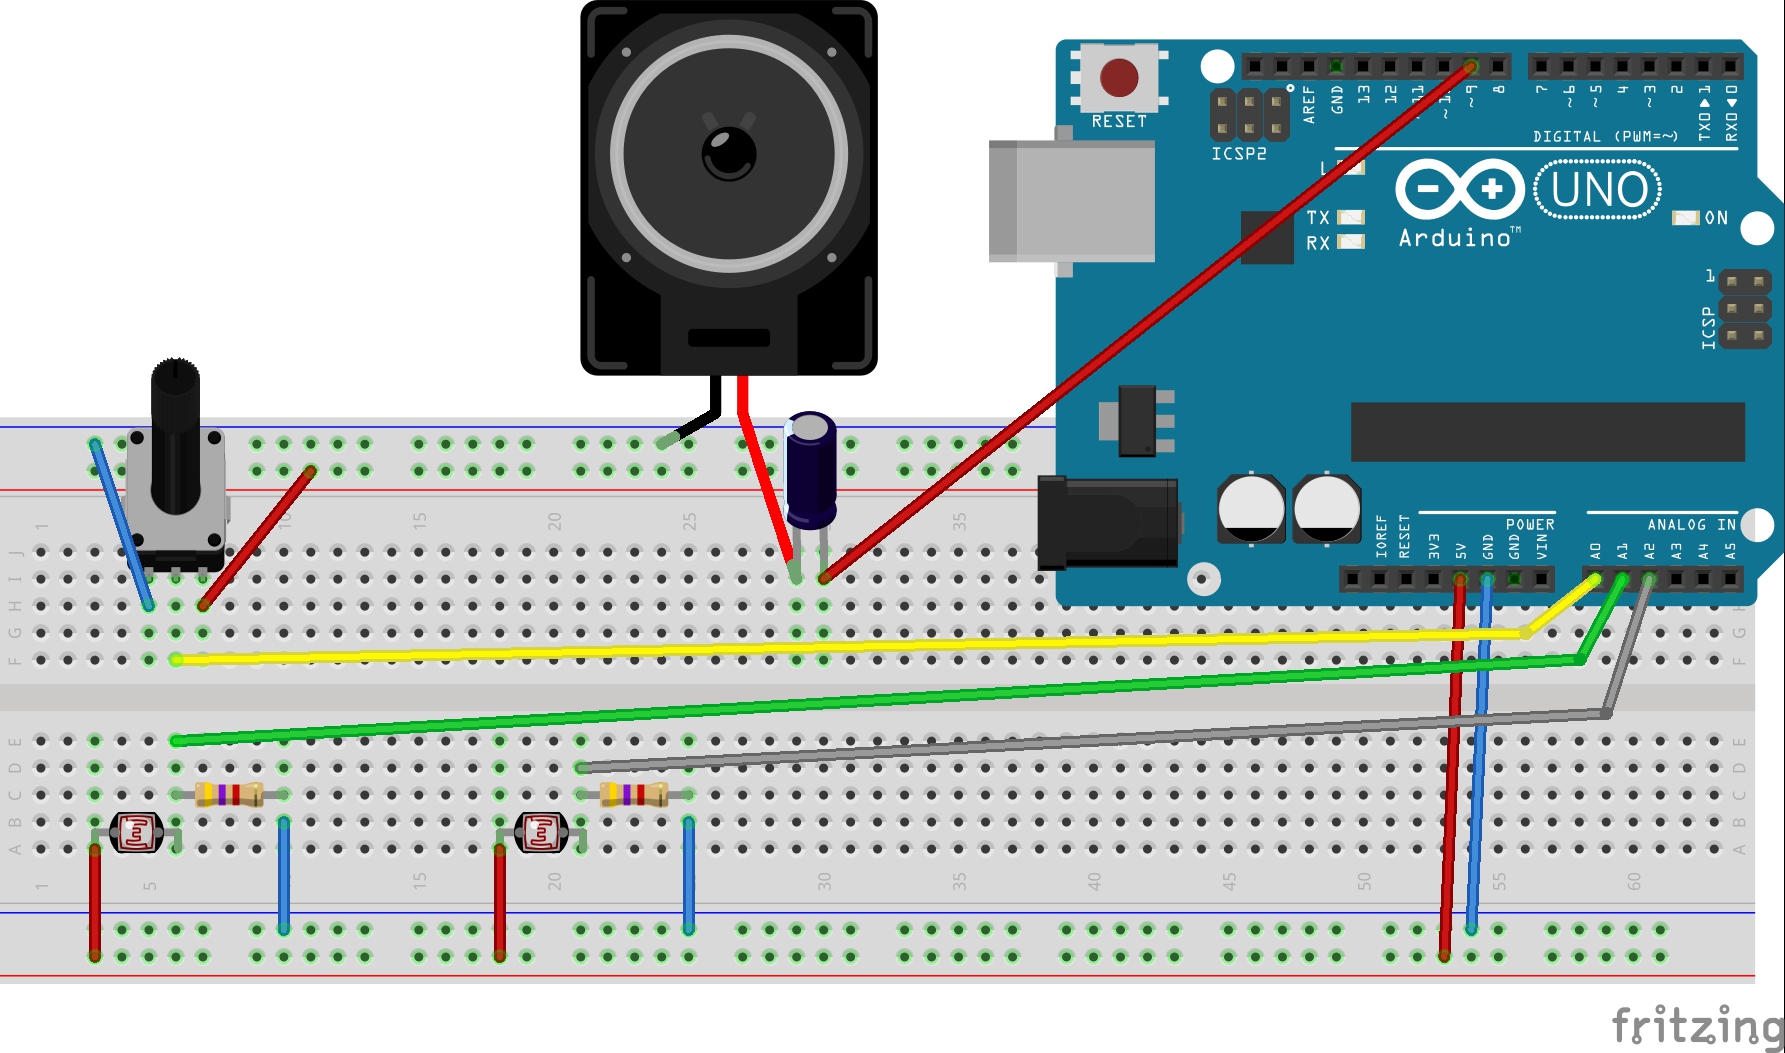
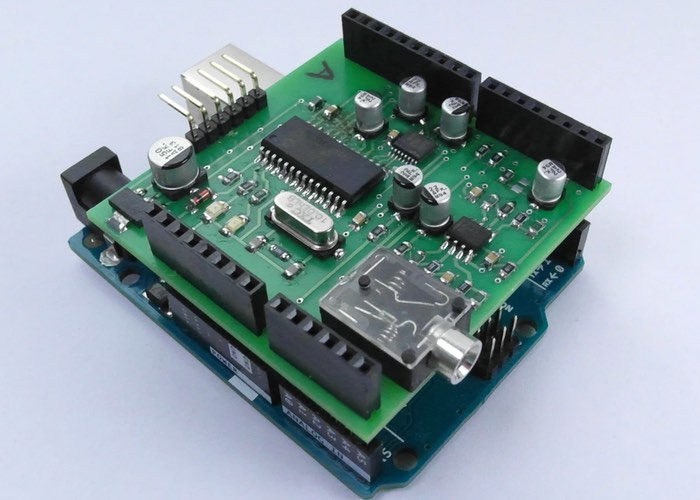
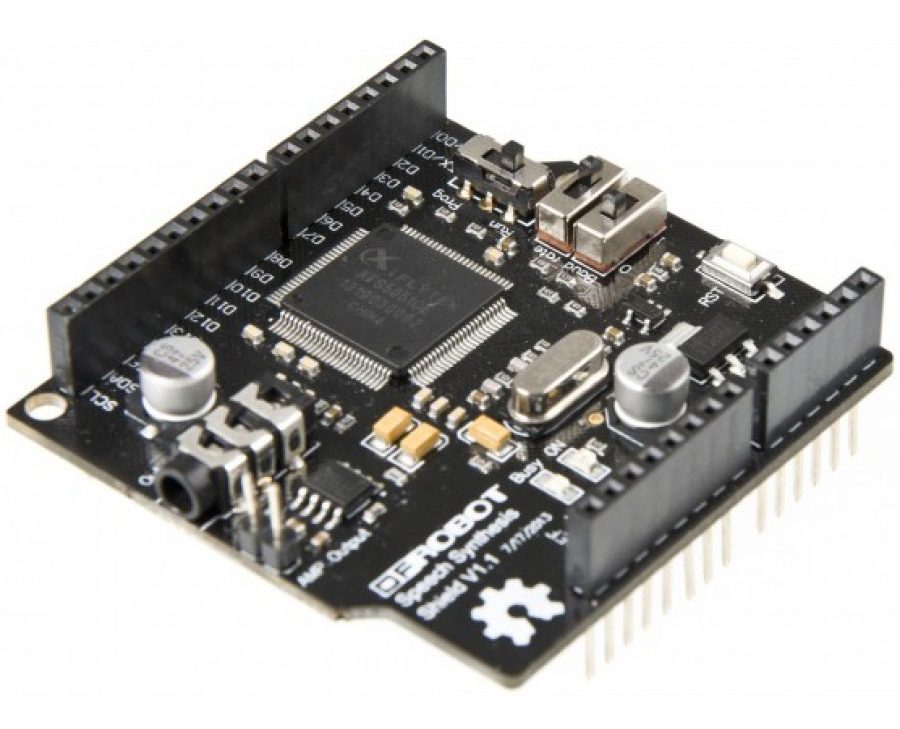
- Make an Arduino synthesizer! You can make it using breadboard os special Arduino shield. Most of you work will go into programming, but still, no soldering 🙂
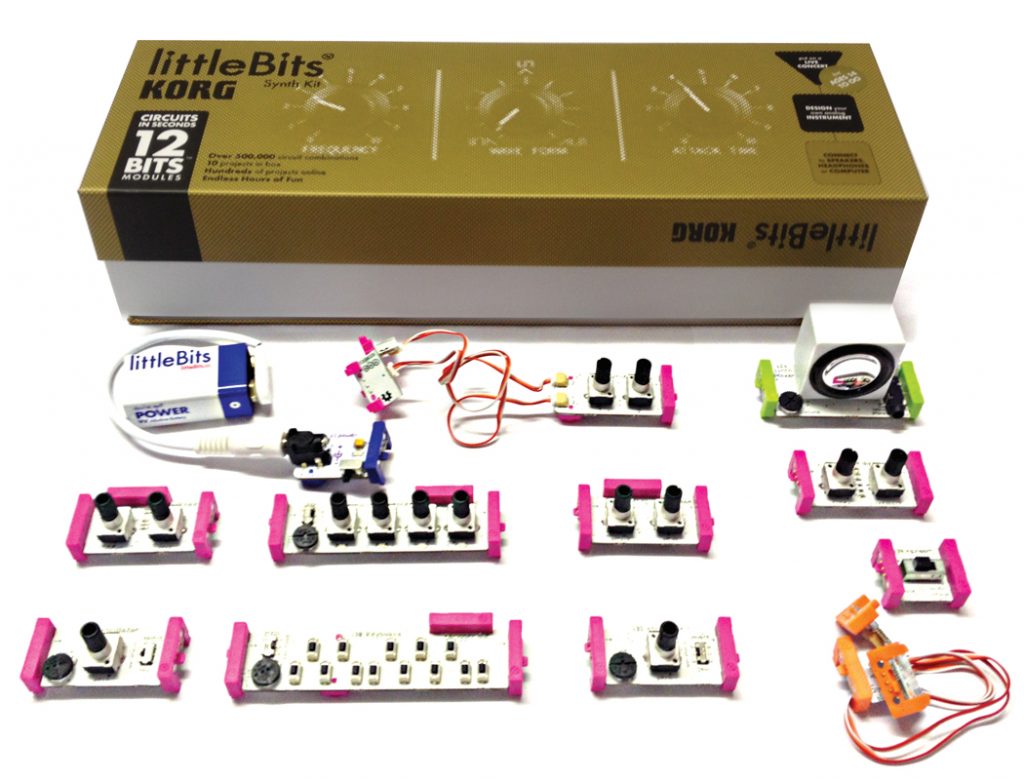
- If you don’t want to deal with electronic components or even simple mechanical works, you can try Korg LittleBits. It is more like synth-LEGO, but you still can learn a lot about basic synthesis techniques (thanks Beton fot the tip!)
“I can’t solder but I really want to learn!”
For the price of the cheapest “non-soldering” synthesizer kit you can buy the cheapest soldering equipment and parts to build a simple synth from the beginning. It is really worth it!
Lets talk about an necessary tools:
- 60W soldering iron (with stand and rosin), around 8$, eBay) – cheap and low quality, will not last long – but will be sufficient for your few first kits; if you like DIYing, you can always move to something more pro!
- cutting pliers and needle nose pliers (2x 1,5$, eBay) – cheap and very low quality, but good enough now; later surprisingly useful for works where you don’t want to waste your 40$ Knippex,
- multimeter (f. e. UNI-T UT33B, 9$, eBay) – cheap, but portable and even after 10 years I still use it for fast measurements; just do its job.
So, your money will not be totally wasted 🙂 25$ is not so bad. The tools you get will not be top quality, not even average, but will work for now – you can move to some very basic synthesizer kits that involve soldering. Watch youtube tutorials on soldering and how to use a multimeter, there are plenty of them. The best project would be something standalone and battery powered or passive, so you can’t damage any external equipment (of course I believe in you, but it is better to play it safe).
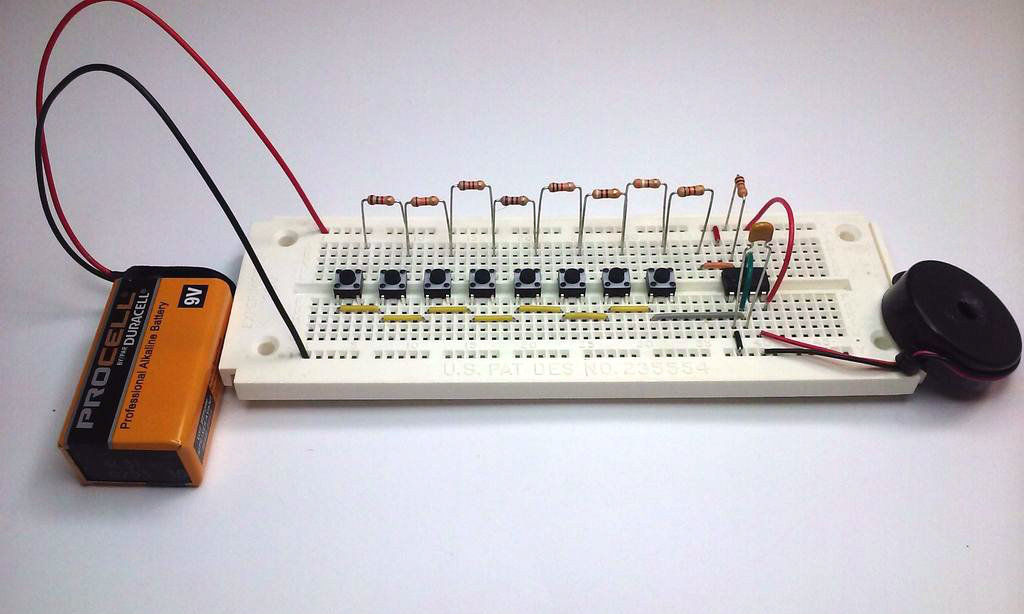
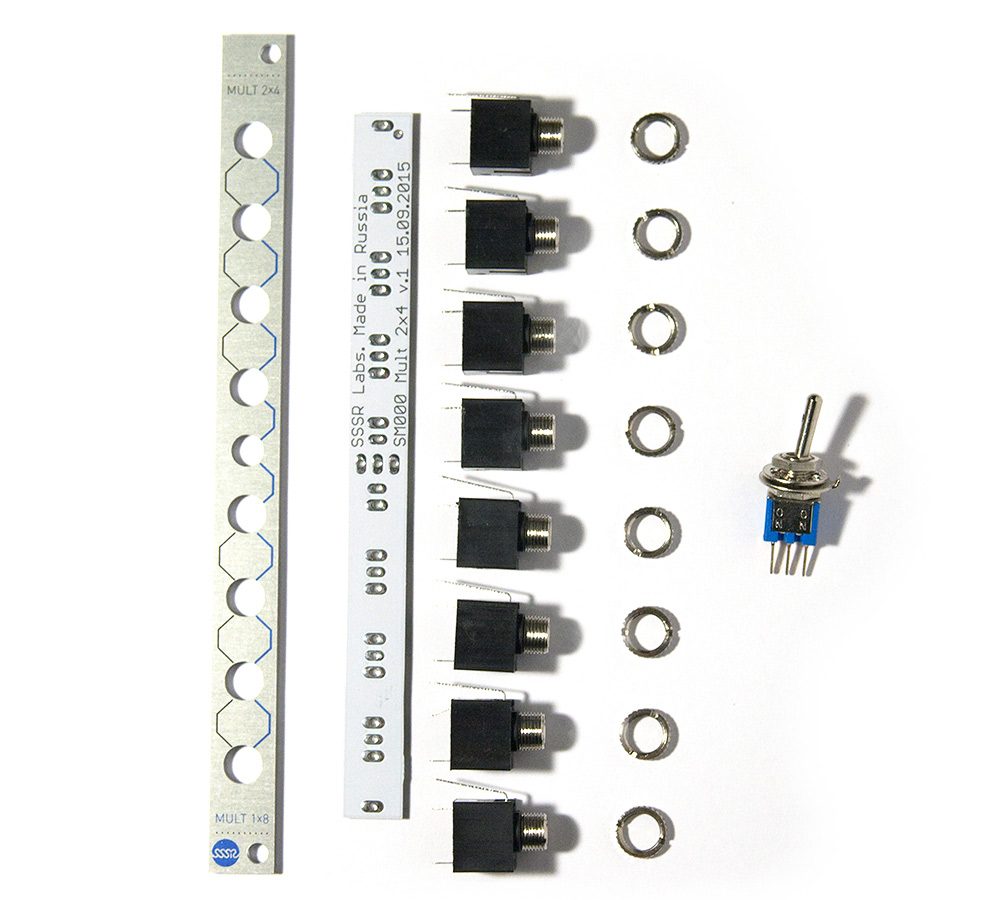
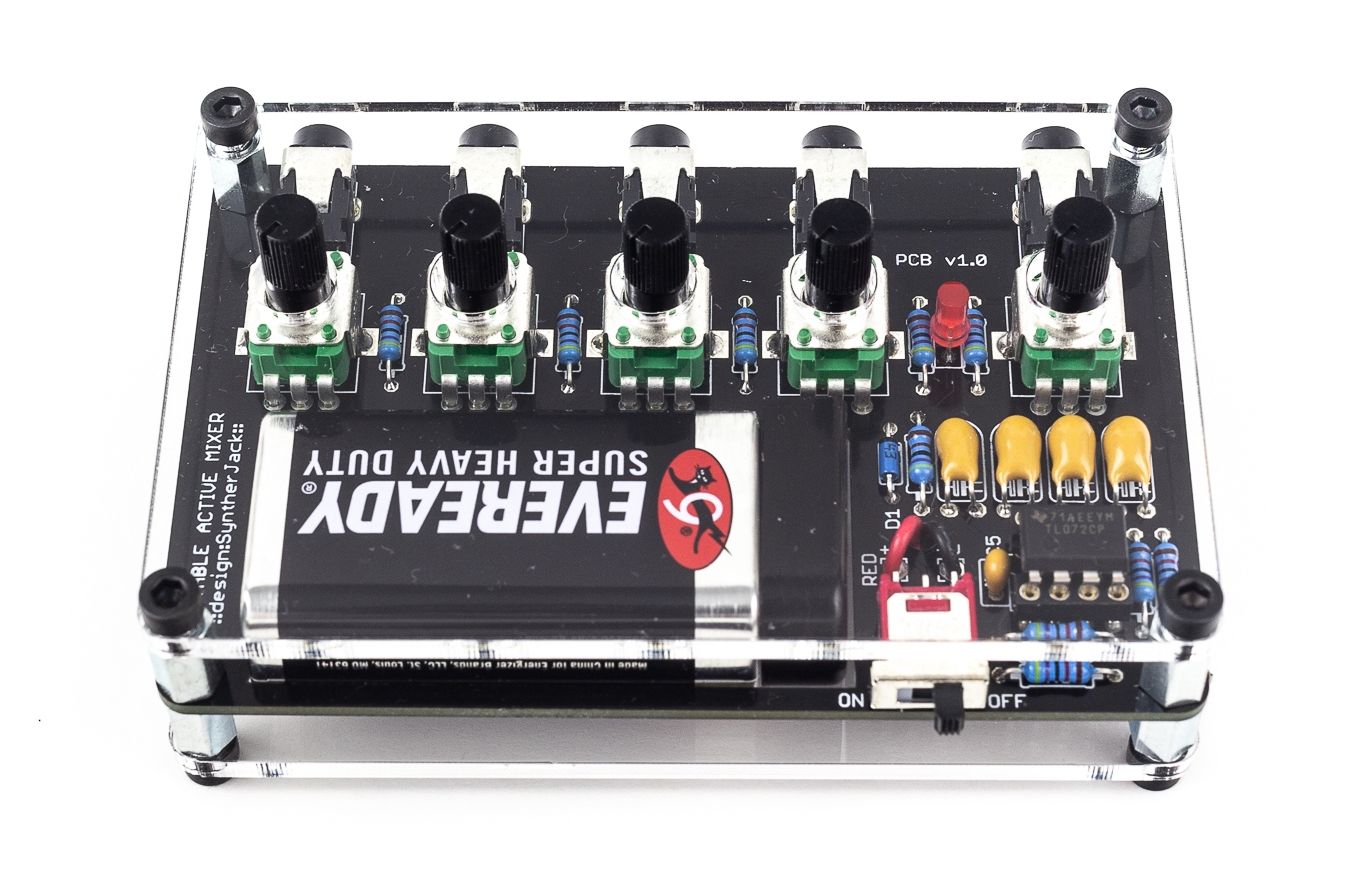
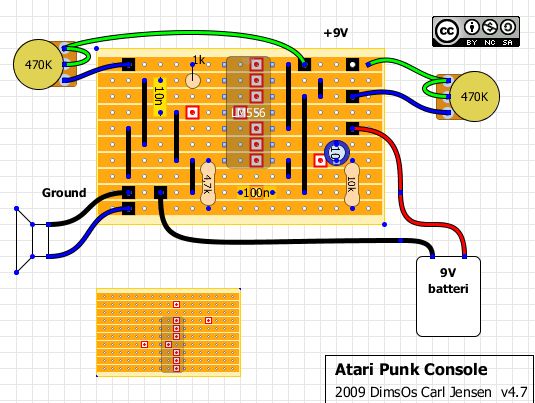
- You can solder a beginner full kit. I would go for Atari Punk Console kit, MFOS Alien Screamer kit or similar. Alternatively you can choose simple, but useful passive eurorack module as full DIY kit (with front panel, PCB and components) – f.e. attenuverter, multiple, waveshaper or filter. I also made a beginner friendly kit, a 4sum mixer.
- The more cost-friendly solution will be a synth using simple build plans, but still involving a fair amount of soldering. All component sourcing is up to you. The project vary from very simple to moderate. Look for “stripboard synth” or “veroboard synth” – you will find plenty of designs. This way you can build Atari Punk Console under 10$!
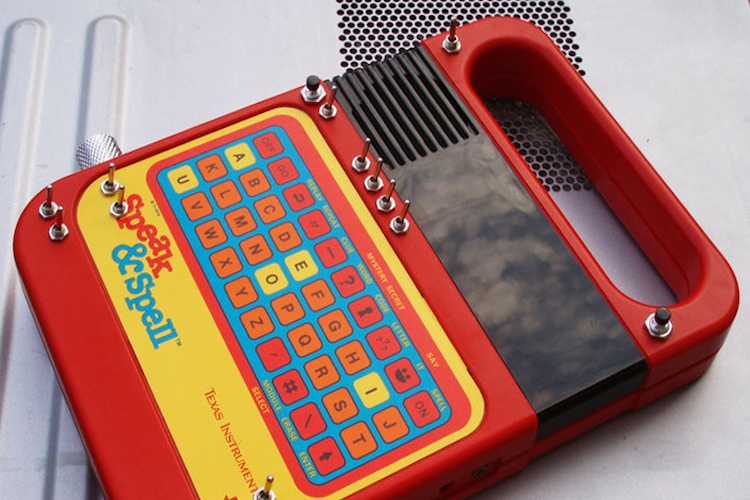
- Try “the art of circuit bending“! Basic soldering skills are needed here and all depends on your own ingenuity. Basically, you get some old, battery powered and sound generating device (most preferably a digital toy synth), then modify it with “creative short-circuits”. The “bending points” are found durning experimentation and often blind searches. Results can be very good, be you can also end with your toy broken forever.

“I solder like devil”
The whole new world (a galaxy!) of possibilities is opening for you. You can:
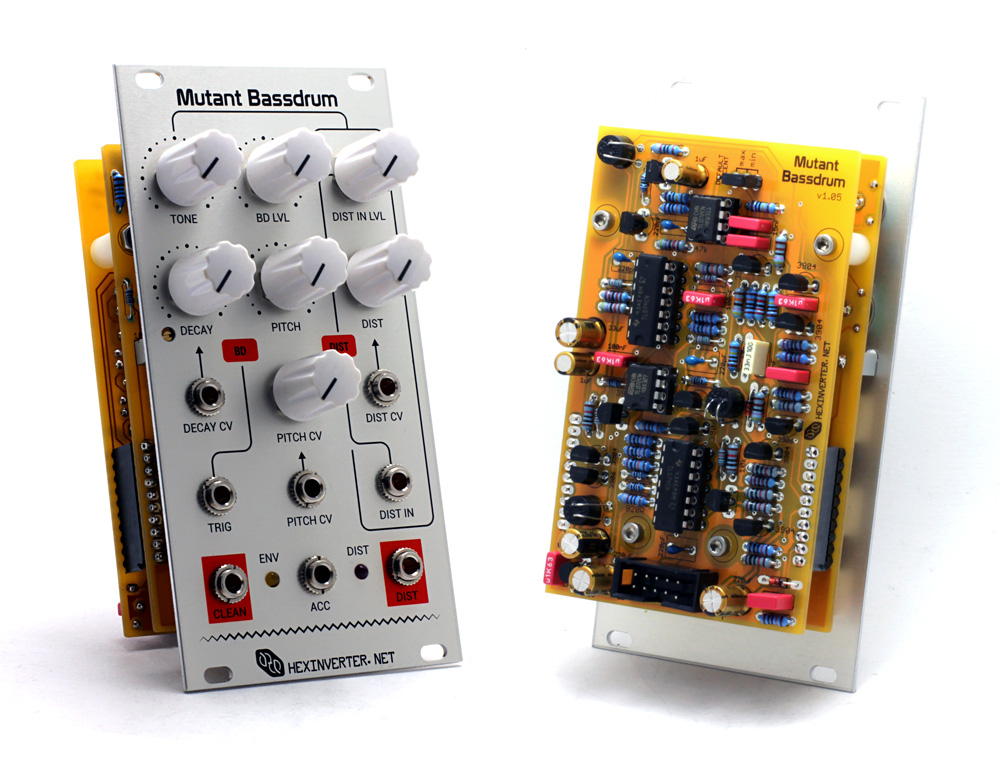
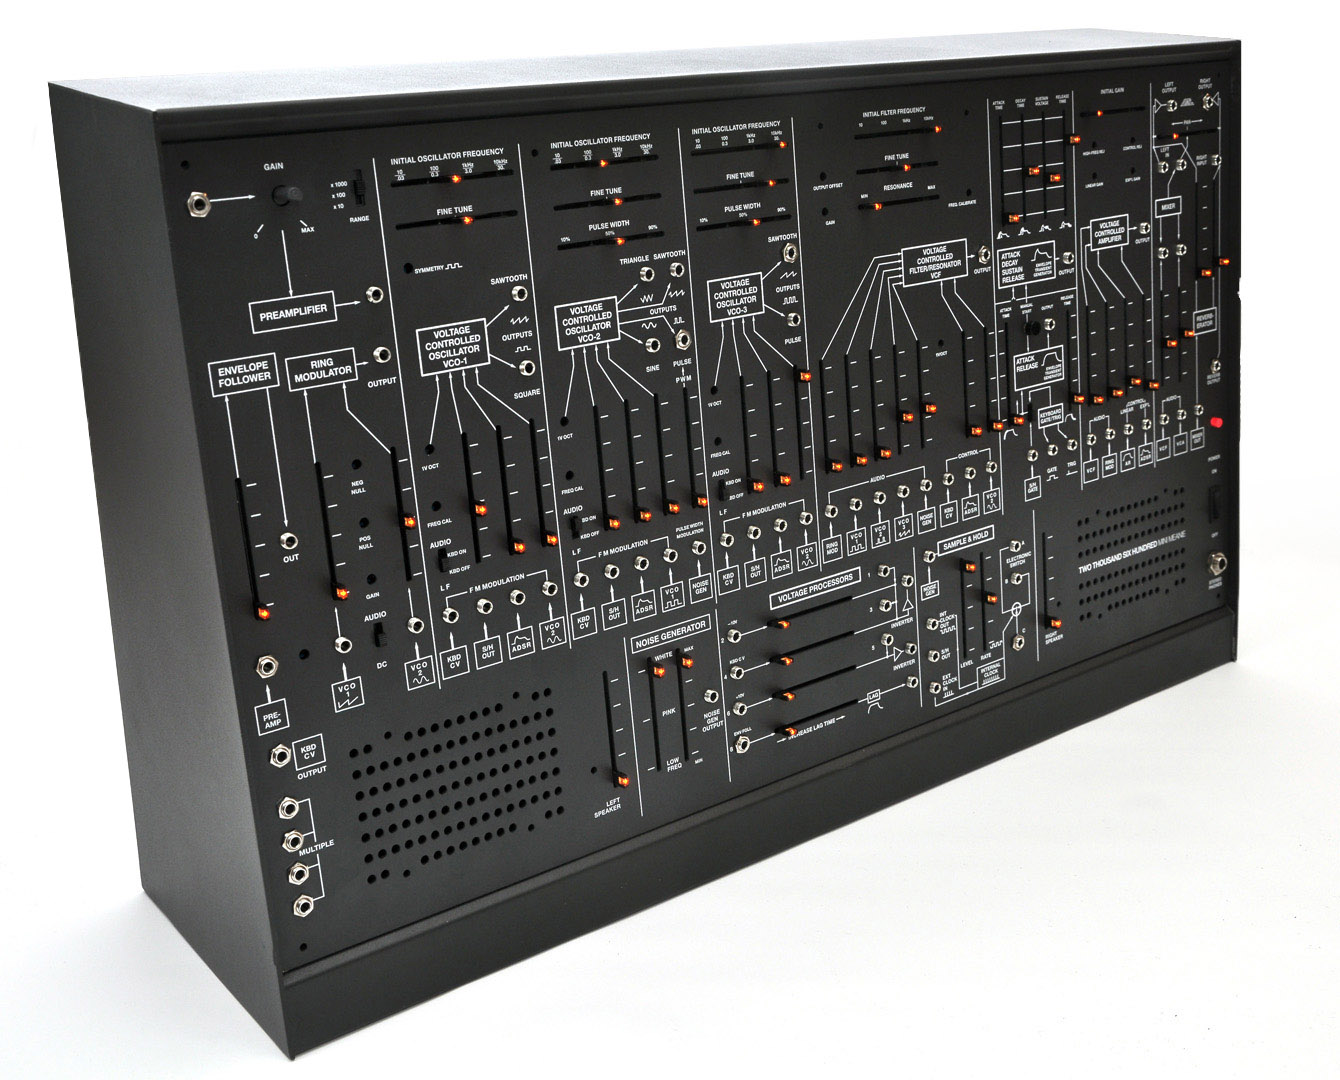
- Solder an advanced kit. If you soldered before, you probably have some skills in schematic read and troubleshooting, so you can move to more advanced stuff – but it is good to solder a kit at the beginning, synthesizer is different kind of animal. You will be provided with a PCB and a full pack of componenets – but advanced kits can be really amazing, like TTSH, an ARP2600 clone.
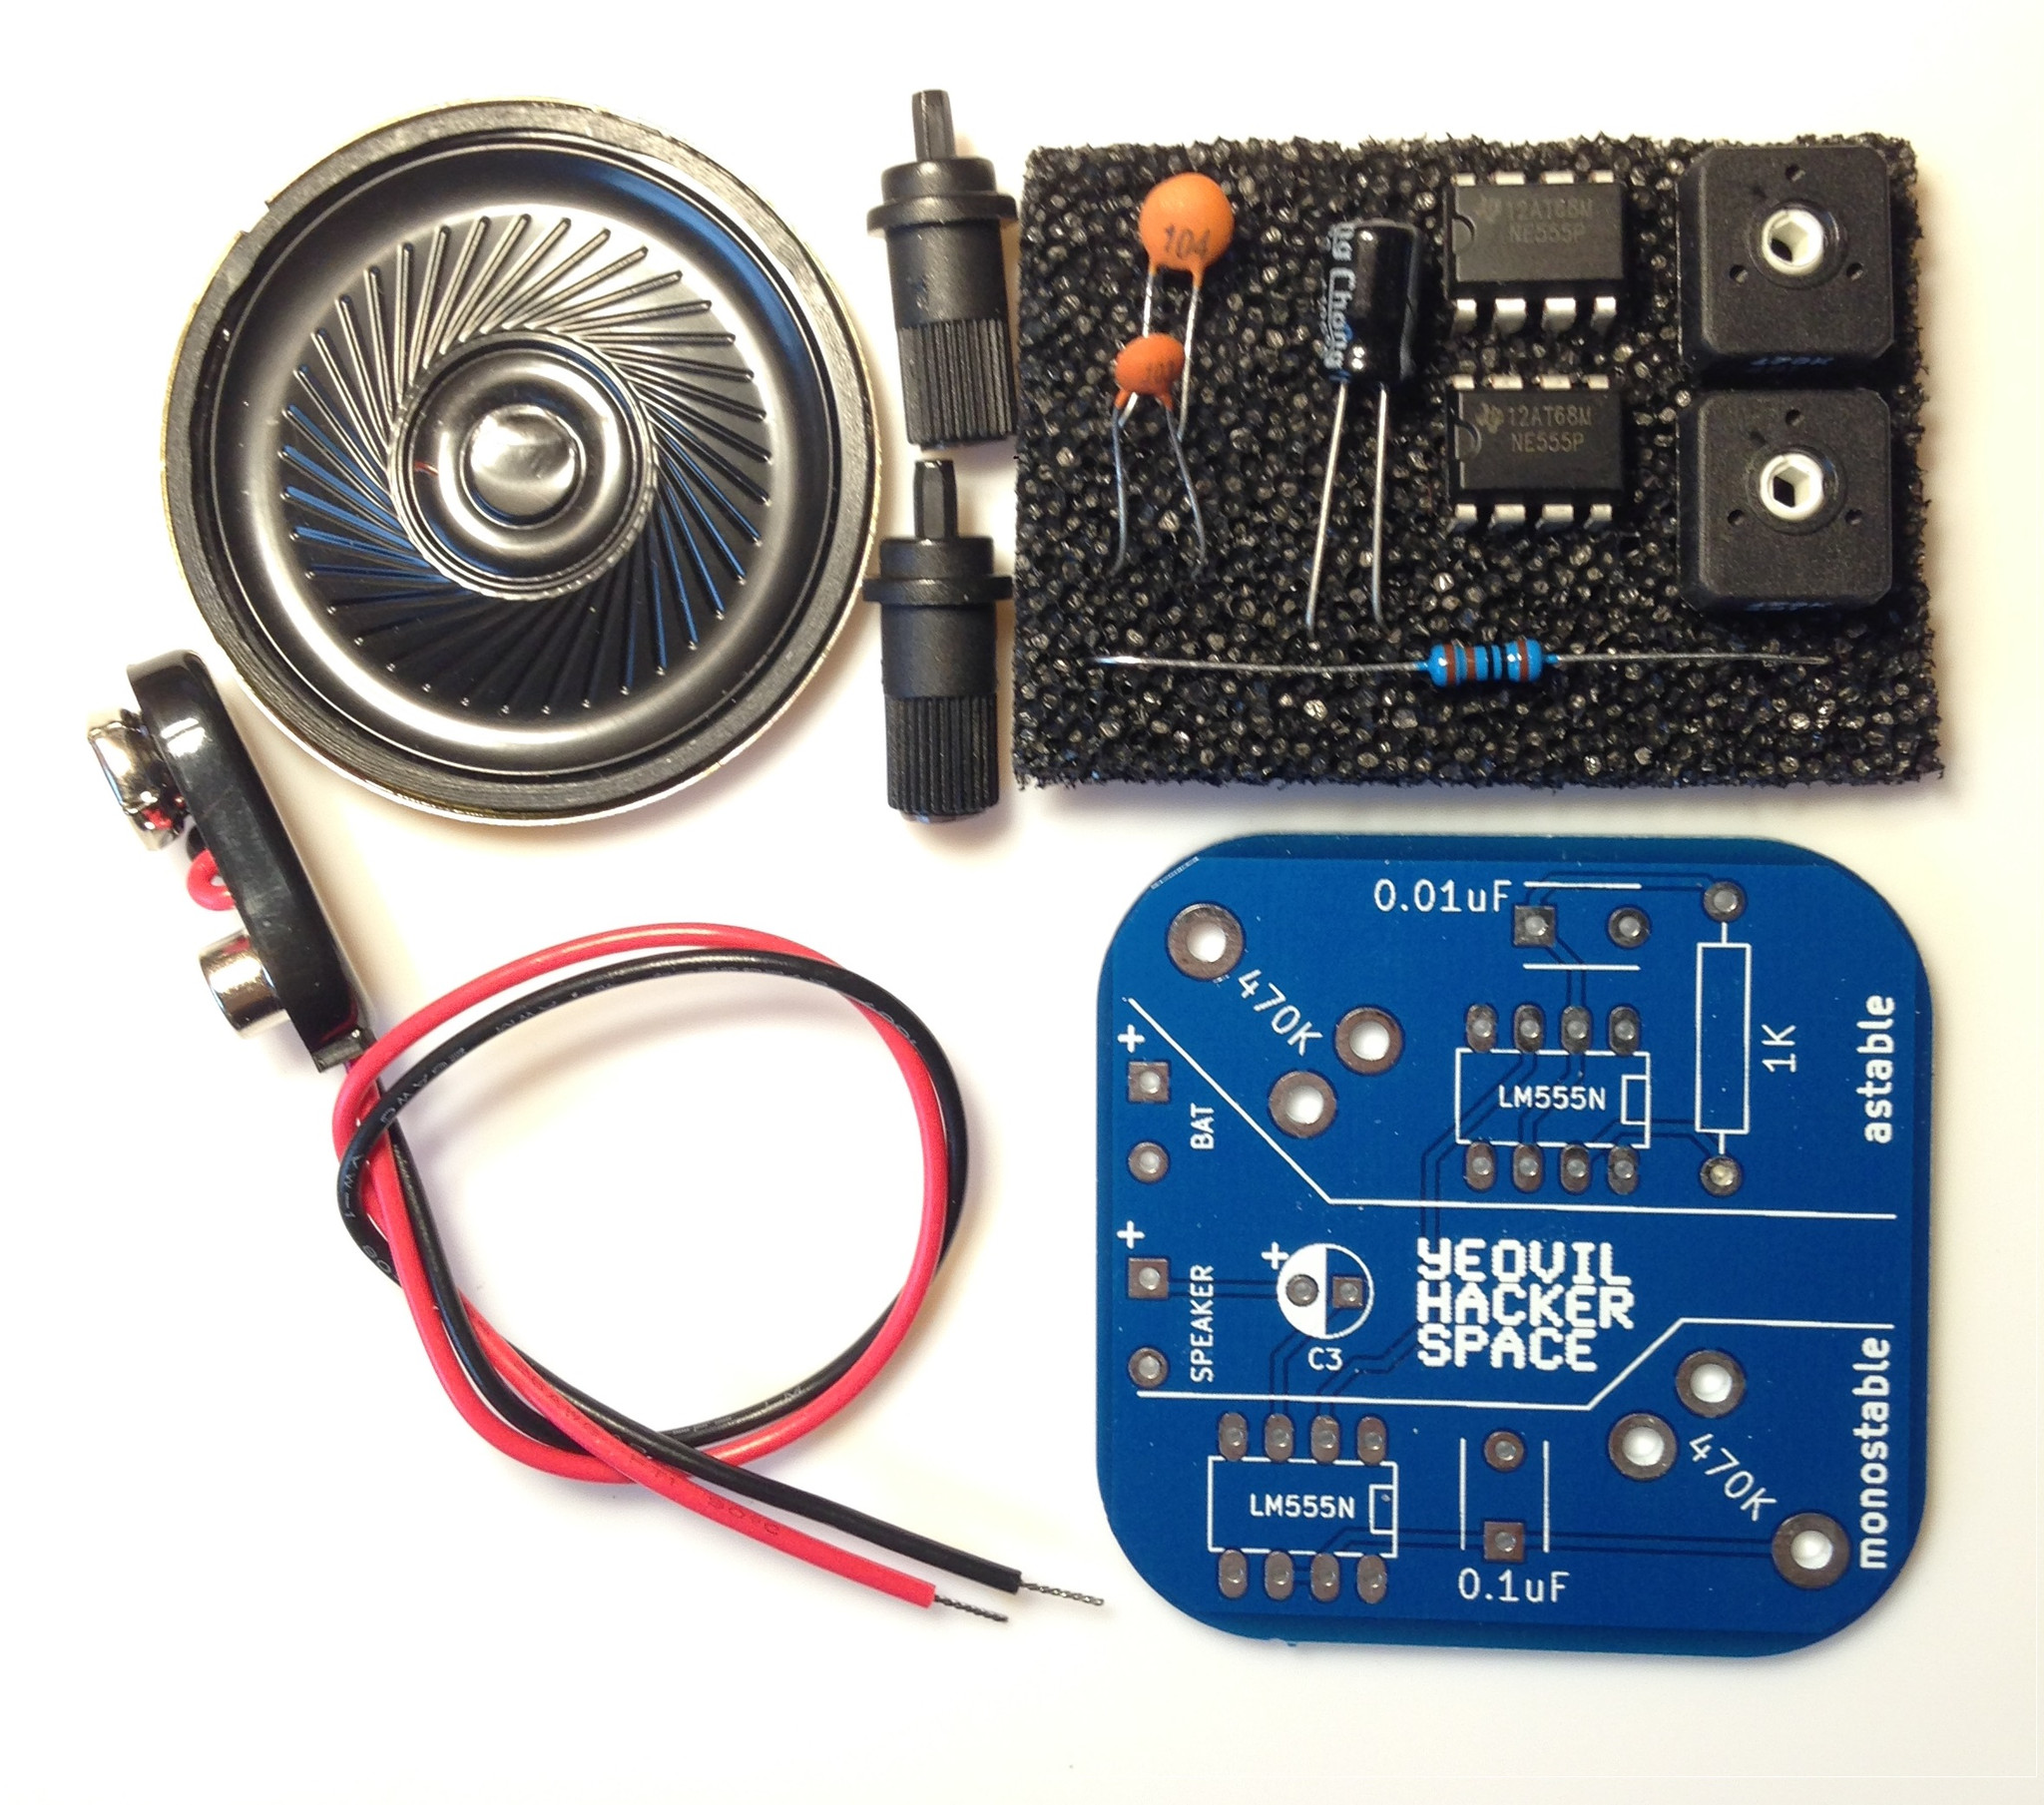
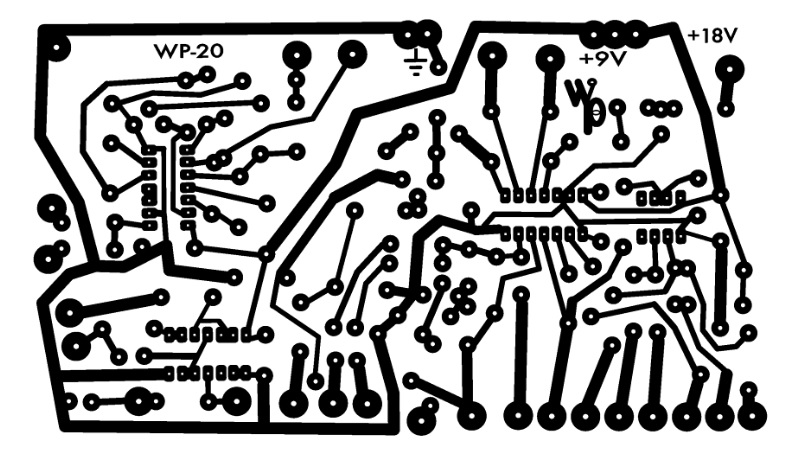
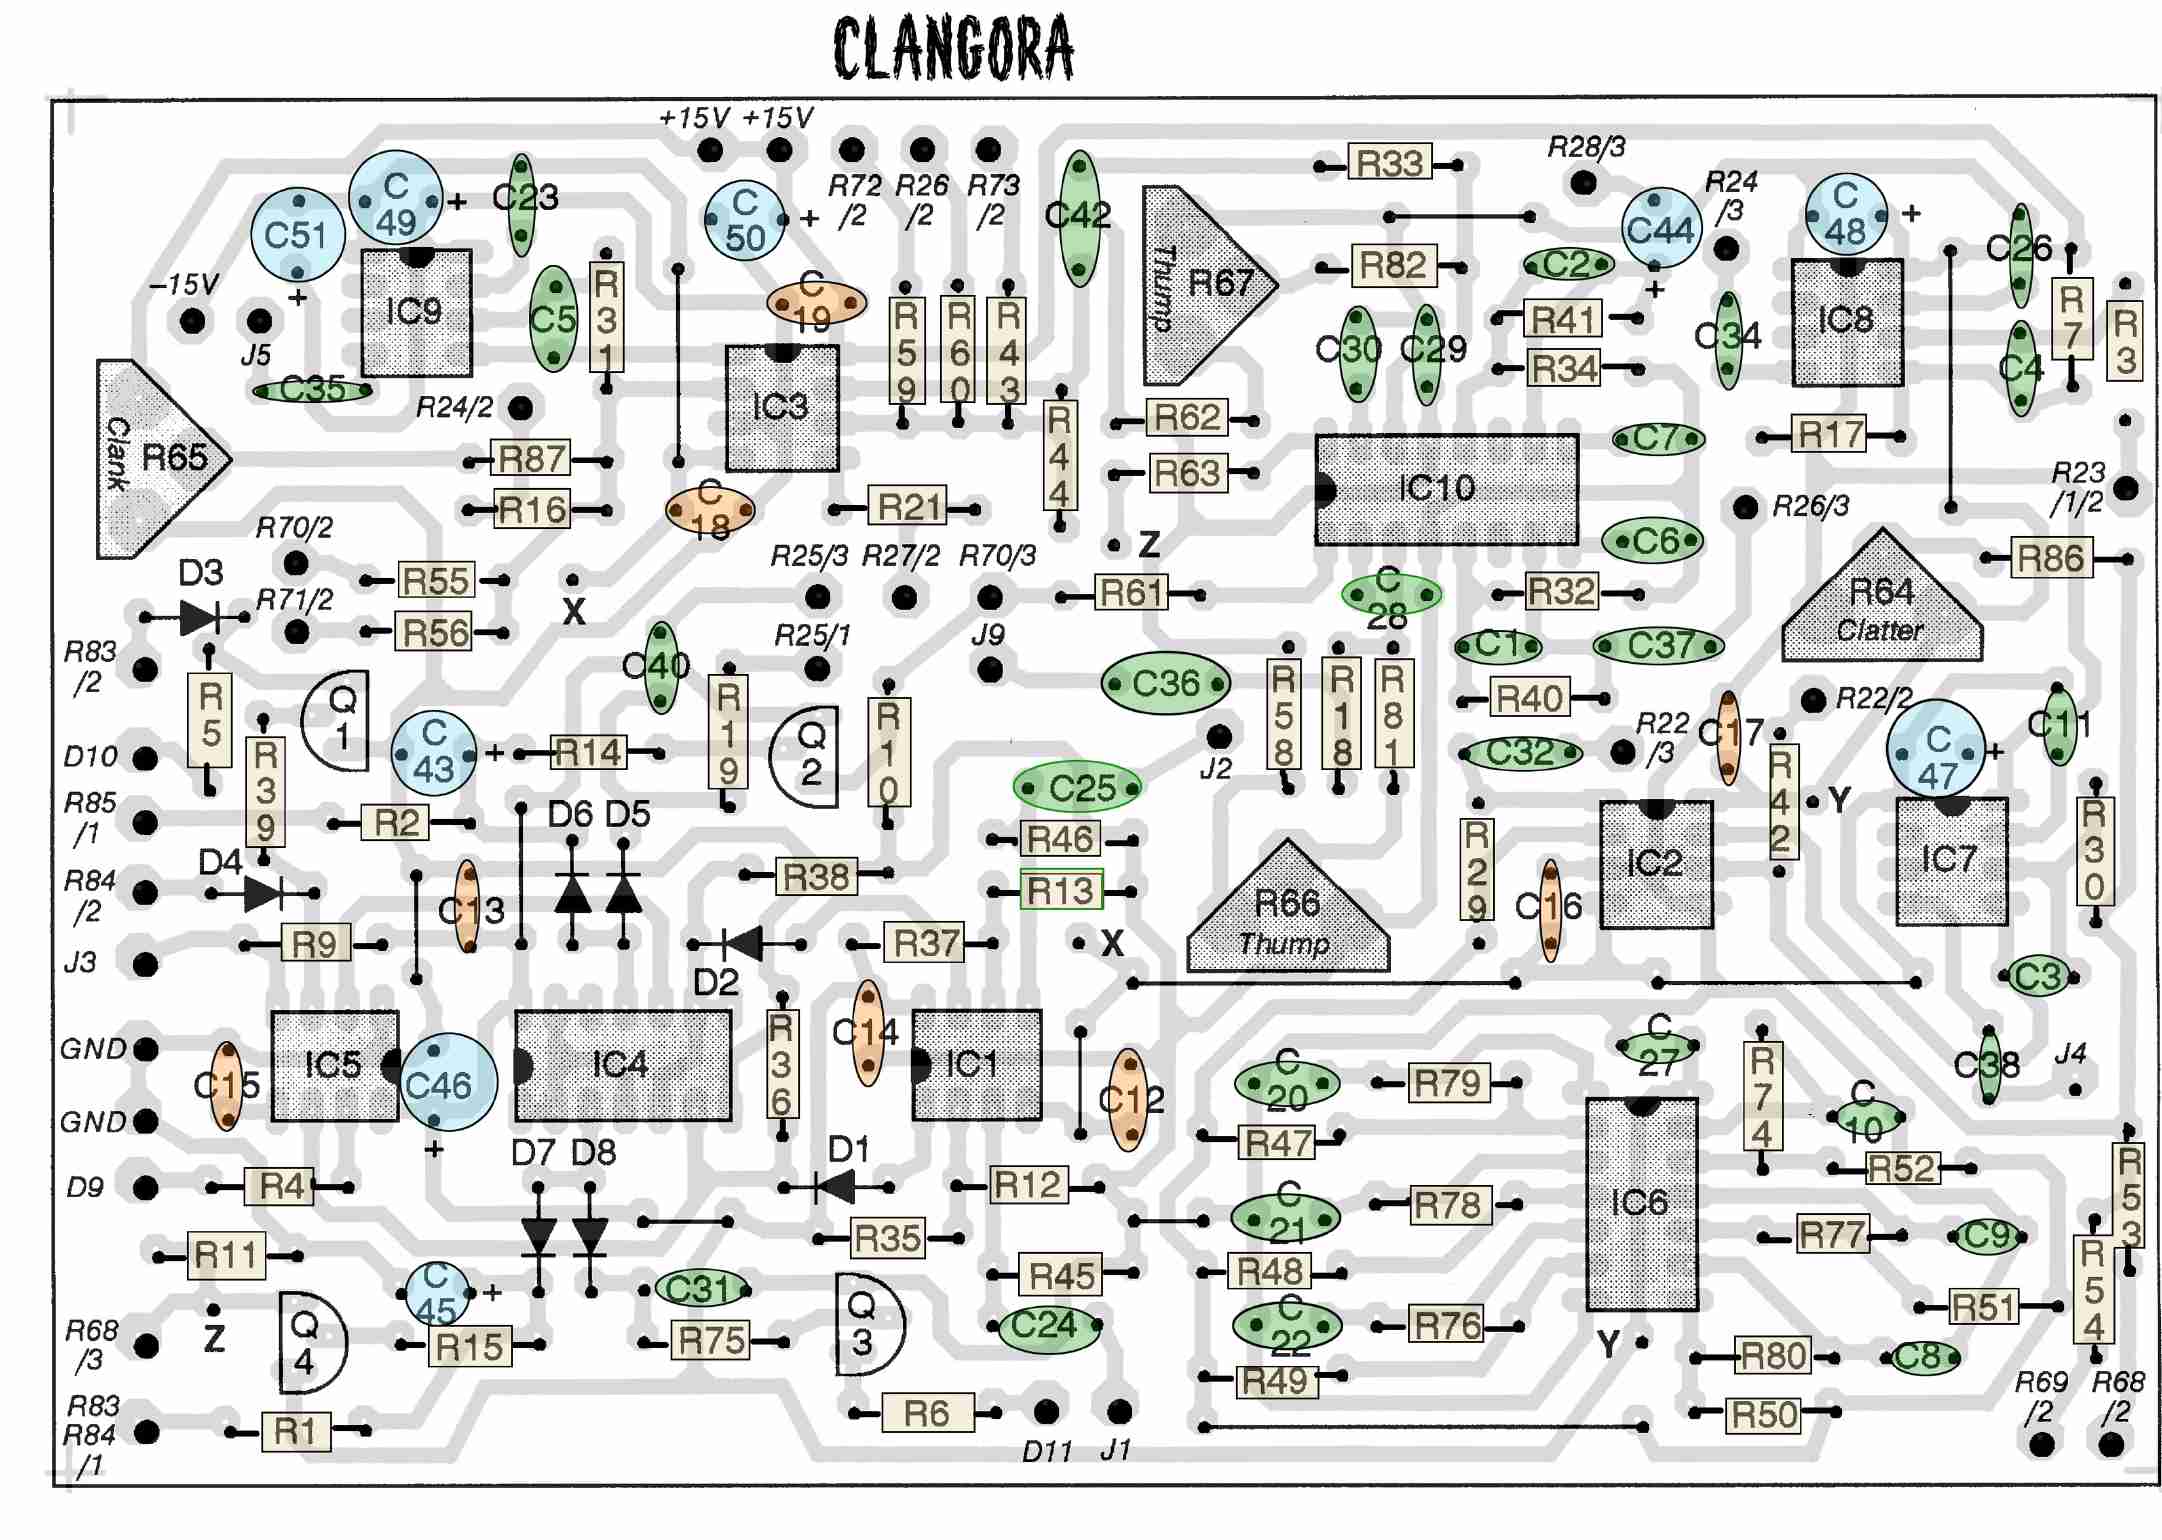
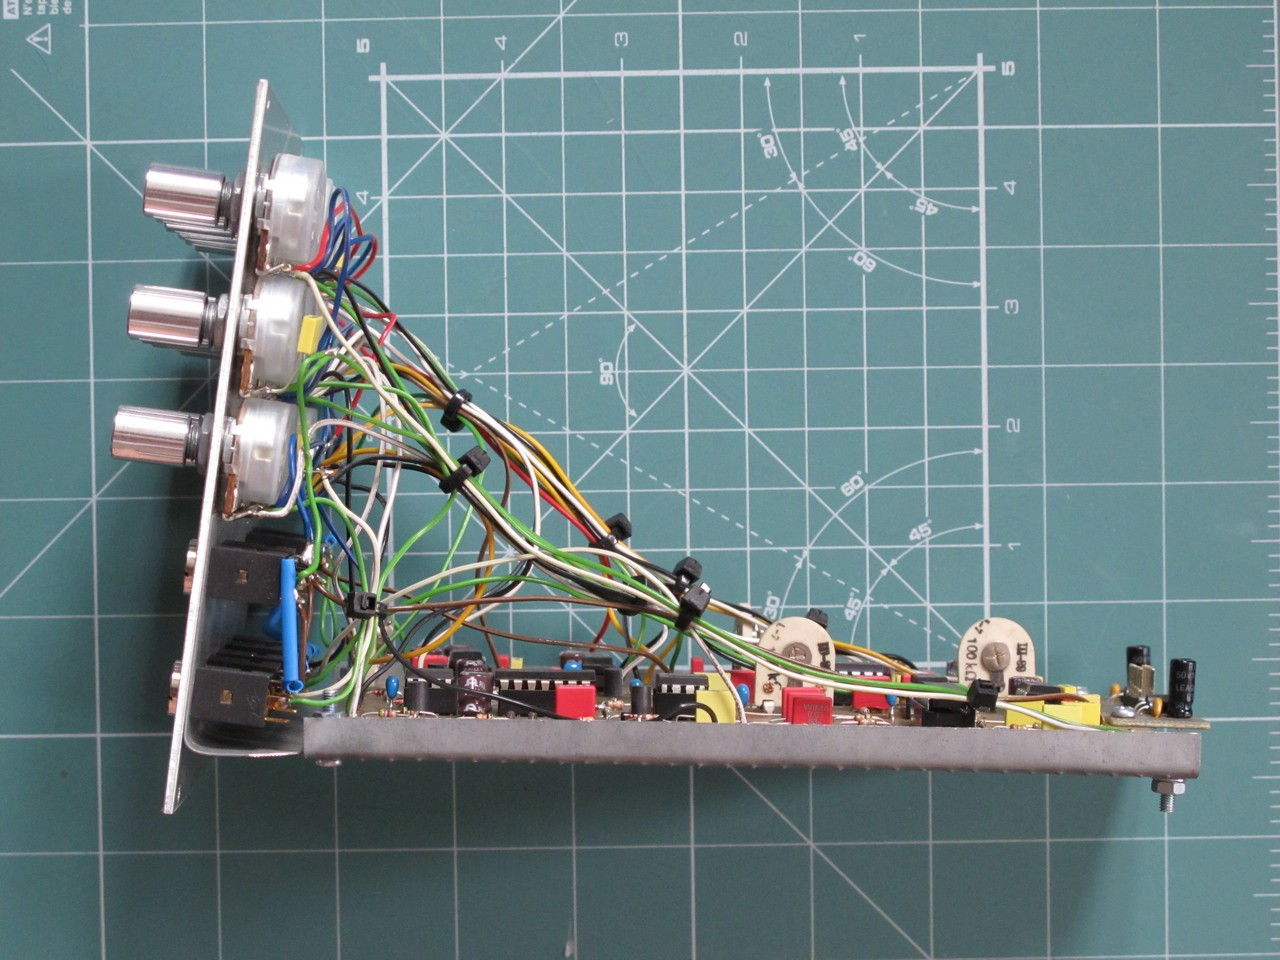
- Make a synth using one of old school magazine-published articles. They often involve a lot of additional knowledge on circuit operation and a ready-to-etch PCB, but you have to source all components for your own. The problem may be a low quality od scans (very important for PCB template), also some articles have errors (like Clangora) and the errata for them is printed in the next issue. Some electronic components used may be obsolete and hard to find. You may look for following: Waveform Processing WP-20, Thomas Henry Clangora, Synthtom II, Synbal. WP-20 is especially fun as it has reasonably low part count and sounds really good – I even build one for myself.
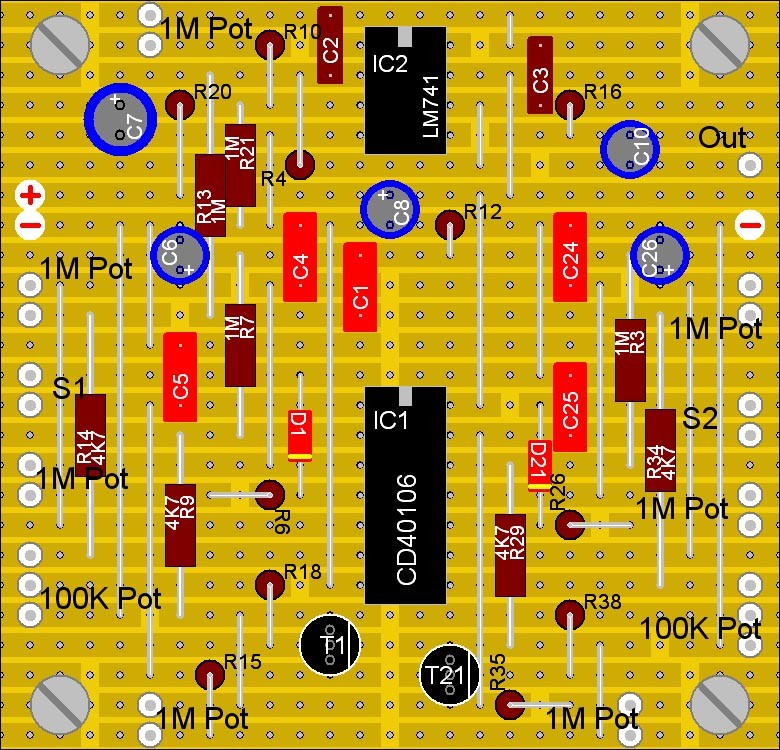
- Make your own synth, using only schematic – the PCB is up to you. Sounds difficult, but can be really simple. It all depends on the schematic complexity and PCB creation technique. You can always use perfboard! But beware, on some level it is easier to design your own PCB then fight with veroboards! There are tons of resources in the Internet, everyone will find something for themselves.
How to start – thoughts on my own DIY way
- Simple synthesizer projects rarely sounds satisfying. Thats the sad truth. You will probably want to throw them away after few uses and initial joy. But thats the part of learning curve and it shouldn’t discourage you. As a matter of fact, I like to look on my old project just to see how my skills improved.
- If you are into eurorack synthesizers and want to solder something simple, it is a good idea to build utility modules – mixers, multiples, attenuverters, as they always will be useful (and are cheap)
- Buy good quality componets from reliable sources – this lesson cost me a lot of time and curses.
- Try to test your device on every step of the build – check a PCB before soldering, then look for suspicious joints after soldering, double check your wiring and ICs position.
- Don’t be afraid to destroy things (but within decency), it is a part of learning. Of course it is better to not destroy anything, but if it already happened, treat is as a lesson (f.e. a 200$ lesson on “Why the polarity of power supply is important”).
- Time is also a cost! Think if it is better to etch a PCB for yourself or outsource it to a PCB shop.
- There are lot of unverified circuit schematics and PCB designs all over Internet – look out for what you are using and always try to find a woking prototype (on some blog, forum, YouTube etc.).
Helpful books (printed / online)
May seem obsolete in modern days, but nothing will replace a consistent and well written though of one smart guy (or girl).
- Craig Anderton – “Electronic Projects for Musicians”
- Ray Wilson – “Make: Analog Synthesizers – A modern approach to old-school sound synthesis”
- Reed Ghazala – “Circuit-bending – Build your own alien instruments”
- Thomas Henry – “Analogue synthesizer for the 21st century”
- Thomas Henry – “Electronic Drum Cookbook”
- Hal Chamberlin – “Musical Applications of Microprocessors”
- Sergio Gonzalez – “Intro to Lunetta CMOS Synths“
- Thomas Henry – “Noise Generator Cookbook”
- “Electronotes – Newsletter for the musical engineering group”
Forums (specialized in synth DIY only)
Great resource if you have any problems or looking for inspiration. But read carefully, there are lot of untested circuits!
- Muffwiggler – Music Tech DIY
- Electro-music.com – DIY Hardware and Software
- Mutable Instruments
- Facebook – “Synth DIY” group
Online resources
There are many others, but those mentioned are especially informative and often provide PCBs for the projects. It may be stupid to link to other sites from my own synth DIY blog, but honestly, they are great and I learned a lot from them.
- CGS – Ken Stone Modular (Cat Girl Synth)
- Yusynth Modular Synth Project
- Music From Outer Space (MFOS)
- Elliott Sound Products
And this is how we got the end. I hope you found your own way to the synth DIY! (And don’t forget: to go really deep into synths you must get a cat).
Cheers
Jack
You’ve ommited one amazing solderless kot, littlebits synth kit. Designed in cooperation with korg, this one is a true synth building experience for beginners. Due to varied modules and connection possibilities, it’s hard not to recommend
I thought about LittleBits, but I decided it does not fall into a DIY category. It is more like synth Lego bricks. On the other hand, the complexity of building Werkstaat and LittleBit synth is similar (almost nothing to do 🙂 )
Great post Jack!
Oh, the little WP-20! That is great fun to build! I’ve found two mods for it: the sub-octave and 9V noise (http://aeeprojects.blogspot.co.uk/2007/10/wp-20-sound-effects-synthesizer.html). There is a bit more information about it at: http://www.electro-music.com/forum/topic-6570.html. Wish it would have more ‘general’ pitch control (ie: V/Oct).
You might not have seen the One Board Farm Synth from Motohiko Takeda (http://www.aleph.co.jp/~takeda/radio/OneBoardFarm.html) but I think it is worth mentioning. It’s definitely an intermediate level build, however you get your own 1V/Oct “modular” for about £30 (here is my build: https://youtu.be/mQRMNgDtOtE).
I also found old Practical Electronics and Electronics Today International magazines (many available for download here: http://www.americanradiohistory.com) to be good source for inspiration.
Hi there! I could have sworn I’ve been to this site before but after browsing through some of the
post I realized it’s new to me. Nonetheless, I’m definitely happy I found it and
I’ll be bookmarking and checking back often!
Very interesting article with great ideas. Thanks for the inspiration. The only problem I’m having is finding a cat’s tail to help me as per your first photo!!
Hello, cat’s tail is hard to find, as it is usually shipped with the rest of a cat. So, you can just get a cat and keep it as tail with standalone holder, that’s the best option.
Thank you so much. This is awesome!
An interesting discussion is worth comment.
There’s no doubt that that you need to publish more about this issue, it might not be a taboo matter
but typically people don’t discuss these topics. To the next!
Kind regards!!
Thank you for the inspo! This was a great article, currently studying computer and electrical engineering. Making a synth will definitely be my next personal project. Best regards!
Thank you for the inspiration! This was a great article, currently studying computer and electrical engineering. Making a synth will definitely be my next personal project. Best regards!