What? Why?
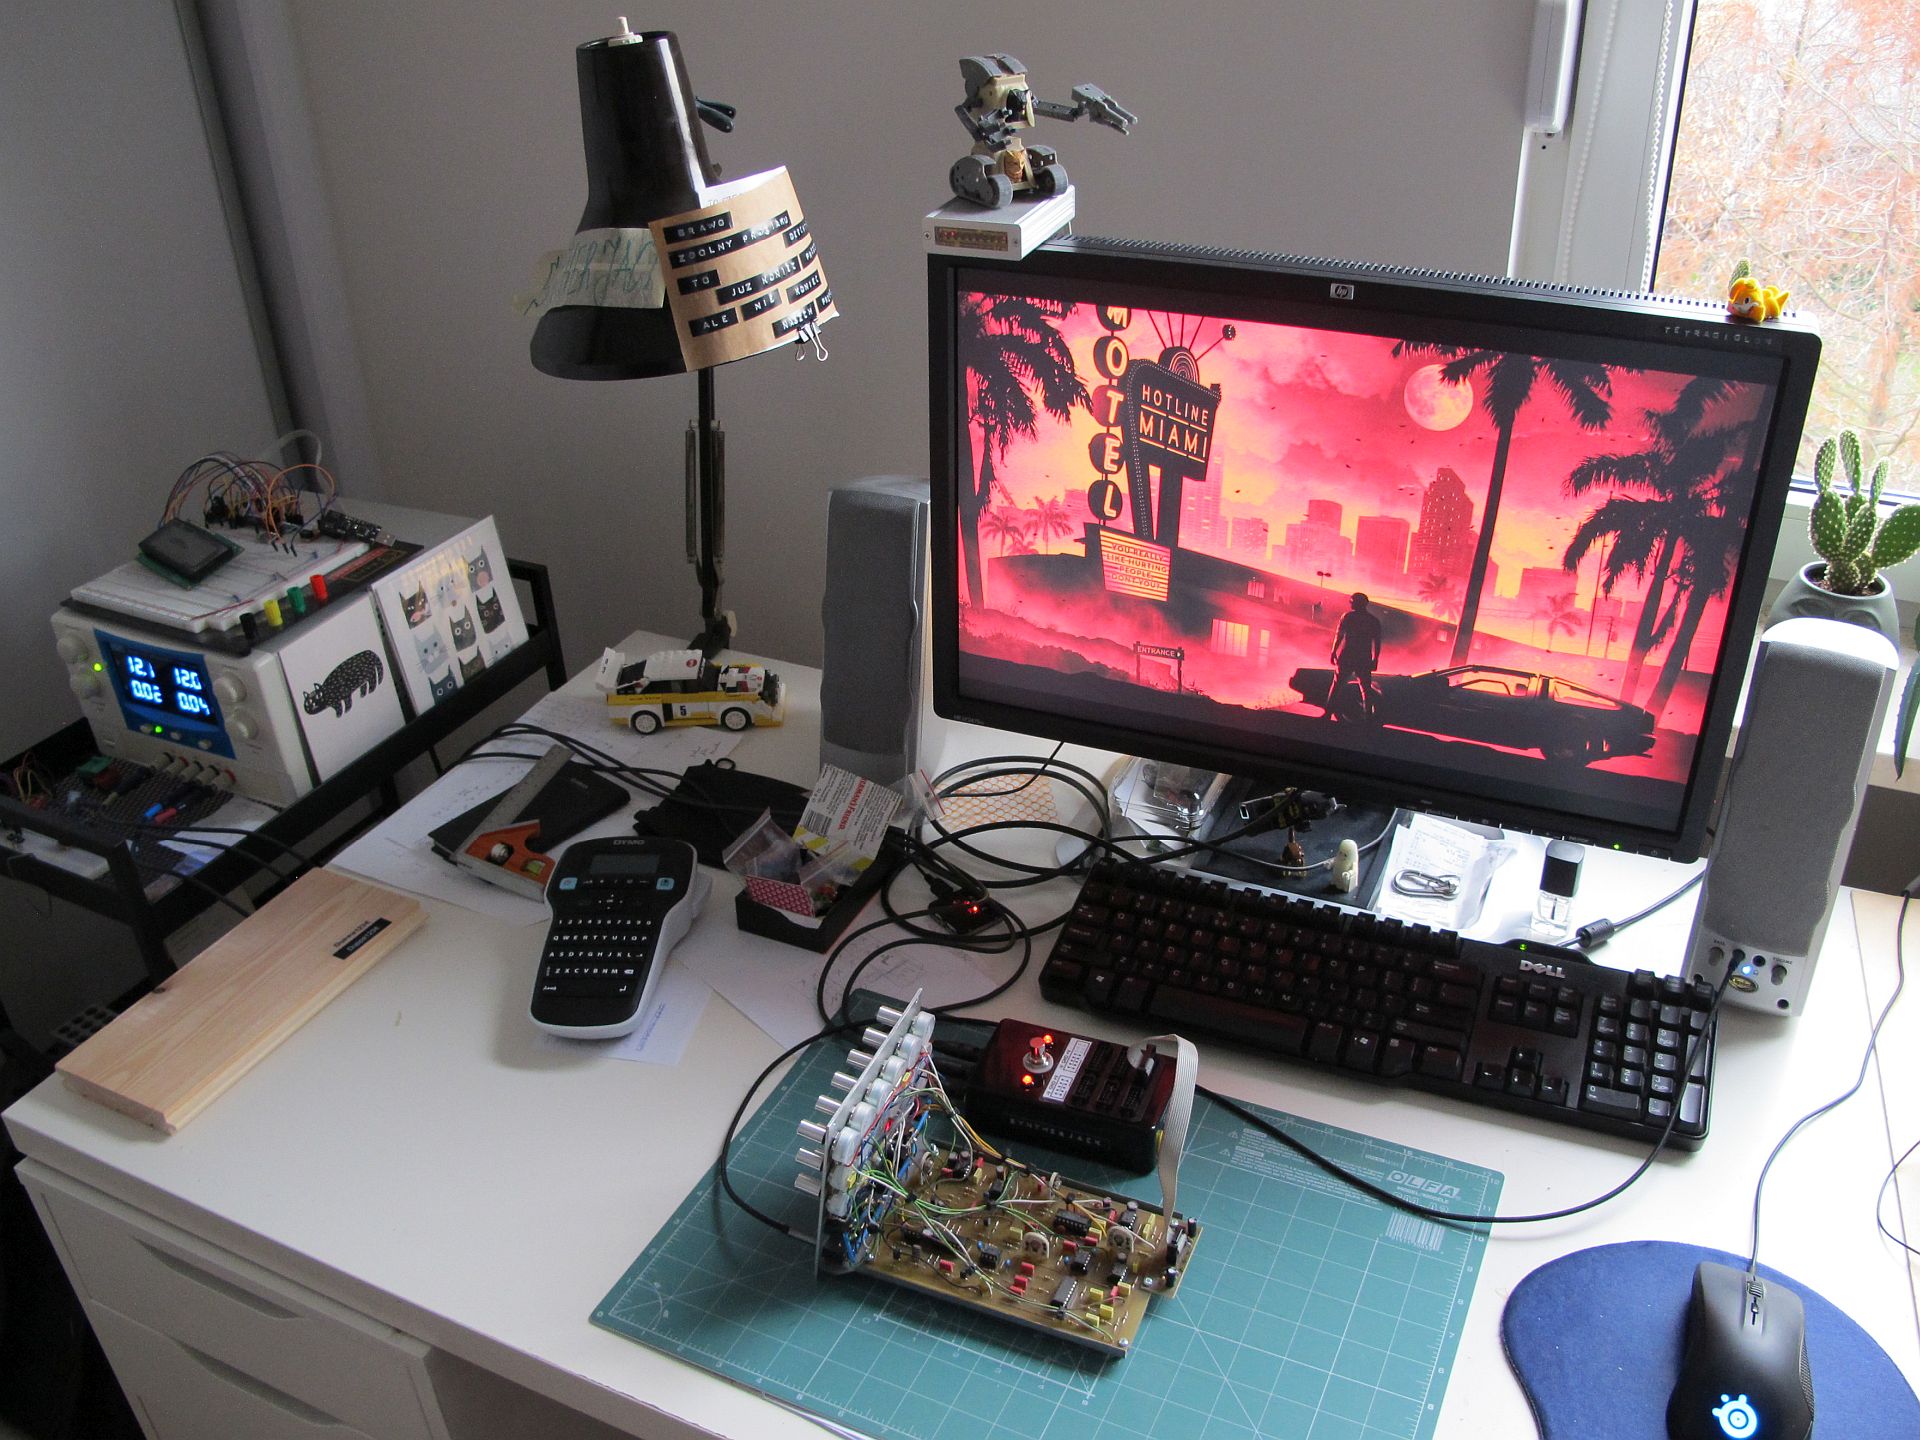
A simple, but useful one-day project – a laboratory PSU extender. Bench PSUs are almost always bulky, ugly and take a lot of precious space. For my usual synth-related workflow they most valuable features like current limiting and variable output voltage are not used very often – mainly during first circuit startup. Then I just set voltage to constant +/- 12 V, current limiting to reasonable level and that’s it. PSU expander lets me save space I can use for scope, function generator or any other device I need at my fingertips.
Features:
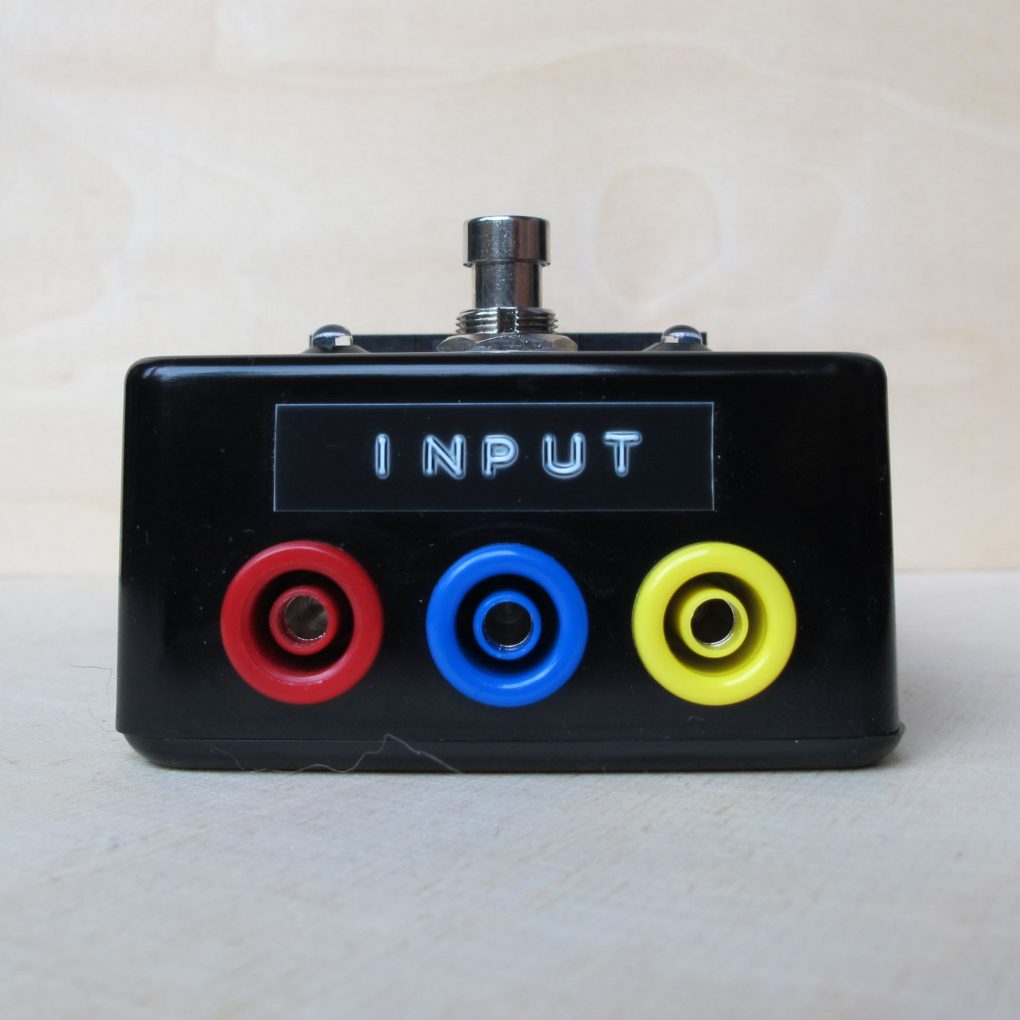
- INPUT – banana sockets, connected to PSU,
- OUTPUT – banana sockets, in case you want to extend even further,
- 3x standard 10 pin / 16 pin eurorack power connector, you can also connect with jumper wires directly to breadboard,
- 2x power LEDs, one for each channel,
- 3 pole on/off push switch (breaks 3 power supply lines at once).
Design
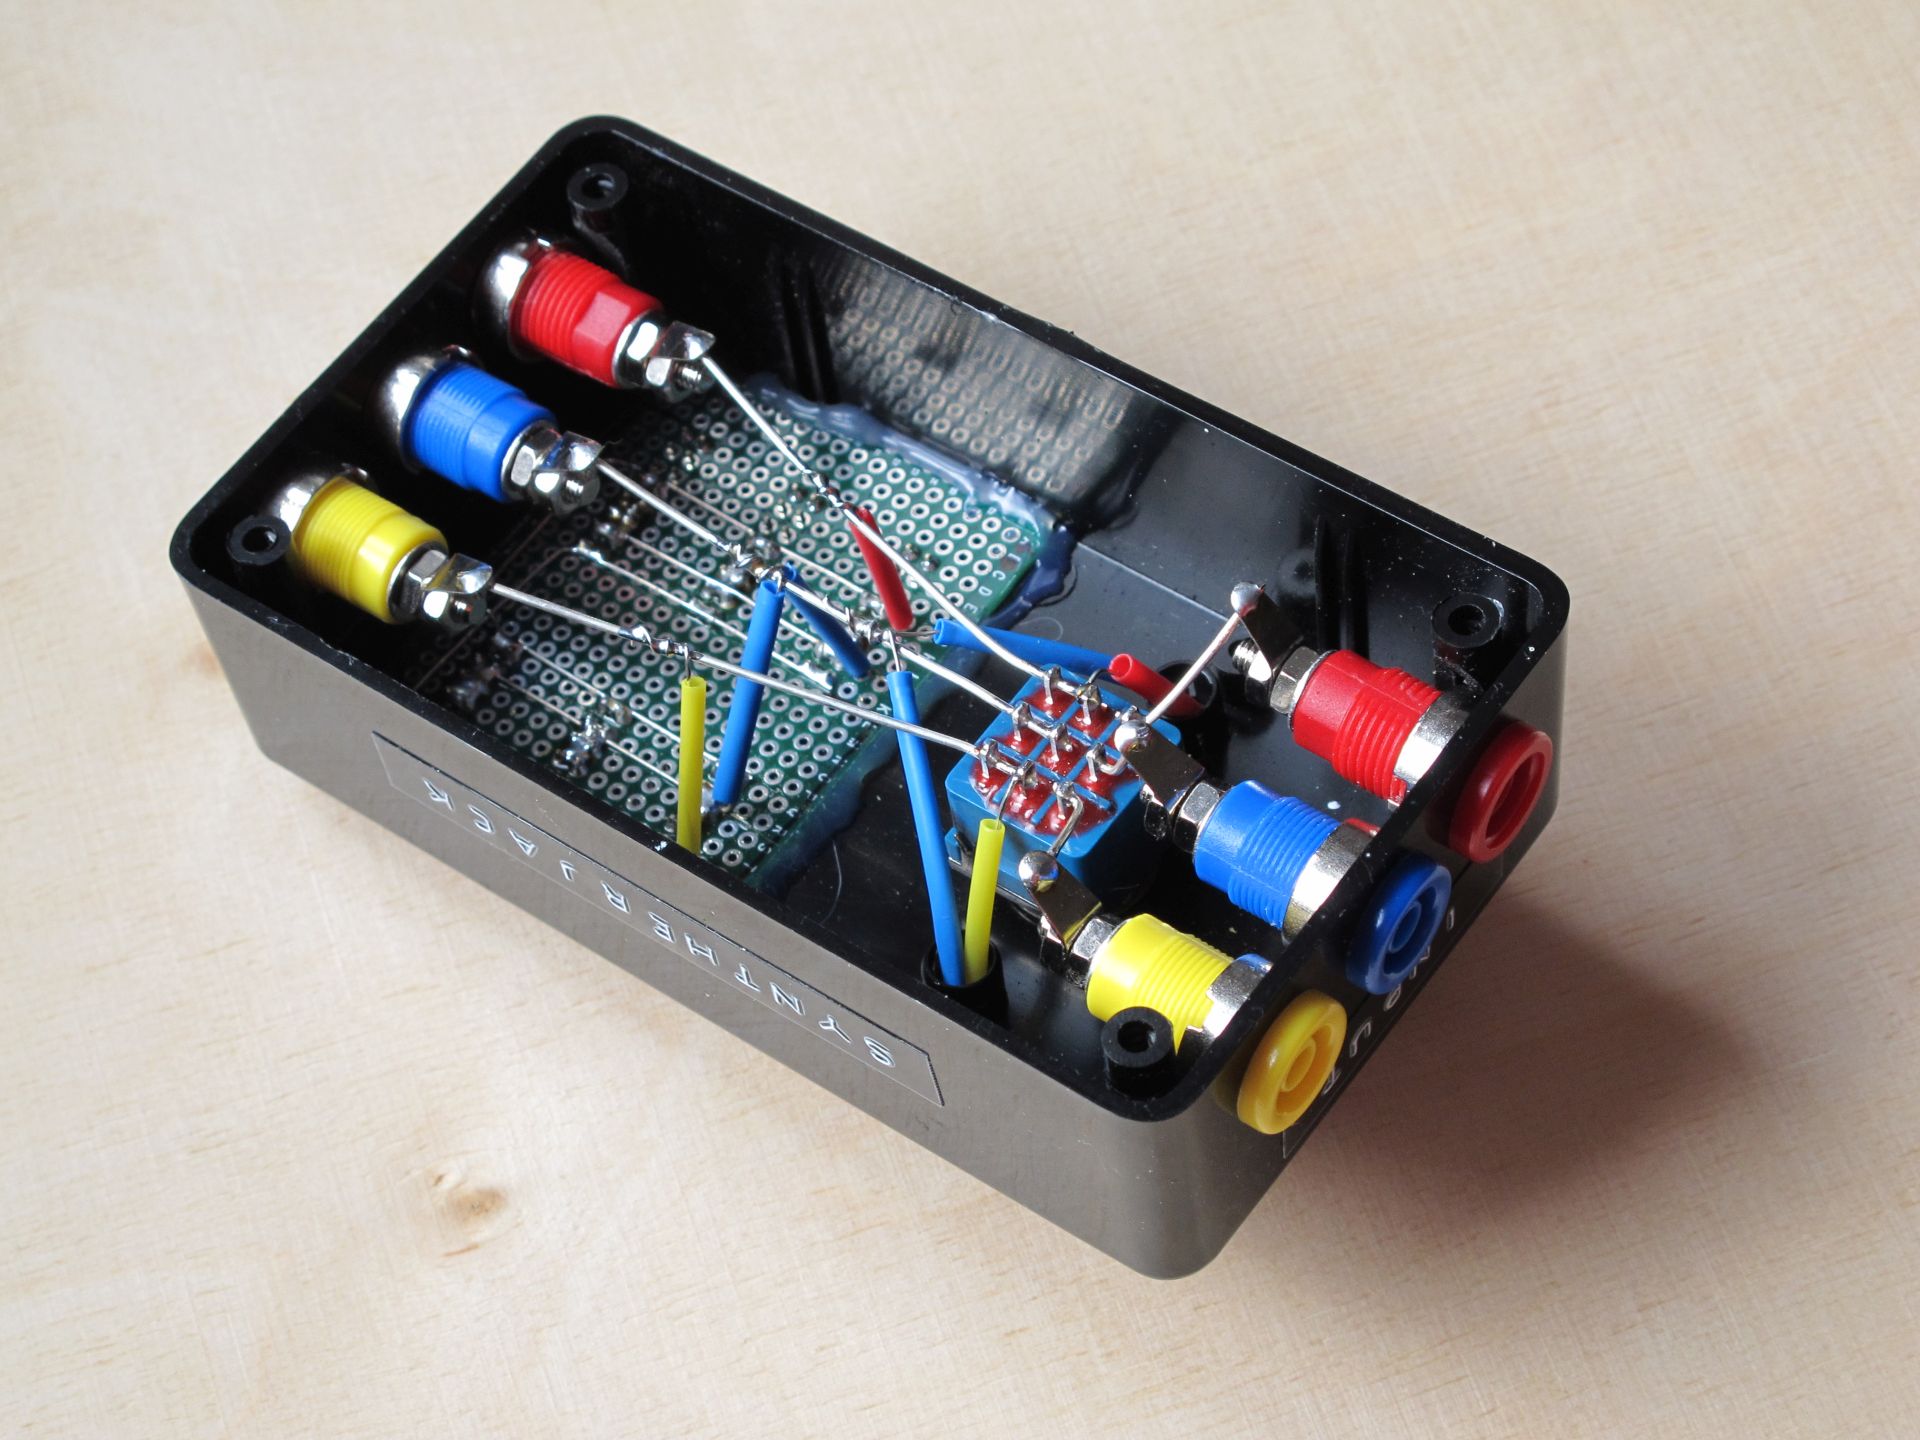
The device is build inside some no-name plastic stomp box-like enclosure. INPUT/OUTPUT bananas are color coded – red means +V, blue GND and yellow -V. Eurorack IDC sockets are soldered to universal PCB and hidden under small 3D printed cover. Thanks to 3-pole switch you can be sure, when extender is off, there is no galvanic connection between PSU and tested device (which is not all that obvious in case of PSU soft on/off switch).

All main (banana-to-banana) connections are done “in the air” with 1 mm thick silver plated wire, without any additional insulation. I bought banana connectors (or more fancy: Test Probe Connectors) via AliExpress – pack of 10 in different colors was 5 Euro with shipping. LEDs are super bright red with 3,3 kΩ resistors – they should handle wide range of input voltages and not burn out your eyes when on. 3PDT stomp foot switch was the most expensive part, I got it from Tayda Electronics for around 2,5 Euro without shipping.
In fact, it is my second approach to PSU expander – in the first one the banana sockets melted while soldering (soldering pad and socket internal contact were one piece of metal). The socket version I used in the second iteration, wire is soldered to a small metal plate, which is then screwed to a plug itself – this way plastic doesn’t heat too much and risk of failure decreases. You can buy several types of banana sockets, but this type (with screws) works the best for me.
Wires are also color coded and very flexible. There is no significant voltage drop on 1,5 meter long cables, as their resistance is below 0,02 Ω/m. You can find similar under “LI2G cable” name. They are quite expensive, around 1,25 Euro for meter, but worth every cent. (Just look how they lay on the desk! They are a silk of a cable world.)

Final thoughts
I hope its usefulness will be inversely proportional to its complexity. For now, it does what it was designed to. May be not the most necessary device, but really helps in everyday synth DIY. The only pitfall is my cats and wife don’t like loud click noise stomp box switch does.
Yours,
SyntherJack