This a story about squeezing 16 kg of pure analog goodness into childs keyboard.
Introduction
For a long time i was thinking about modifying some small, cheap toy synth. I wanted to possess an unusual, battery-powered device with a built-in speaker, so I could play in a spare time. Initially, I wanted to make a simple circuit-bending, but often mediocre results discouraged me (I think I’m not a big bending lover). I decided to replace the synthesis engine to something a little more serious. I was looking for something small, with modest interface and classic sound. The choice fell on the Moog Prodigy (but I was also taking Rogue into consideration). It is not a mere clone – it has many features not available in the original device. Changing the interior of Yamaha from digital to analog entailed a change of power supply, as well as the keyboard interface. The construction lasted approx. 10 months and the project has been baptized with the name “Prodiż” *.
* “Prodiż” is pronounced in polish launguage almost as “Prodigy” and many people use that name as replacement. “Prodiż” means “electric cooking oven” or Remoska.
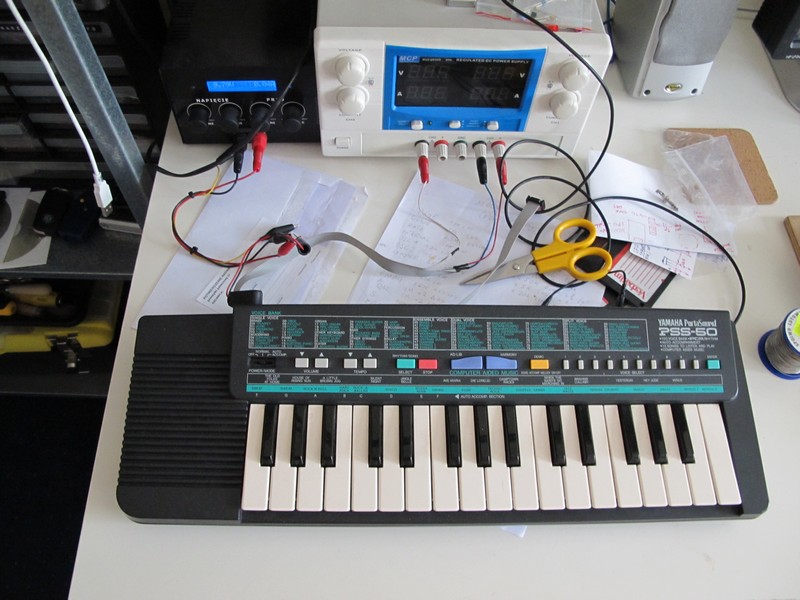
About the doner (Yamaha PSS-50):
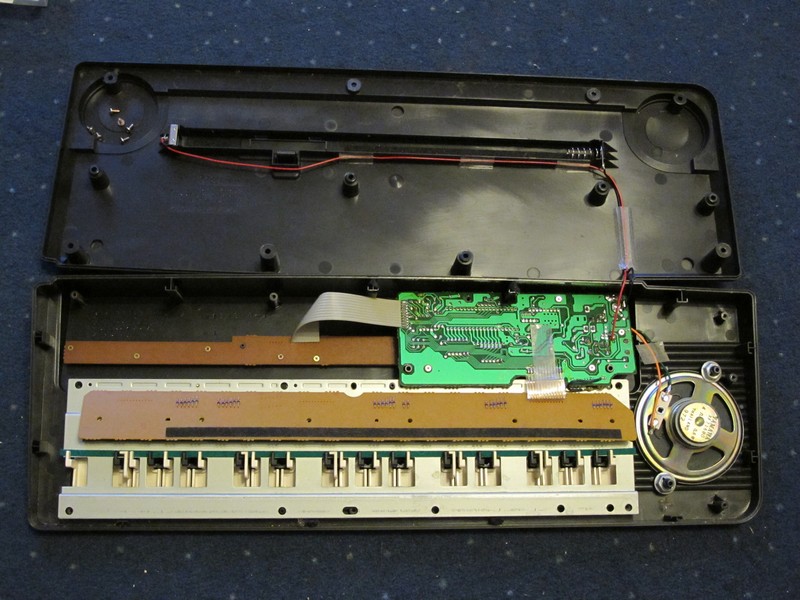
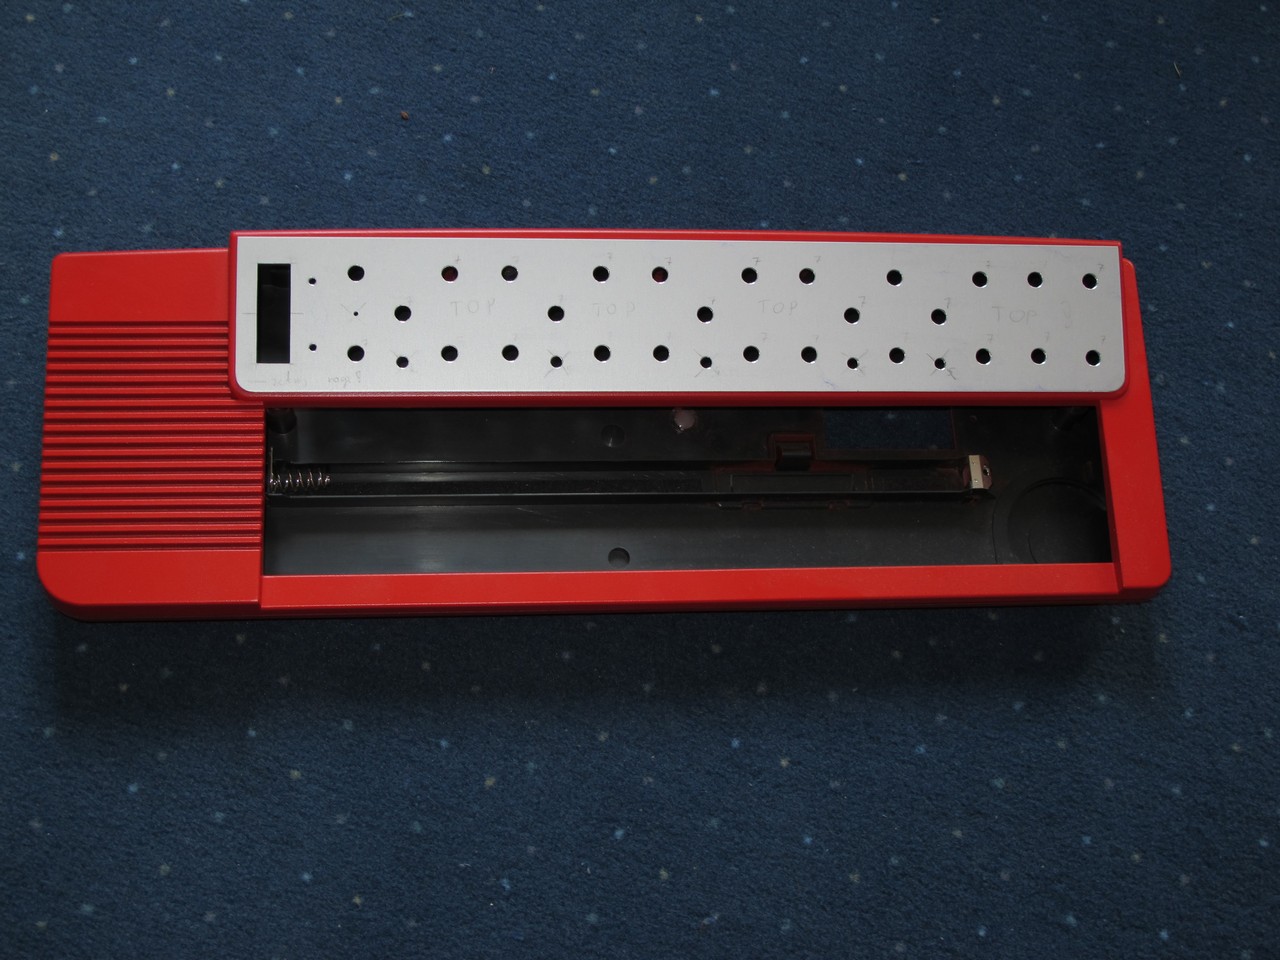
I was searching for this particular model for a long time – it has a flat, raised front panel, the minimum amount of embossments and a lot of space inside. You can not hide it’s a childrens toy. 100 preset sounds, 22 drum beats and lack of any effect on the sound except volume. It does not stand out with anything from many simple synths of the 80’s. I managed to buy the device for about 5 euro in the bazaar, without power supply and on/off slide switch, but with battery cover. The mini keyboard has 2.5 octave range and in terms of feel and quality can be compared with the one that Microkorg uses.
Characteristics of Yamaha PSS-50:
- polyphonic – 4 voices,
- synthesis type – digital, FM with 2 operators,
- built-in 0.8 W speaker,
- power supply – 220 V mains or 6xAA battery,
- dimensions and weight: 490 x 170 mm, 1.1 kg (without battery).
A few words about the archetype:
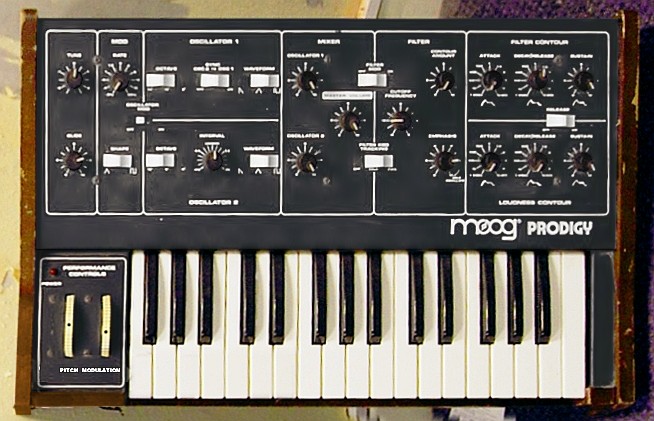
Moog Prodigy was produced between 1979 and 1984 and It was designed as a entry-level synth. It is a completely analog design with sound very close to classic Moog Minimoog. “On paper” looks pretty average by today’s standards, but its unique sound guaranteed him a place in the history of electronic musical instruments. Among the bands using it were: Astral Projection, Fatboy Slim, Depeche Mode, 808 State, Prodigy (the name of the band comes from the name of the synthesizer), Moloko, Trent Reznor, Rammstein, Massive Attack and many others. Well-preserved devices cost between 1000-1500 dollars, which makes the purchase fairly uneconomic – for the price you can buy a lot of modern analogs.
Characteristics of the Moog Prodigy synthesizer:
- monophonic
- synthesis type – analog, subtractive:
- 2x VCO – waveforms: saw, triangle, rectangle with sync,
- 1x VCF – low-pass, -24 dB / oct, self-oscillating,
- 1x LFO – waveforms: triangle, rectangle,
- 2x ADS (R) – amplitude and filter envelope,
- power supply – 220 VAC,
- dimensions and weight – 690 x 480 mm, 16 kg.
Presuppositions
It’s hard to find heavely modified Moog Prodigy, from my research I can say, my instrument is among the top (if not the best). My design was inspired by by the possibilities of: Moog Micromoog, Source, Rogue, the newer – Sub Phatty and Minitaur. Modifications include:
- the extension of the the tonal range of both oscillator (one octave) – OSC1 reaches approx. 40 Hz, OSC2 approx. 80 Hz.
- the extension of the LFO frequency range,
- the addition of PWM to square waveform,
- the addition of a white noise generator,
- the addition of the suboscillator (-1 or -2 octave) for VCO 2 (reaches up to ~ 20 Hz for -2 octave setting),
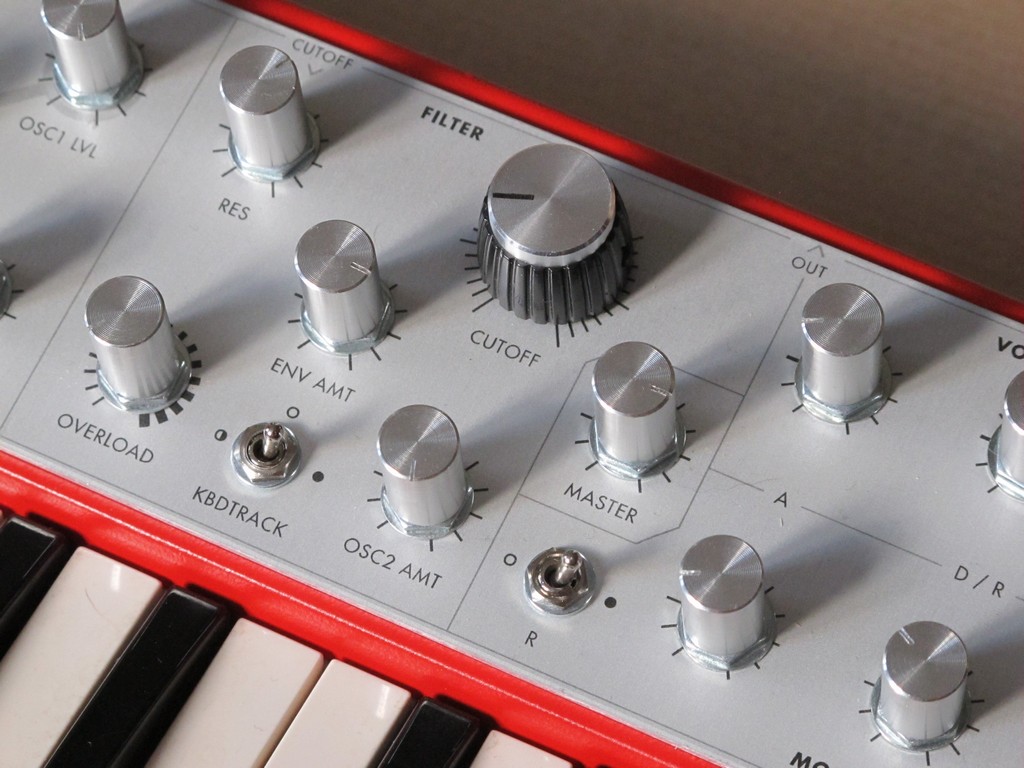
- the addition of the filter overload circuit (sounds badass in conjunction with the amplitude envelope, like a hungry bears “ROOAARRR”),
- the number of LFO and envelope generators modulation targets was increased,
- OSC2 can control the filter cutoff frequency,
- the addition of a V-trigger to S-trigger converter,
- modulation wheel was replaced by seperated potentiometers, one for each modulation target.
Rejected modifications (mainly due to the lack of space on the front panel):
- synchronization of the OSC2 to LFO,
- the possibility of frequency modulation of OSC1 from envelope generator,
- external CV input for PWM for OSC2.
- cross-modulation of the oscillators,
- external synchronization input OSC2,
- second LFO, S&H circuit,
- “drone switch” to bypass VCA loudness envelope,
- seperated pot for each OSC waveform level – takes too much space on front panel,
- arpeggiator and sequencer (implemented in matrix keyboard handling circuit).
The construction of the device
Housing
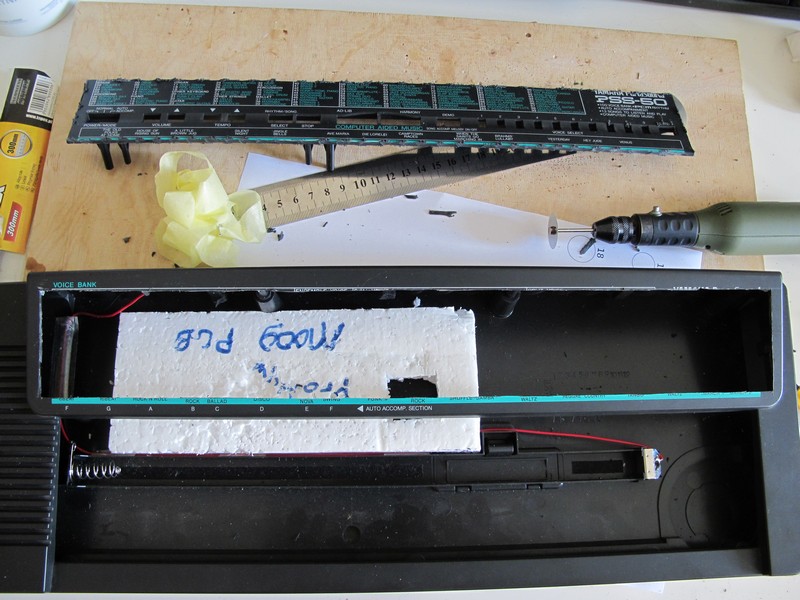
As I mentioned, donor of the housing was Yamaha PSS-50. First, I got rid of all the electronics and the front panel buttons. The remains of printing was cleared with sandpaper, unnecessary holes were filled with putty, I removed some of the inside mounting to get more space for PCBs. Housing was degreased and painted with red acrylic and protected with transparent semi-gloss paint.
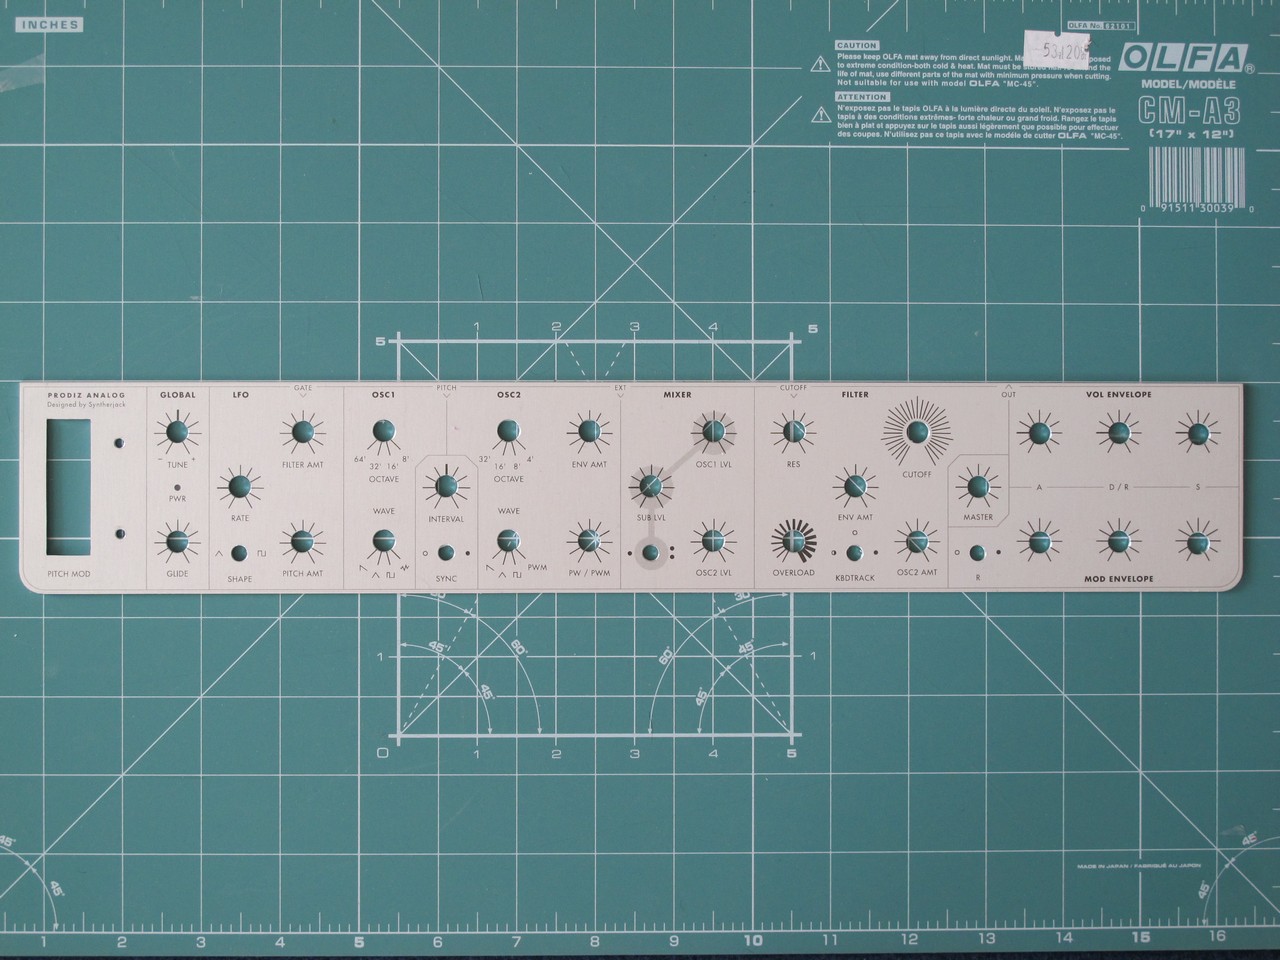
The front panel was made of 2 mm anodized aluminum sheet, printed water decals were protected with transparent coating and conserved at high temperature. The design process was painful. First, I’ve tested the optimal pot placement due to ergonomy principles for electronic devices and checked the potental jacks positions. I wish more synth designers would do this… in some synths you can jam finger between knobs 🙂
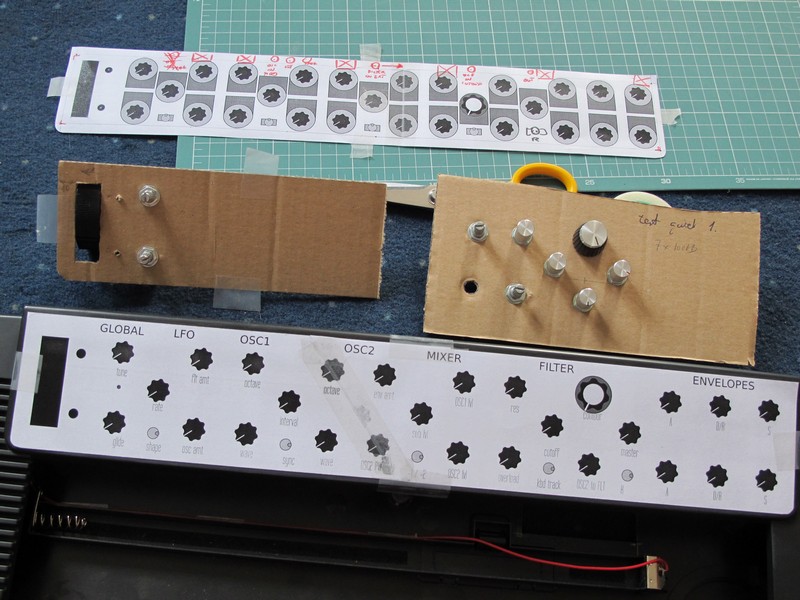
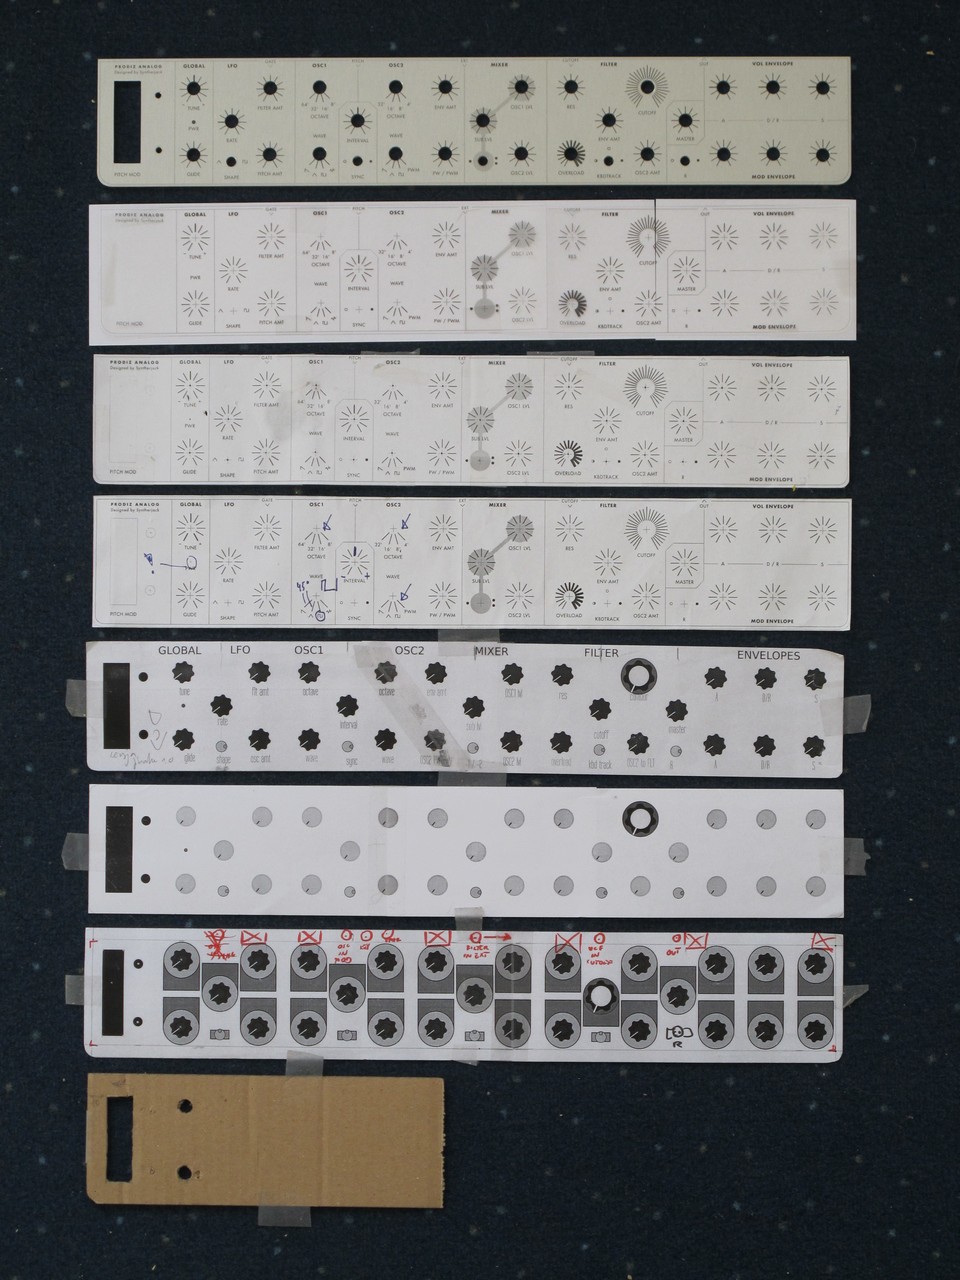
The design was patterned on the Moog Sub Phatty front panel graphics. In relation to other synthesizers I have tried to improve the coherence and consistency of descriptions. My girlfriend (a graphic designer) spend a lot of time to make my ideas come true.
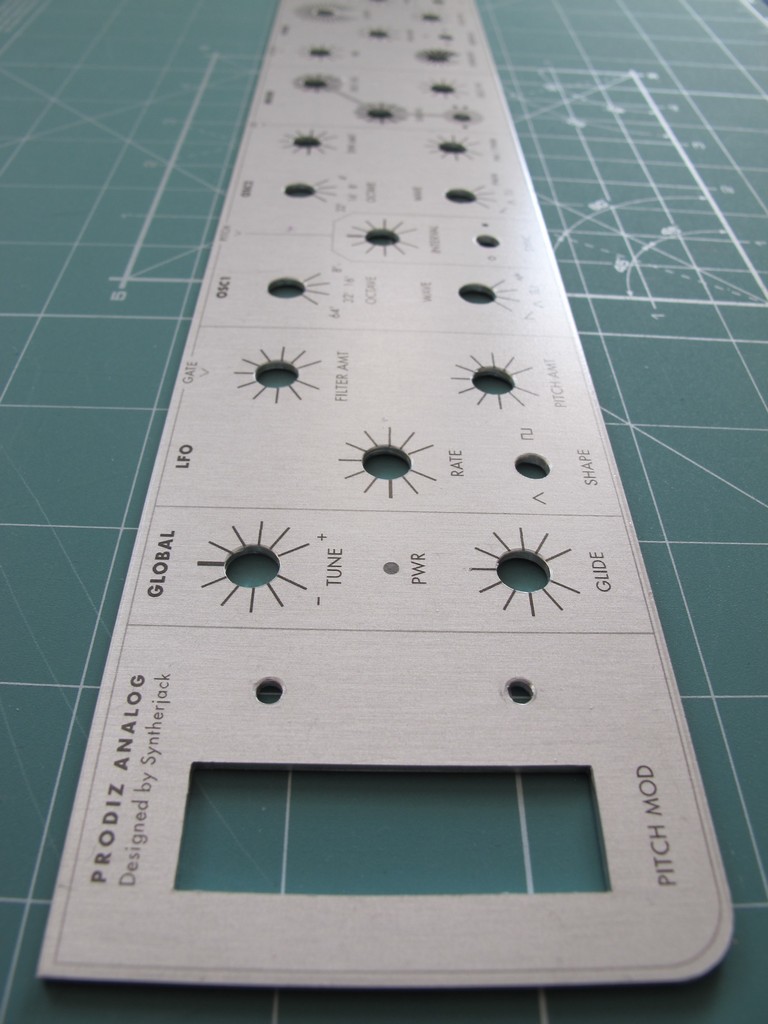
Complicated and forced shape of of the housing was primarly responsible for the construction period (about 10 months). Size of the largest PCB depend on the size of the housing internal dimentions and on the design of the front panel. Panel design was dependent on the synthesizer capabilities, on which depend the size of the PCB (the more options, the more complicated the circuit). To test all possible build options, I built a fully working prototype synthesizer. I wanted to “sqeeze” as much as possible inside and I think I lost the actual point of this build. It would be much easier to do the enclosure from scratch or just build an eurorack module, but I wanted to get a “cheap effect of the ’80s” combined with “a wolf in sheep’s clothing.” I think I got too seriously (I built a special painting chamber on the balcony, my girlfriend almost killed me) and the project planned for two months took 10. I have also updated the schematics, without errors and 4 additional caps (on original Prodigy PCB there are more caps then on original schematics!) and obsolete parts replaced with modern ones (except CA3046).
Sound system
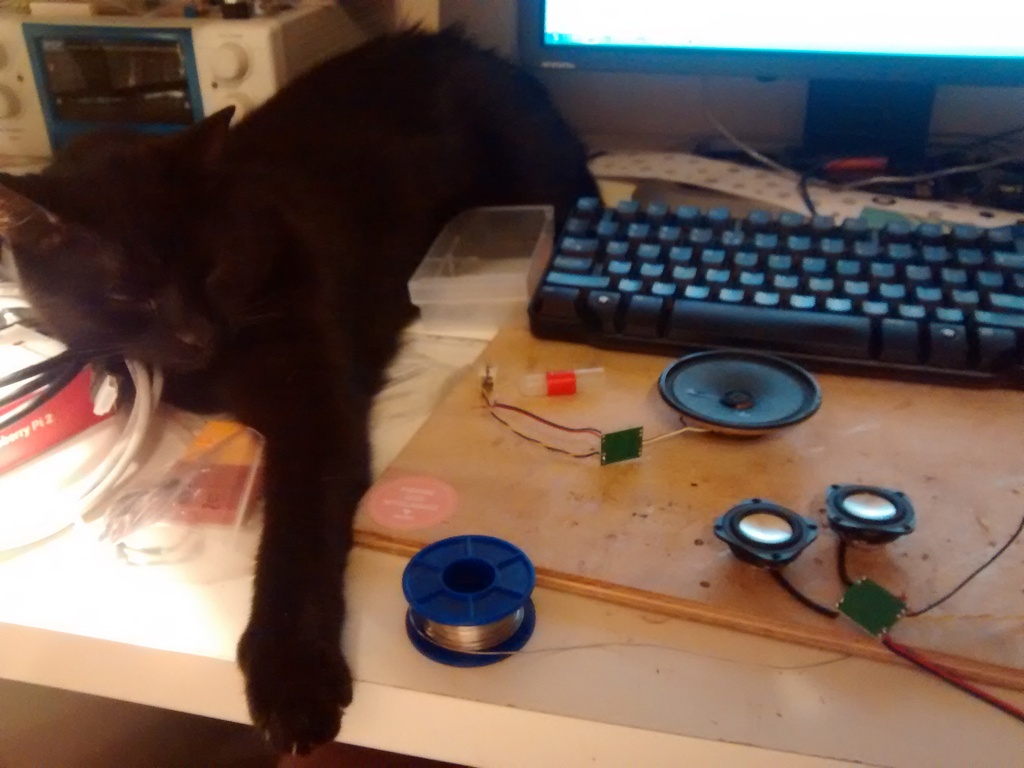
Original Yamaha used a 68 mm, 0.8 W loudspeaker. I decided to replace it with something more powerful – unfortunately, finding a matching speaker with a similar (same or less) diameter was impossible – the original speaker was very shallow and the case was designed especially for it. I tried to use two 25 mm Veco speakers (on paper their specs looked great), but finally sounded worse than one Yamaha speaker. In the end I used the original speaker powered digital amplifier 3 W.
Electronics
The system consists of 4 main elements:
- synthesizers sound module (the largest PCB),
- matrix keyboard handling module,
- digital amplifier module,
- power supply module – 2 DC/DC converters (+5 V and +/- 12 V).
Sound module
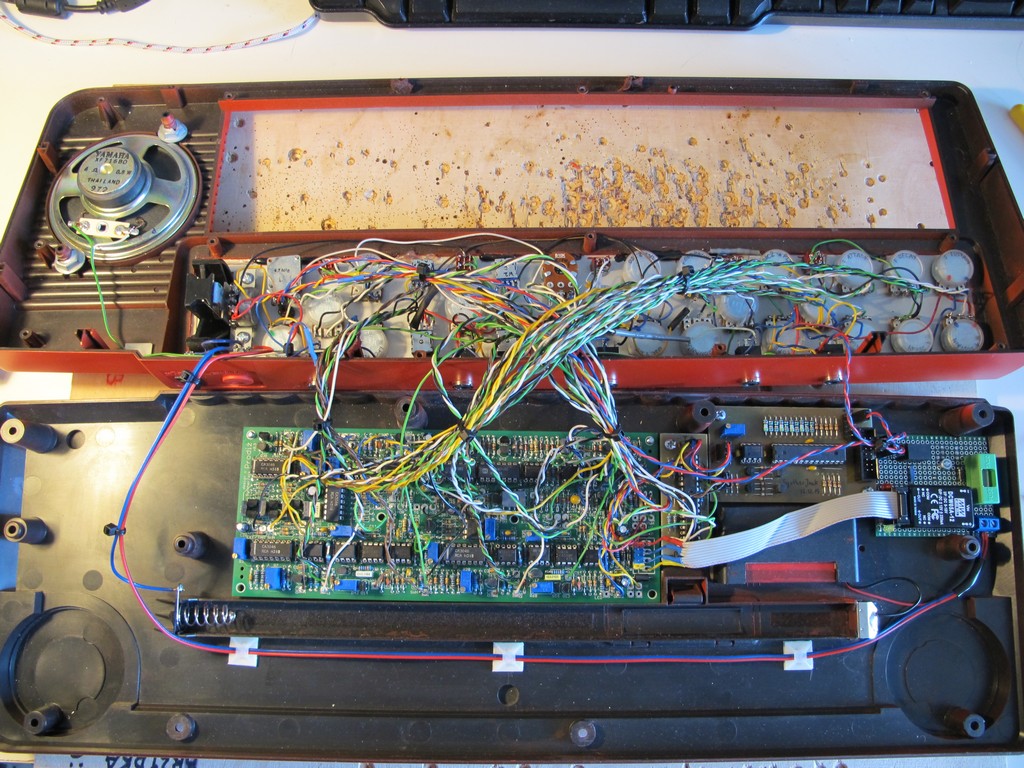
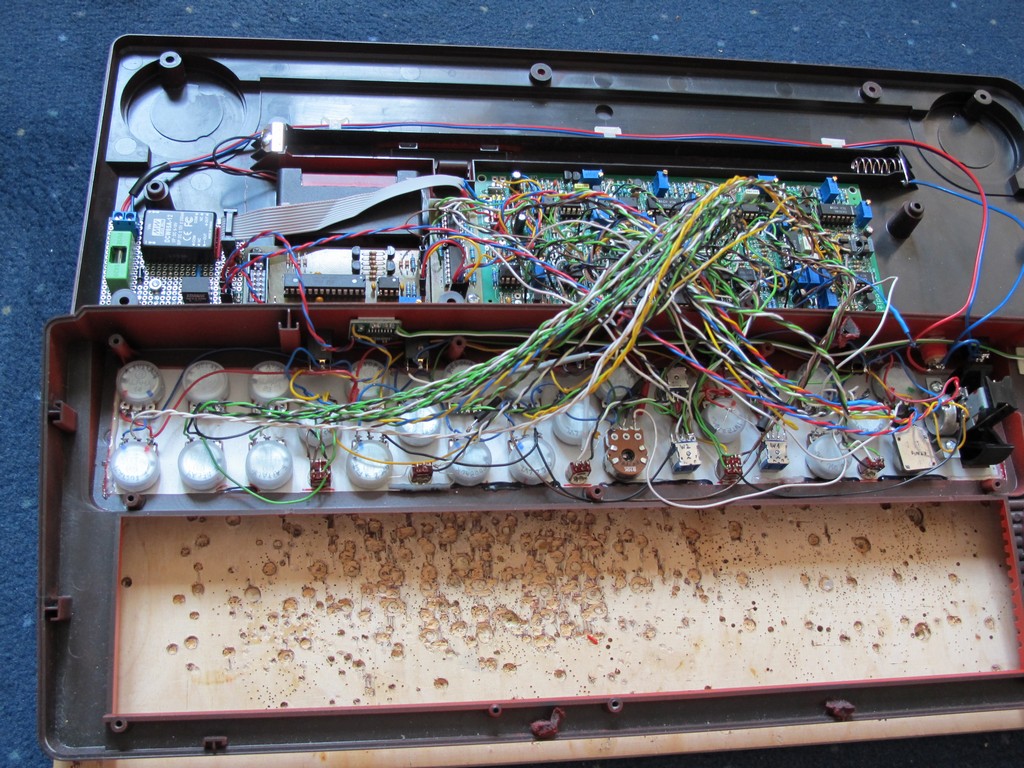
The schematics were scooped from Moog Prodigy service manual for 336BX version with serial number above 4160. The maximum dimensions of the PCB could be 80 x 200 mm, I could not, therefore, afford to excessive extravagance. Original Moog PCB housed also potentiometers and switches, and its width was about 500 mm – hence the decision to combine PCB with potentiometers using wires. Creating a separate PCB with the switches and potentiometers would be a waste of time and in this case I would gain very littlle (this device is a one-time job and it is more easy to make mods with wired interface).
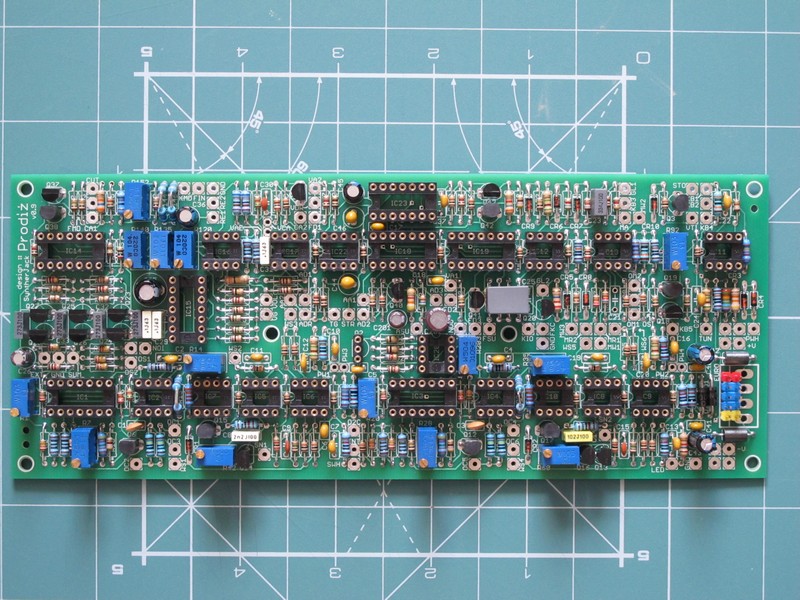
All potentiometers are Alpha Taiwan 16 mm with dust cover, except for the linear 5M (I managed to buy an NOS with the axis of 4 mm). I was able to obtain the pitch bend wheel from a friend. To connect the panel to the PCB I have spent approx. 30-35 meters of cable.
The matrix keyboard handling circuit
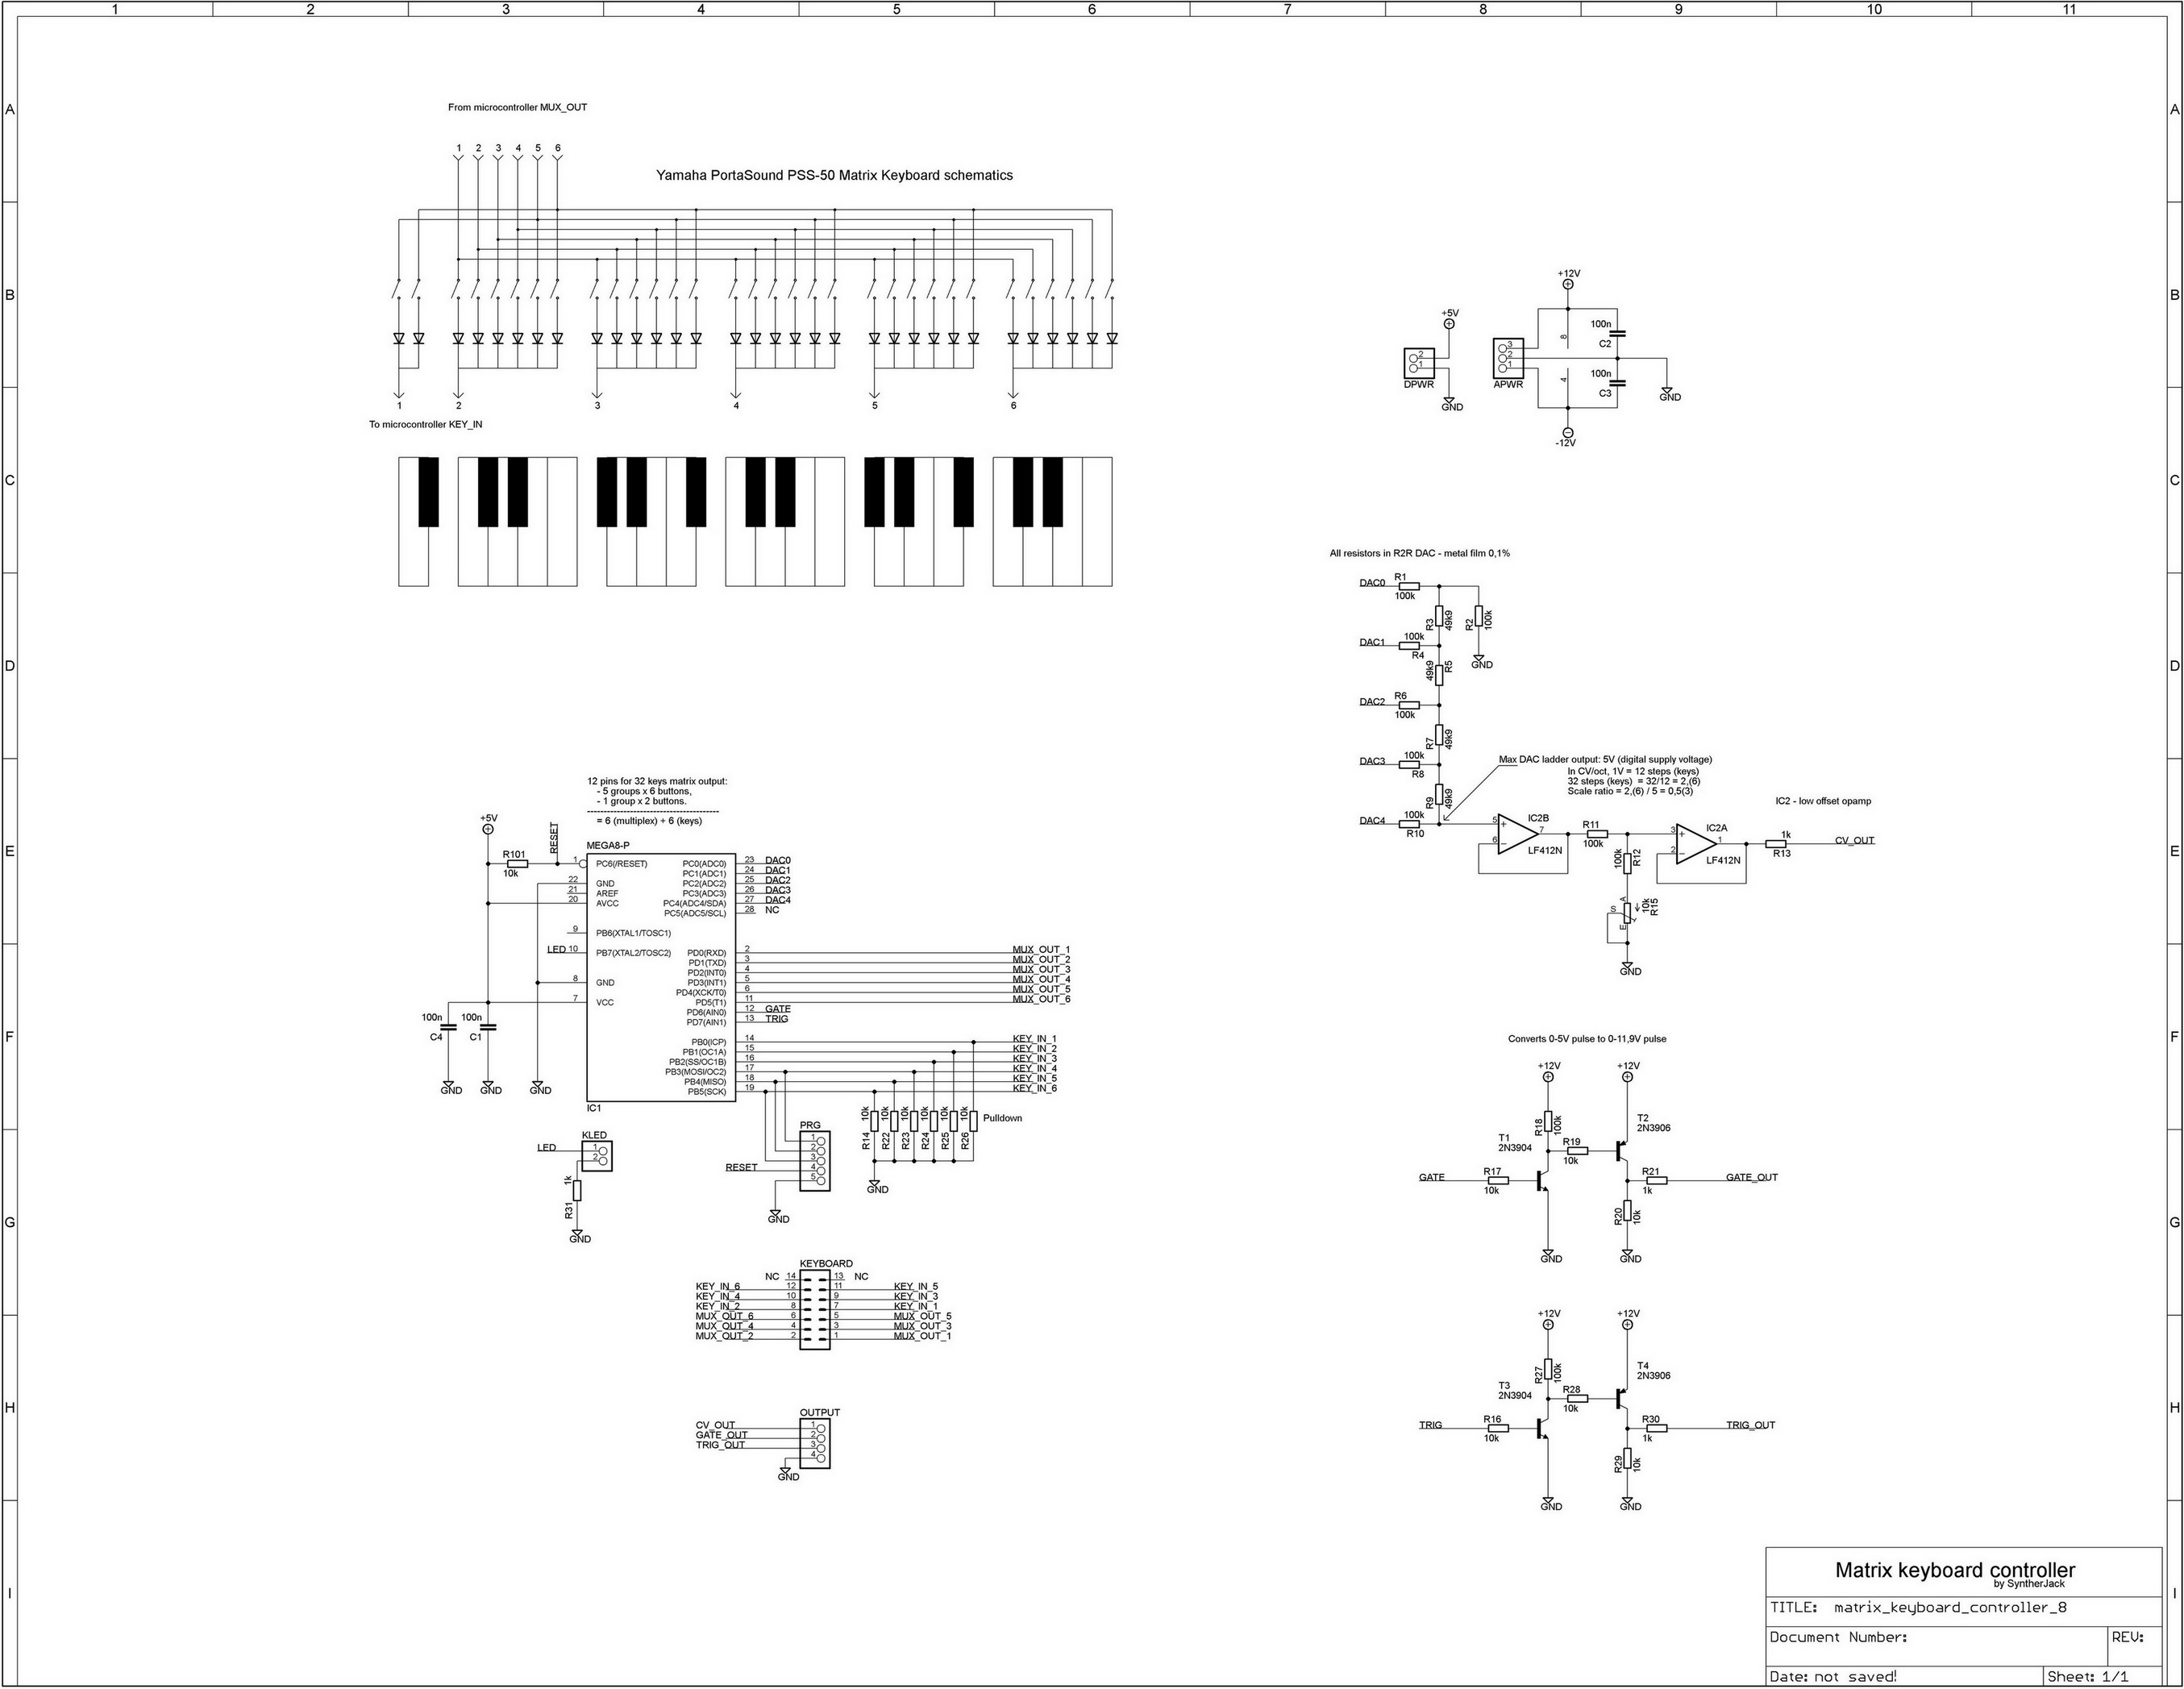
Its only task is to read which key on the keyboard was pressed and generate a control voltage for oscillators pitch and the trigger for envelope generators. The device was implemented using and Atmega8A microcontroller with a 5-bit D/A converter based on R2R 0.1% resistor ladder of – 5 bits of resolution are quite sufficient here, since only one of 32 voltages form 0-2,666 range is generated. The response time after key press is 1 ms and the achieved accuracy of CV voltage corresponds to +/- 2 cents.
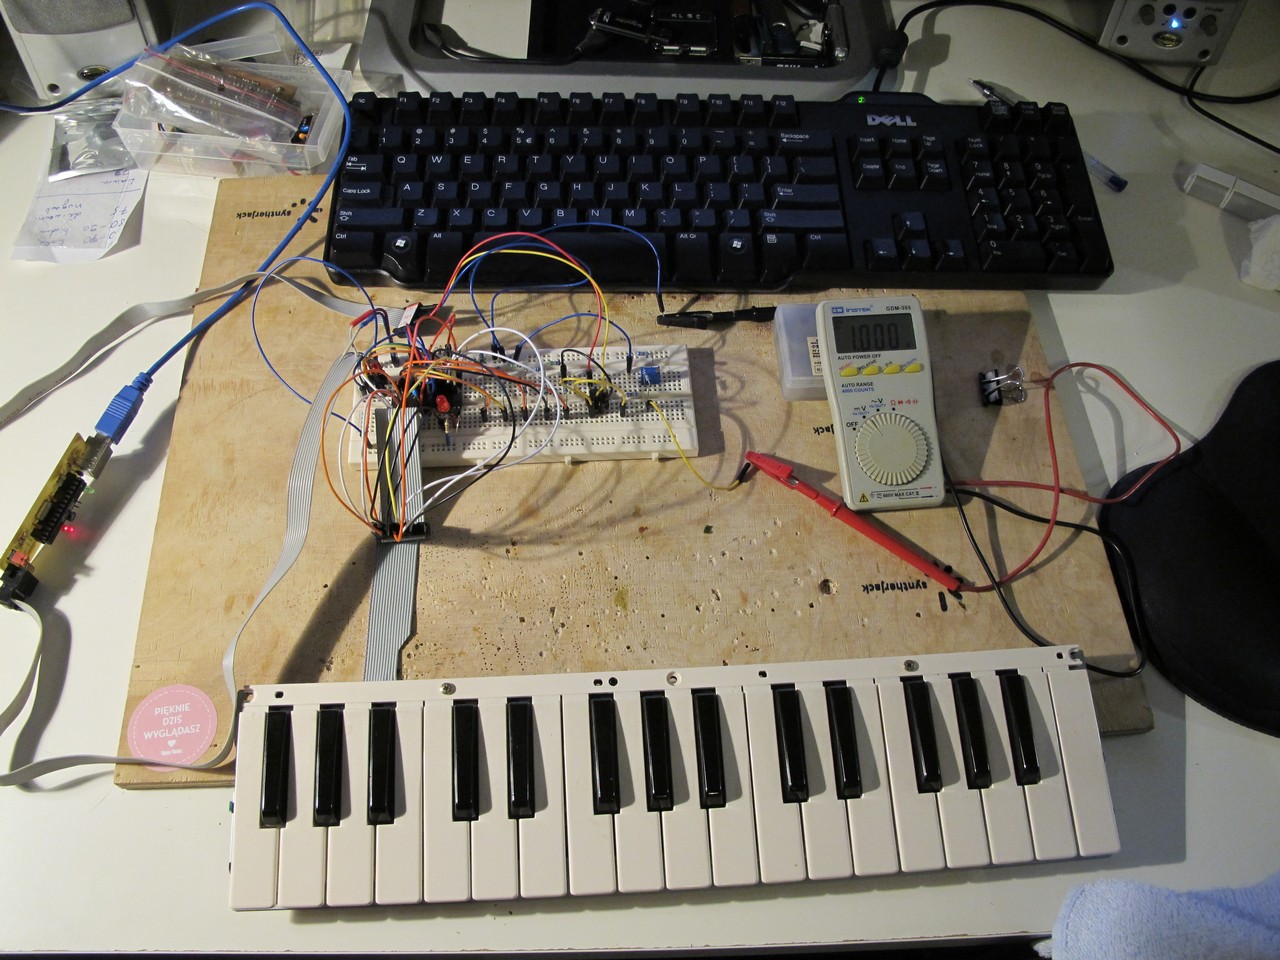
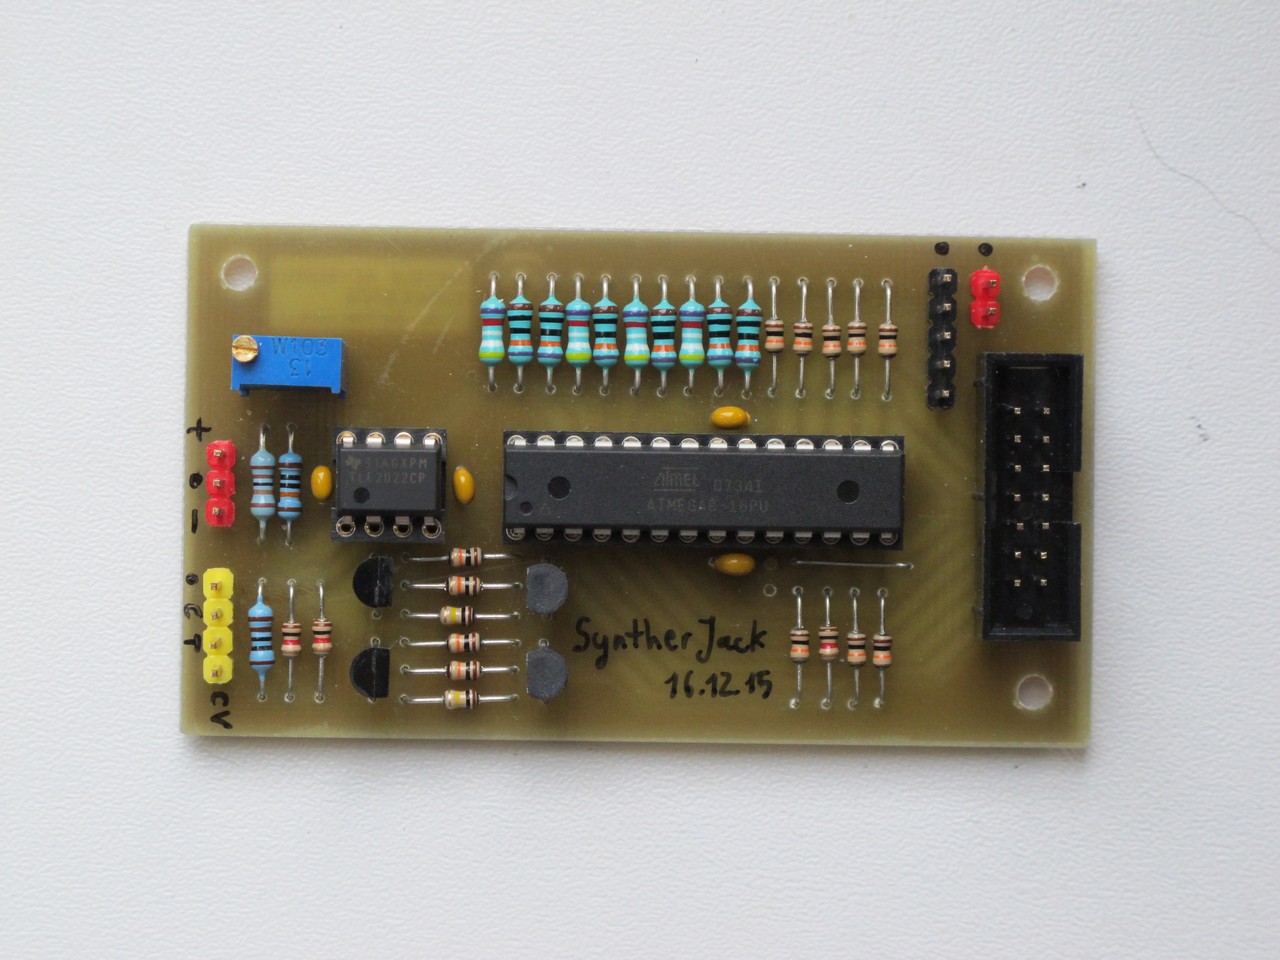
Circuit is very simple – matrix keyboard is connected directly to the uC pins. Scanning is a little tricky due to alone 2-key section. Microcontroller outputs 5 – bit data, which is converted via R2R resistor ladded to voltage. A trimmer in the output stage lets you scale max. voltage to 2.666 V. I used ladder not because I didn’t know how to use PWM, but because this way I got very short delay between key press and fixed generated CV voltage. Two similar transistor circuits convert 5 V output signal to near 12 V trigger.
Digital amplifier
A cheap amplifier module 2x 3, based on PAM8403 IC, bougth on Aliexpress. It was placed close to the output jack (to get short signal path, and it was the only free space). It drives 0.8 W Yamaha speaker, the power consumption does not exceed 30 mA at a moderate volume. The amplifier is cut off after the output jack is plugged. You can see 2 of those on the photo above (the one with cat) – 2 small PCBs near the speaker.
Power supply module
It generates voltages: +5 V (for digital circuits) and +/- 12 V (for analog circuits). Two DC/DC converters were used: Traco Power + 5V, 1A (TSR 0.5 type) and Mean Well +/- 12 V, 2x 230 mA (DCW05 type). The original Moog used linear regulators (7812, 7912), and because it was very important to me to make the device battery operated, I preferred to use the ready-made converters. Supply module voltage can be in the 9 – 18 V range, the current consumption is 450 mA at +12 V supply (oscillators heating circuit itself takes approx. 1.5 W). The power supply circuit was placed away from the audio generator section. Synthesizer can use 8 AA batteries or 12V DC adapter. Battery life is approx. 4-5 hours – really not bad for a portable analog synthesizer.
Summary
Does that make sense?
Financial – rather average. The amount of work was so great that at that time have I would have earned for the the original Prodigy. I would not have, however, heart to modify it then (drill an enclosure and cut PCB tracks) – I really wanted to make a lot of mods to it, because I believe that the potential of this synthesizer was wasted intentionally.
Cost estimate
- Yamaha PSS-50 – 5 euro
- Paints – 10 euro
- Front panel, water decal – 8 euro
- Pots – 17 euro
- Rotary switches – 15 euro
- Knobs – 12 euro
- Toggle switches – 6 euro
- Sockets (Jack, supply) – 5 euro
- DC converters – 20 euro
- PCBs – 50 euro
- Resistors, caps, ICs – 40 – 50 euro
- Wires (30 – 35 meters) – 6 euro
- Misc – 6 euro
- Pitch bend wheel – 2 beers
- Shipping – 10 euro
Total: around 220 euro
Final specs of “Prodiż” synthesizer:
- monophonic,
- synthesis type – analog, substractive:
- 2x VCOs: VCO1 – saw, triangle, squarewave, noise; VCO2: saw, triangle, squarewave with PWM, sync
- 1x suboscillator – squarewave, -1 or -2 octave,
- 1x VCF – lowpass, -24 dB, self-oscilating, transistor ladder type, with overload,
- 1x LFO – triangle and squarewave,
- 2x ADS(R) – amplitude and filter envelope,
- build-in 0.8 W Yamaha speaker with digital 3 W amplifier,
- power supply: 230 VAC or 8x AA batteries,
- dimentions and weight: 490 x 170 mm, 1.8 kg (without batteries).
And how it looks?
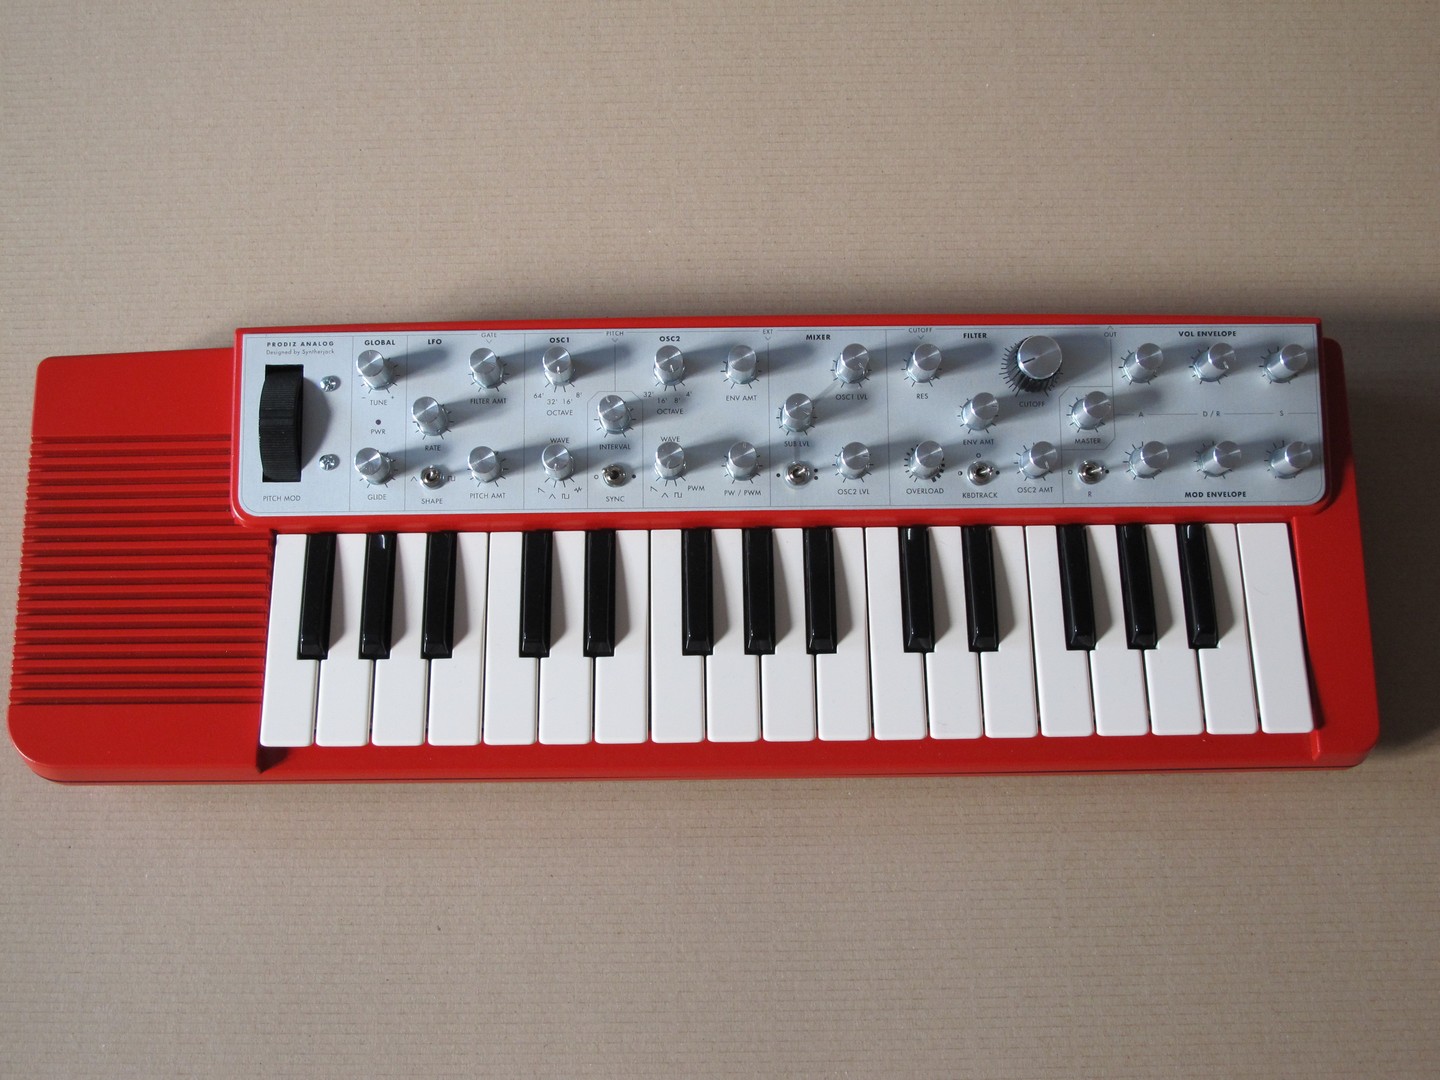

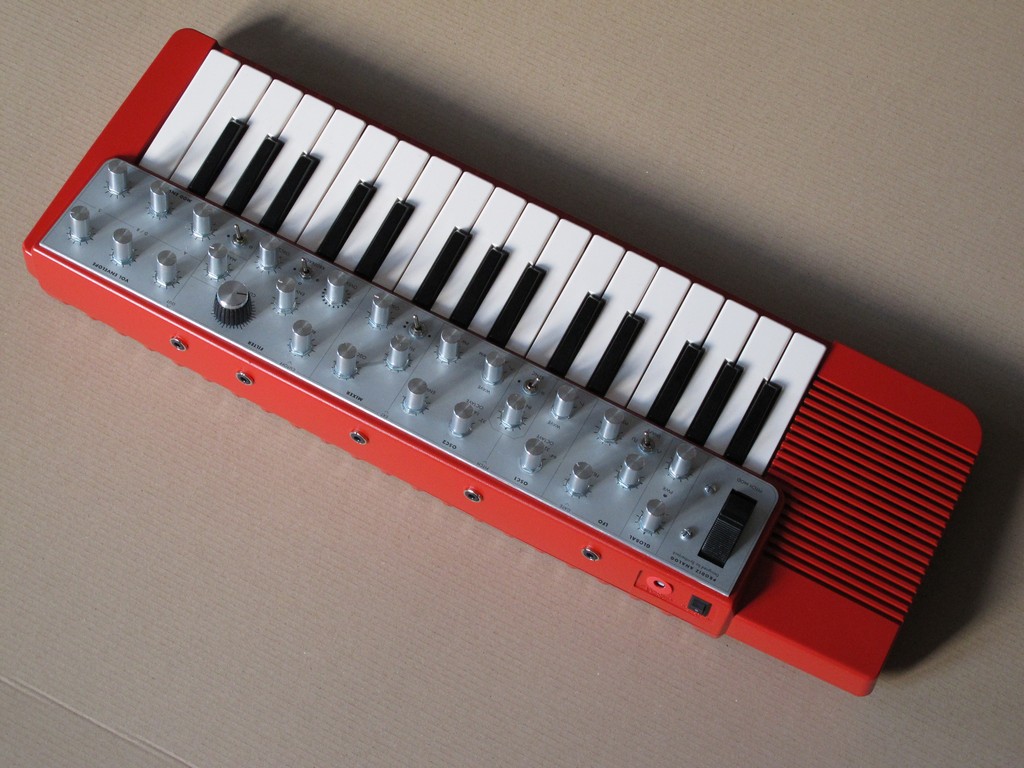
And the sound?
Final remarks after few months of use:
- second LFO is a must – many modulation targets and only one LFO do not work together,
- S&H would be nice, noise generator is already there,
- with eurorack version I will get rid of pitch bend wheel,
- 0.8 W speaker is really bad 🙂
I will make a eurorack version one day (I am 99% shure I want to do it), and publish full schematics then. Hope you like my design 🙂
Cheers
Jack
Really cool project! I actually find this standalone instrument approach more inspiring than euro rack.
Cheers
I wanted to make one as eurorack… No I have an excuse not to do so 🙂
HI! the synth is perfect. congratulations!
is there a pcb you could share?
I will share it one day, right now its a mess and needs a lot of additional info :/
Bardzo ciekawa konstrukcja !
Ja jestem na etapie poznawania teorii syntetyzowania dźwięku
i jest to dla mnie zachęta do kontynuowania tematu.
pozdr
Kontynuuj, syntezatory to najlepsze hobby na świecie! Nawet przy mikroskopijnym budżecie można coś ciekawego wykręcić 🙂
hi,
as of today, do you sell pcb for prodiz (prodigy clone) synth? or have a file like *.brd?
thx
and no, i am no robot
Hello, I do not sell Prodiz PCBs. I have .brd file, but with some errors (if I remember correctly).
Cheers!
hilarious project!
i’m not asking for this light-heartidly – can you send me the .brd file (for the prodiz pcb)?
nevermind the errors, i can read and understand the schematics.
i hope your girlfriend loves you as much as you love synths.
greetings from munich, bavaria, germany,
thomas koller
Salut super projet serais t il possible d avoir tes doc pcb etc s il te plait merci d avance
Bonjour,
je suis en train de cloner le Prodigy,
et tes modifications ont l’air bien sympa
je n’ai pas le schéma de sync VCO2 to LFO,
fM mod
OSC Mod CutOff
mais, je sui en train de faire modifier le LFO:
sync de phase et ajout wave saw
salut
Alex
Hey I want to make this, is the pcb available yet it would be great if it was