
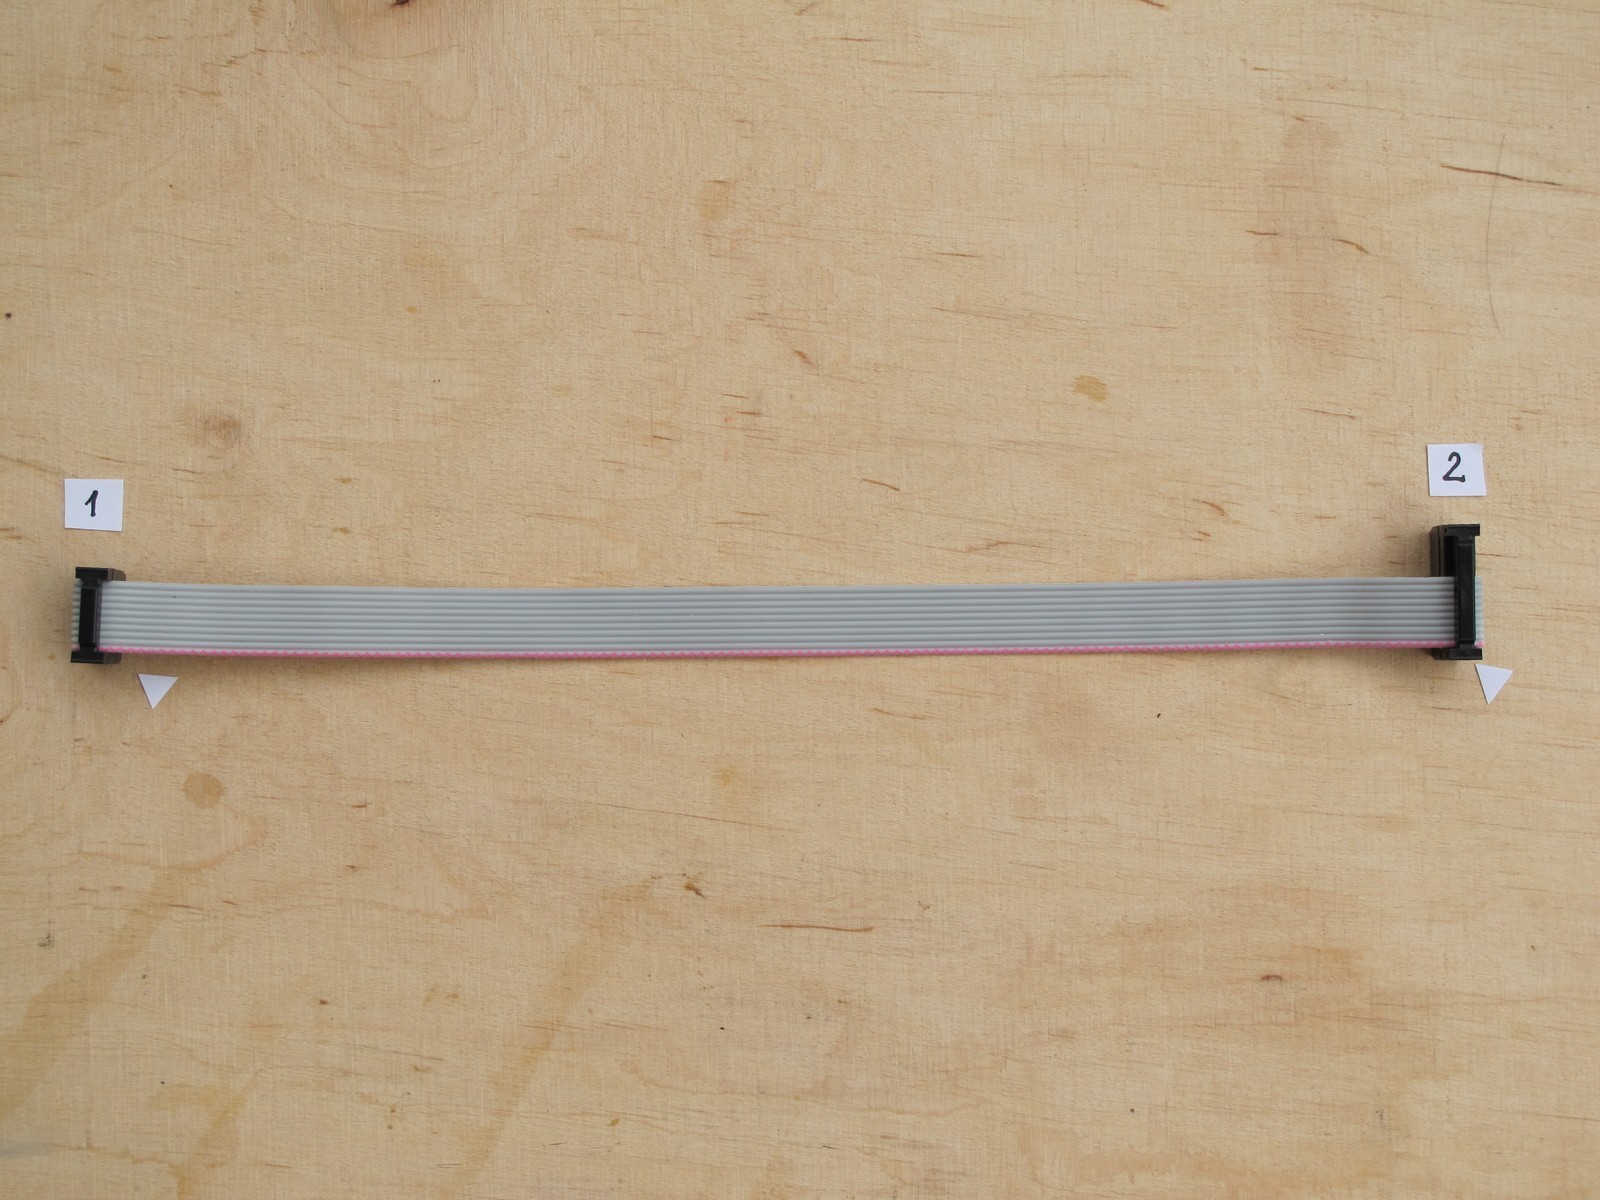
If you are into eurorack modular synths, this one is a must. Every device works better with power supplied. If you buy eurorack power supply ribbon cables for your own, the cost varies from 2 to 6 dollars. They are very easy to make, so… hammertime! (…and yes, I know the ribbon cable on the photo above is in the opposite direction 🙂 )
The materials and tools
To make one, standard 250 mm cable we will need:
- ~270 mm of ribbon cable (10 or more cores (wires), 28 AWG (0,09 mm2); 1,27 mm raster), about 20 mm more then you need, around 0,5$ per meter,
- 16 pin IDC connector (plug; IDC; female; PIN:10; IDC; for ribbon cable; 1.27 mm; contact pitch: 2,54 mm), around ~0,1$ for Connfly,
- 10 pin IDC connector (plug; IDC; female; PIN:16; IDC; for ribbon cable; 1.27 mm; contact pitch: 2,54 mm), around ~0,2$ for Connfly,
- sharp scissors and hammer (simplest multimeter for testing would be also great).
Preparations
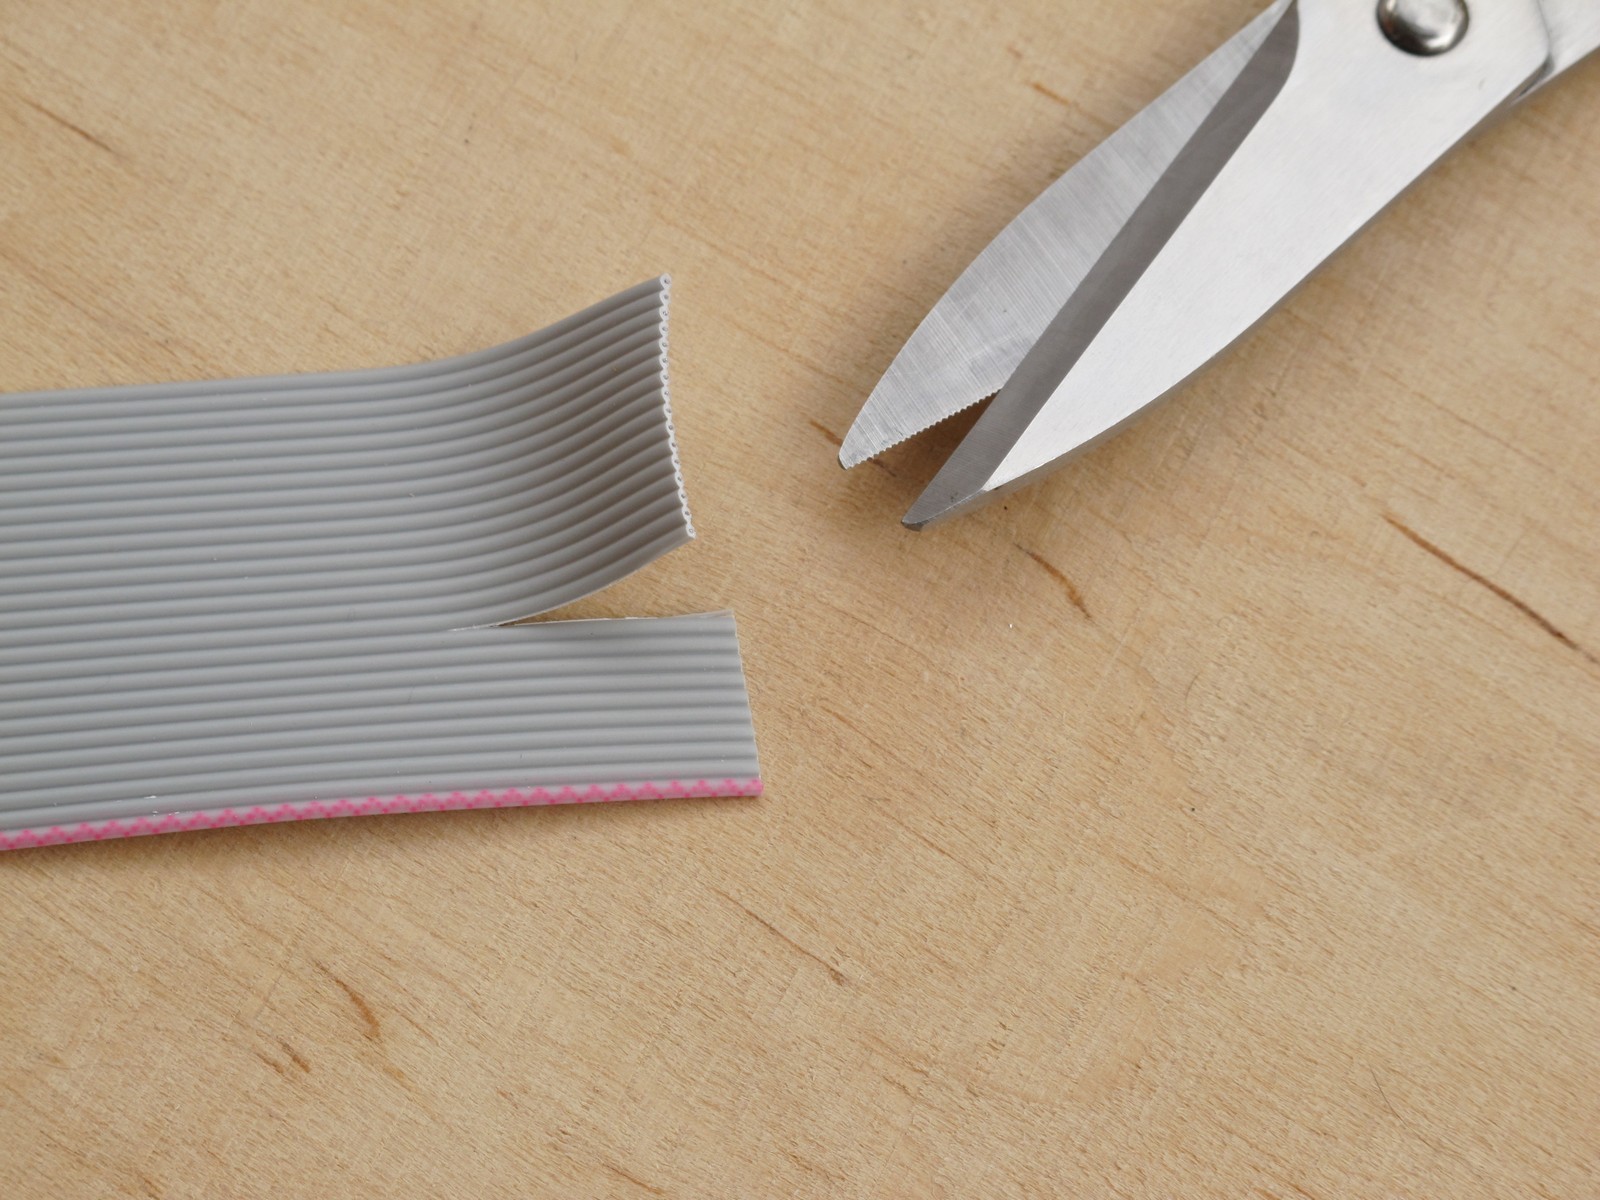
First of all, lets cut the cable – simple, sharp scissors will do the work, just cut it straight. For 250 mm length cut about 270 mm – 20 mm more. Of course you can make the length you need, for example short 150 mm for skiff type case (then cut 170 mm of cable). Finally seperate 10 cores with the red stripe if you have wider ribbon.
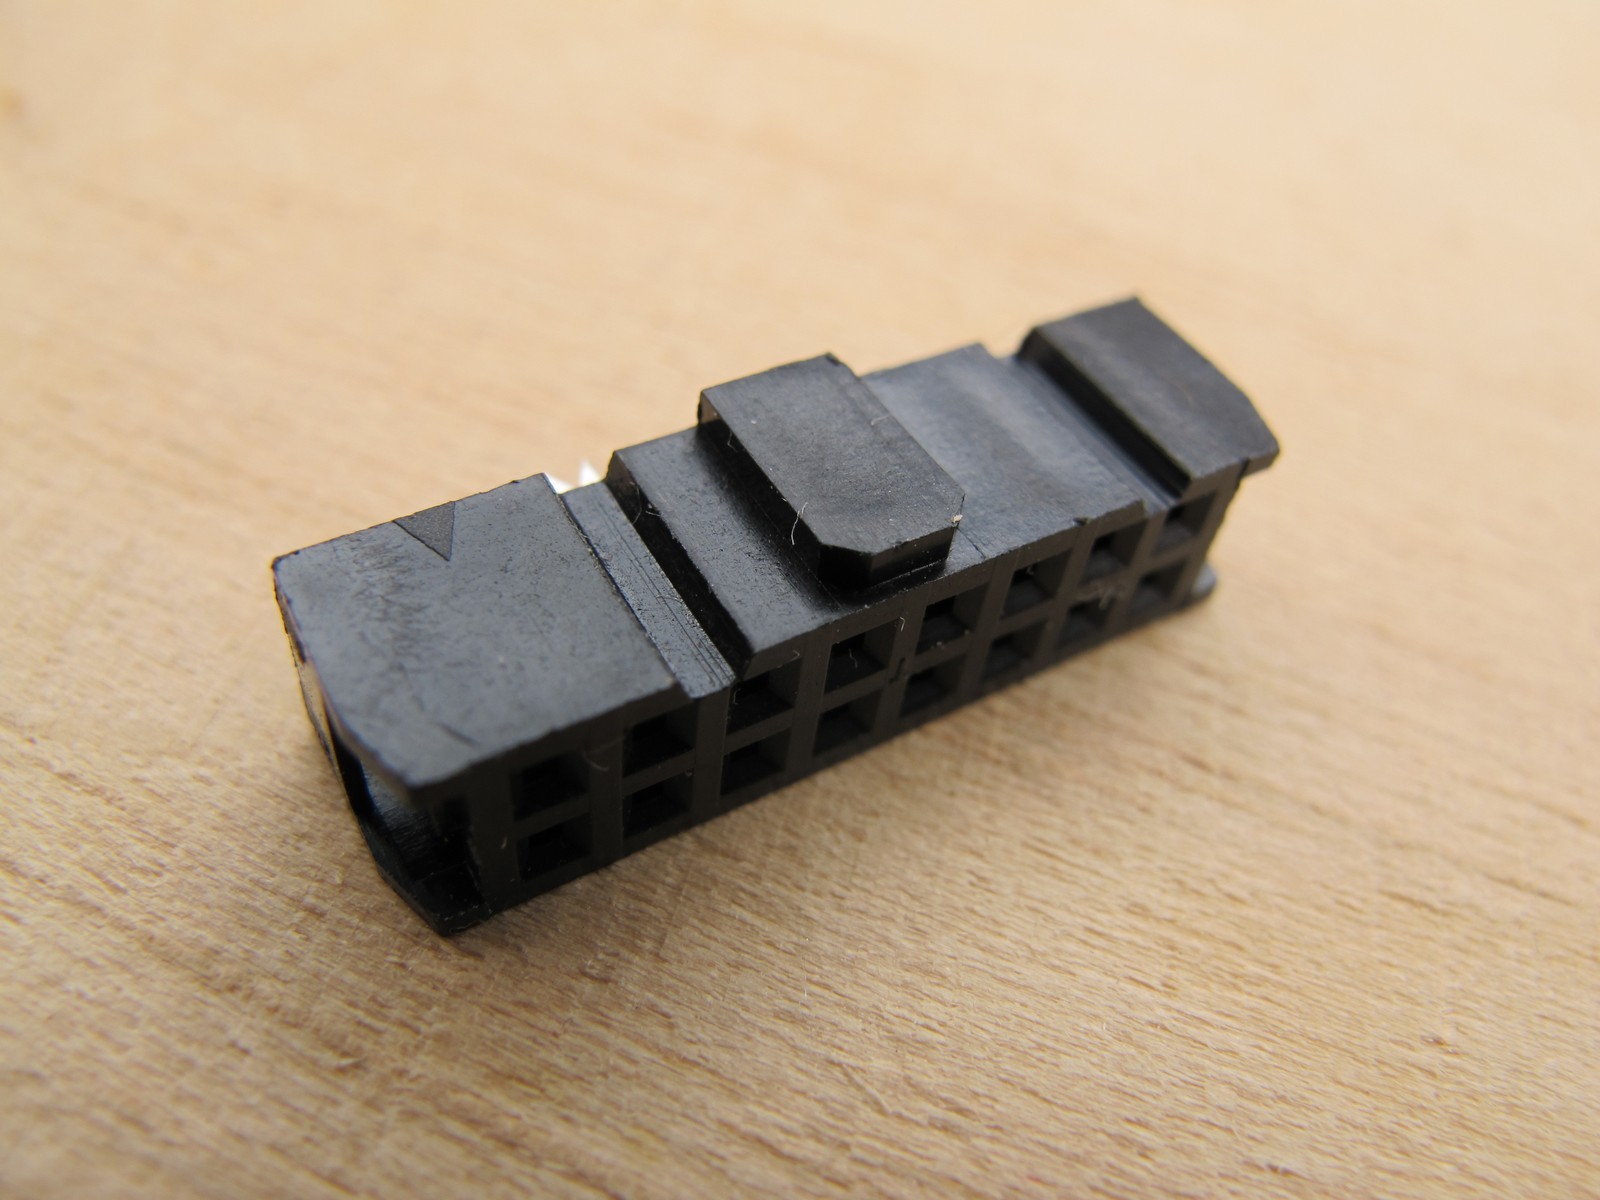
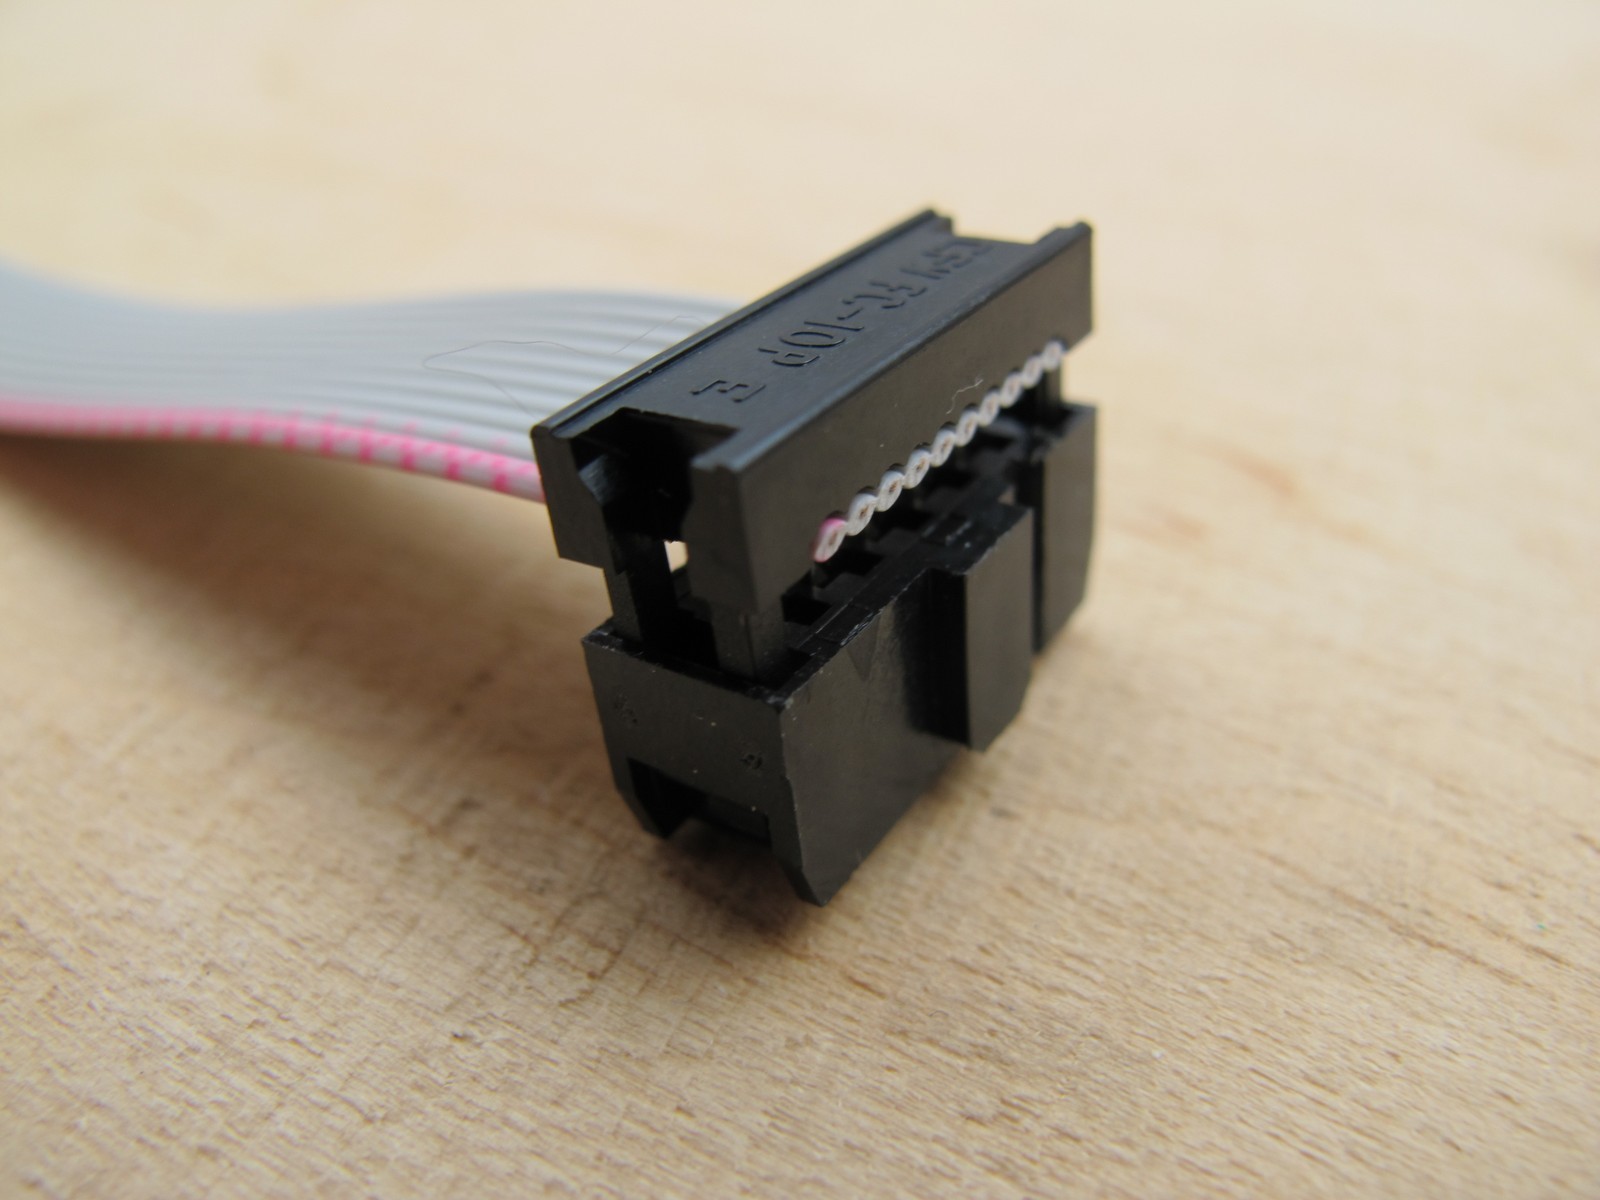
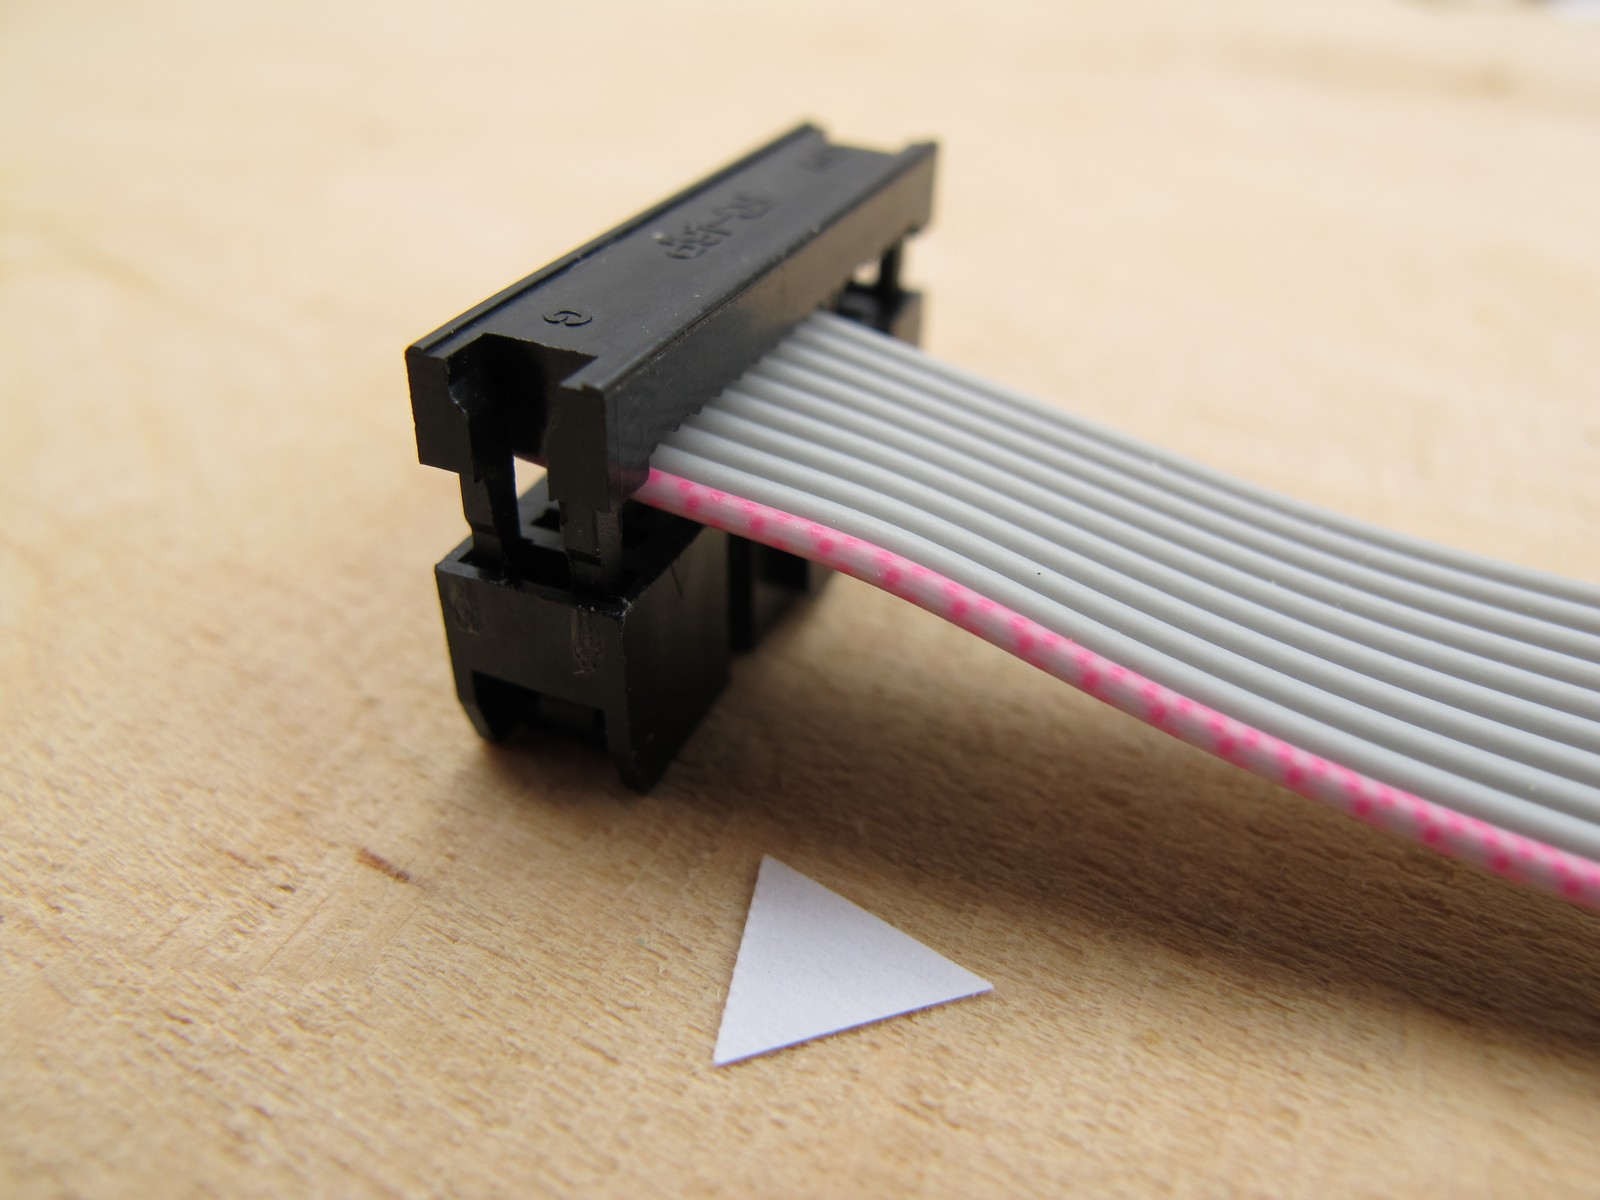
Almost all IDC connectors have 3 parts: bottom (with contacts) [1], top (just a piece of plastic with ribbon cable outline) [2] and a cable holder “frame” [3]. It happened to me once that the “holder” was sold separately, but seems like rather uncommon.
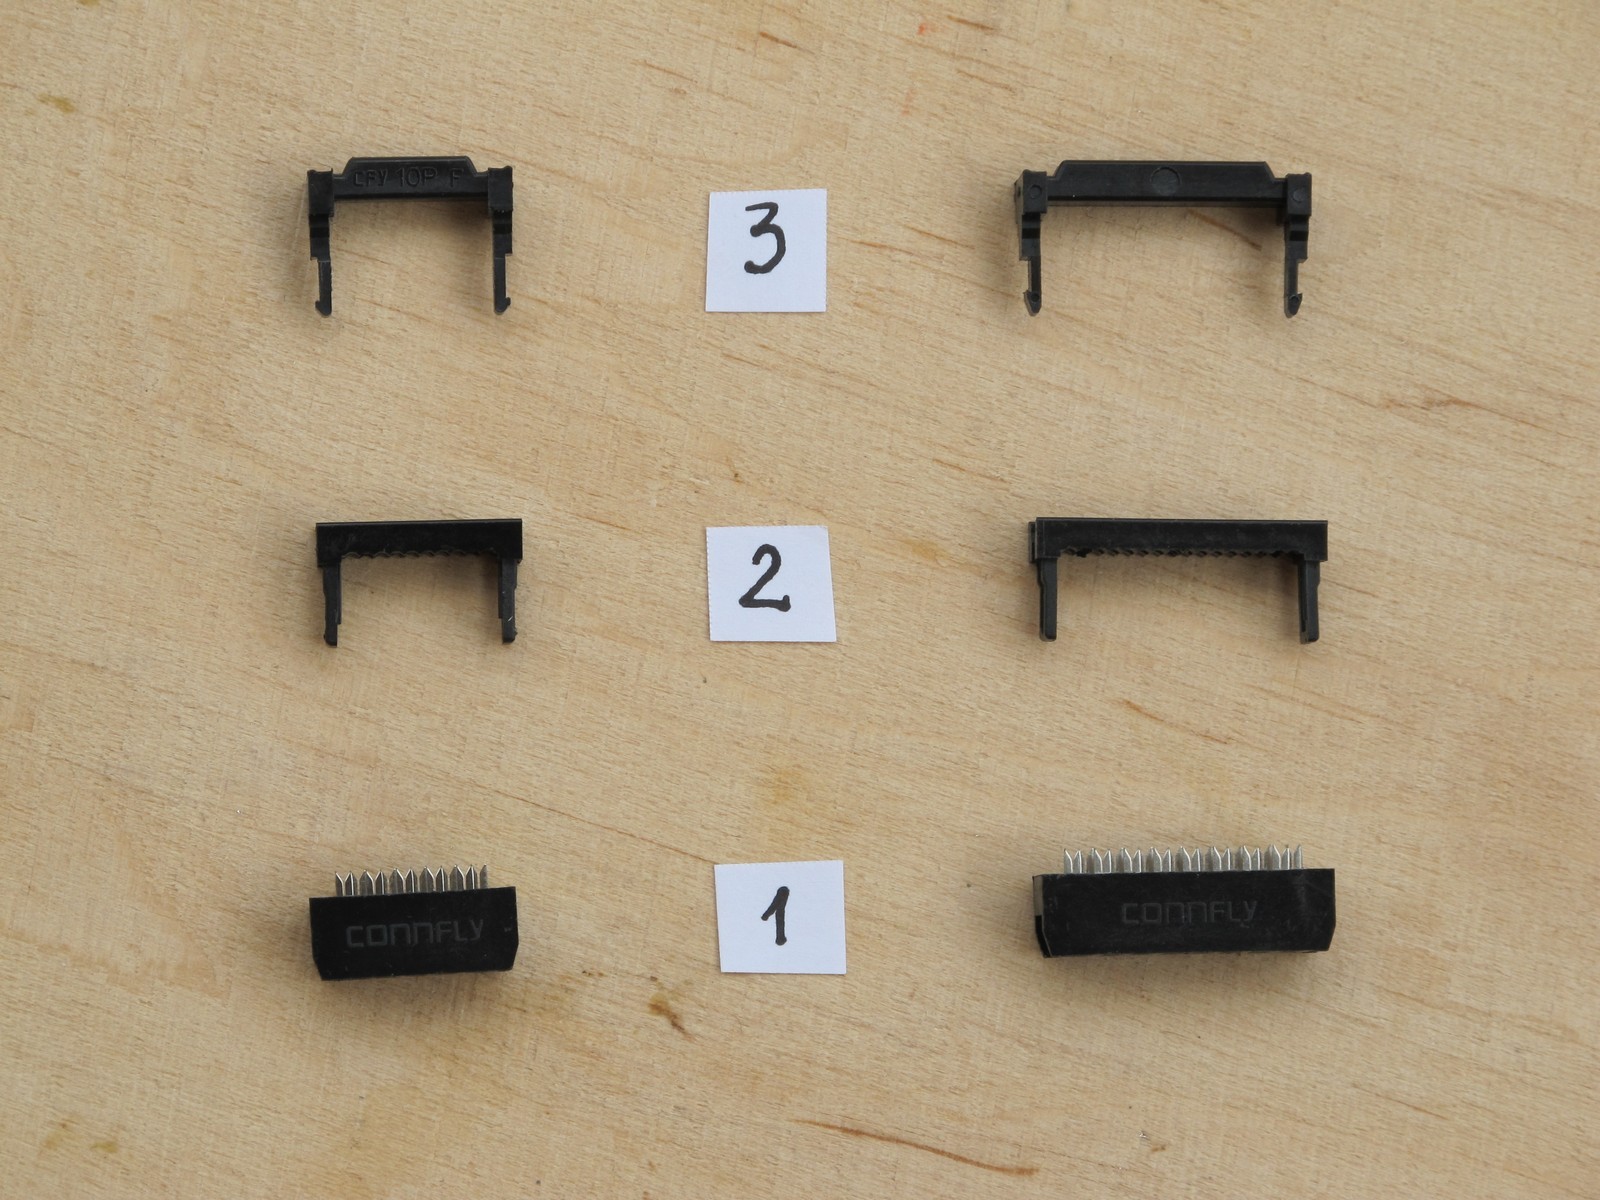
Look carefully. Somewhere on the [1] part you should notice a small triangle or arrow – it tells you where red stripe should go. You can consider it also as PIN1 of the plug.
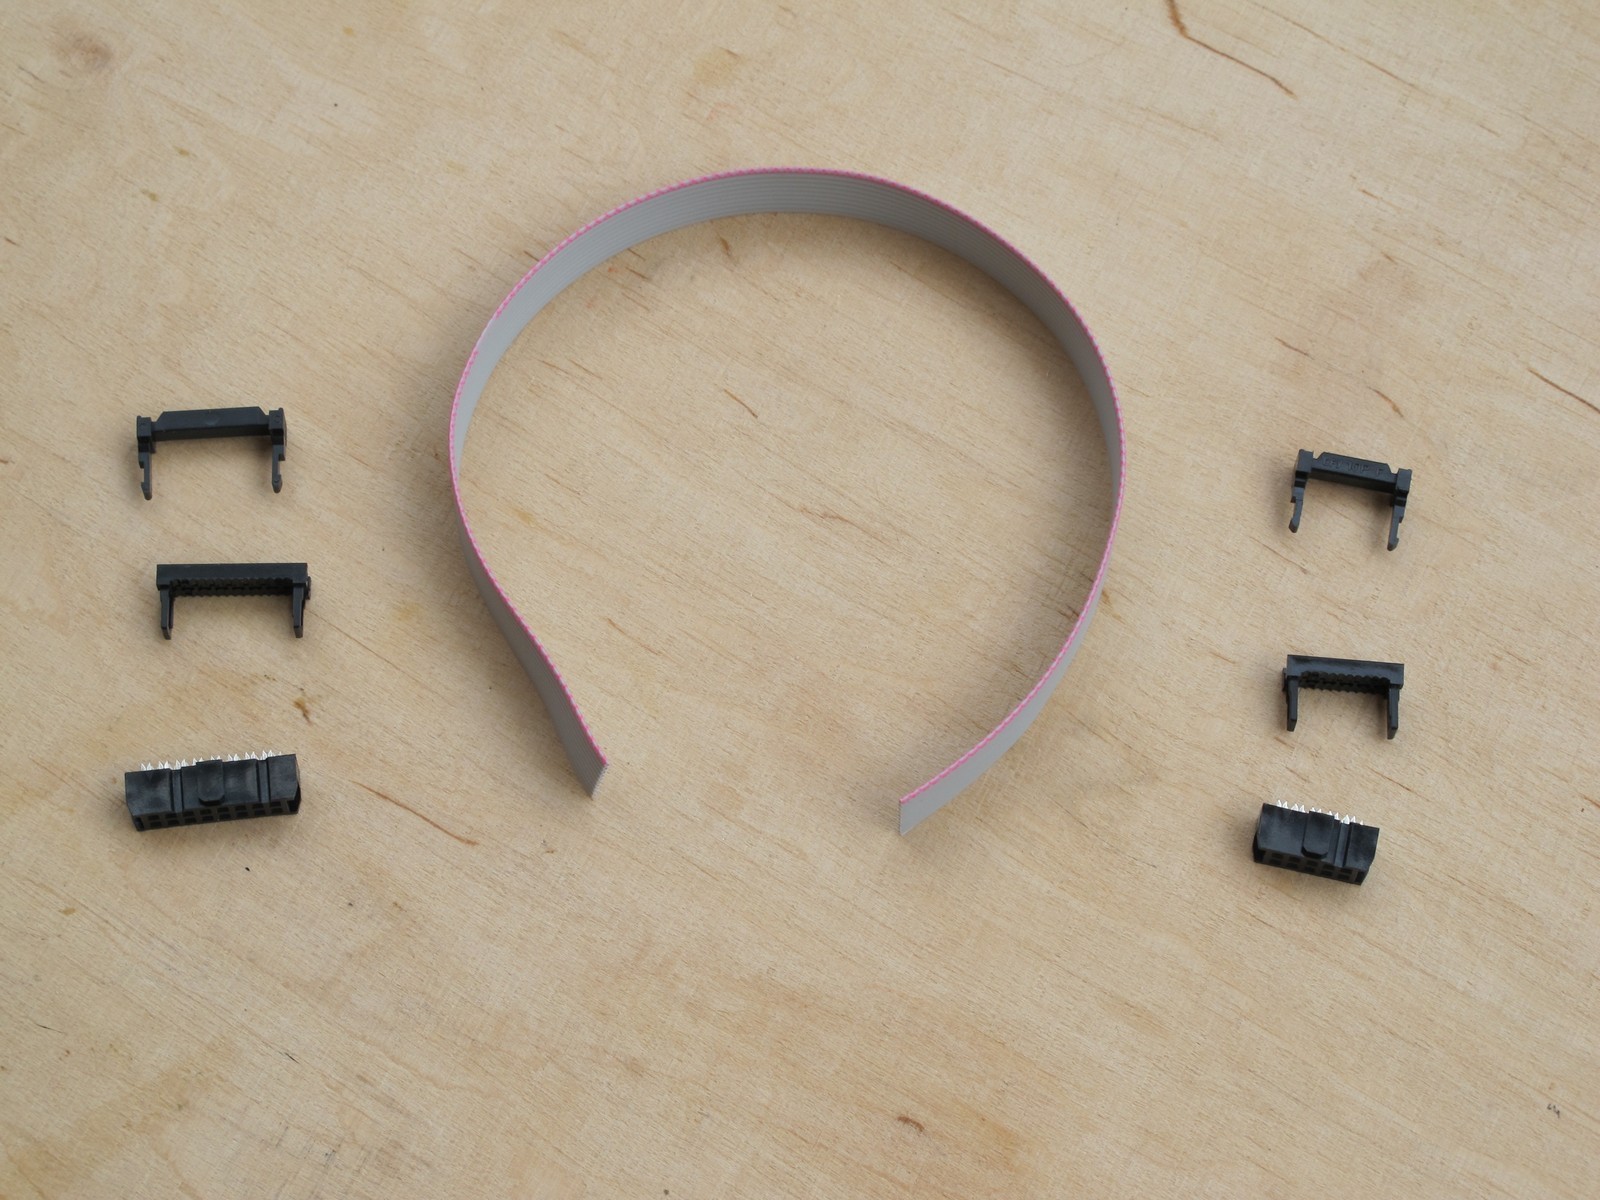
So now we have 2 connectors (IDC10, IDC16) and a 10 core ribbon cable. The work is 90% done.
Clamping & hammering
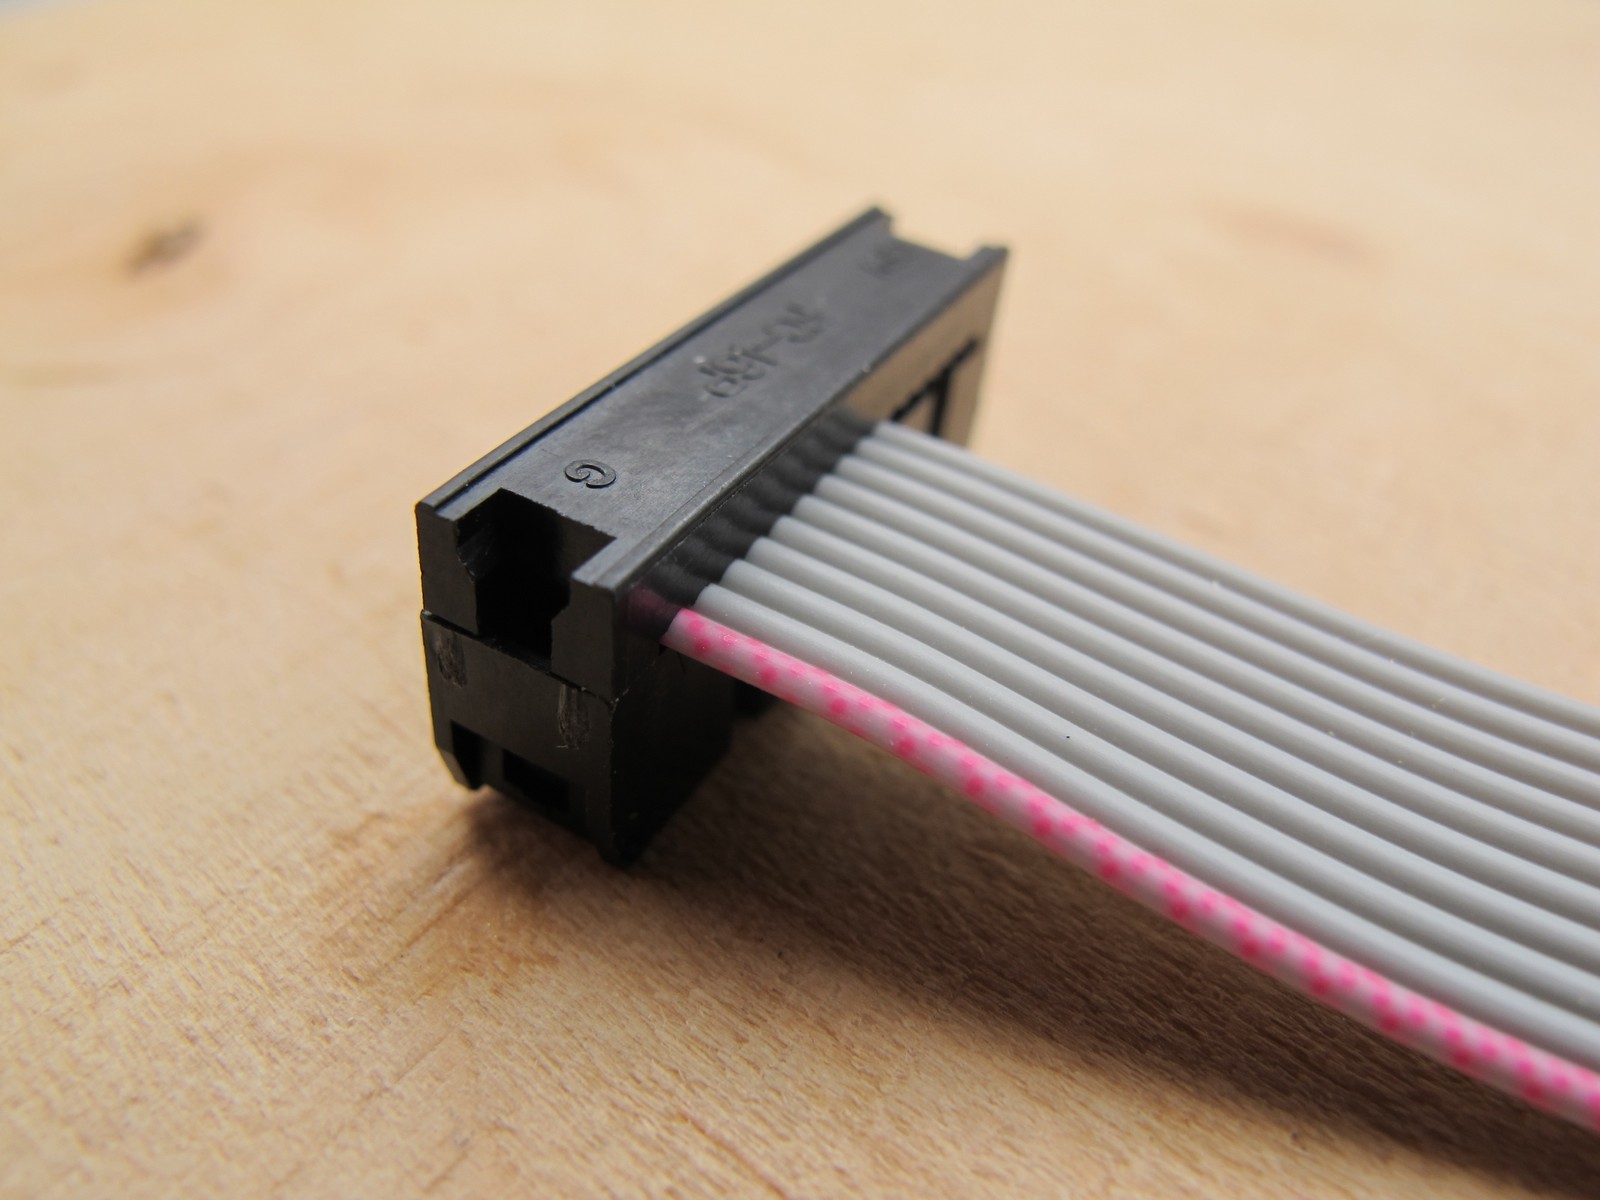
Now take the IDC10 part [1] and [2] (they can be already joined together as you buy them) and put ribbon between. The red stripe should be placed close to the triangle sign on your plug, like this:
Finally, the hammer magic happens. Some other DIYers use vise or special pliers for this task, but for shure everybody have a hammer. Hammer is good for everything! (As one of my teachers said: “If something still doesn’t work, your hammer is probably not big enogh”). Put the hammer on the top of the plug, like this:
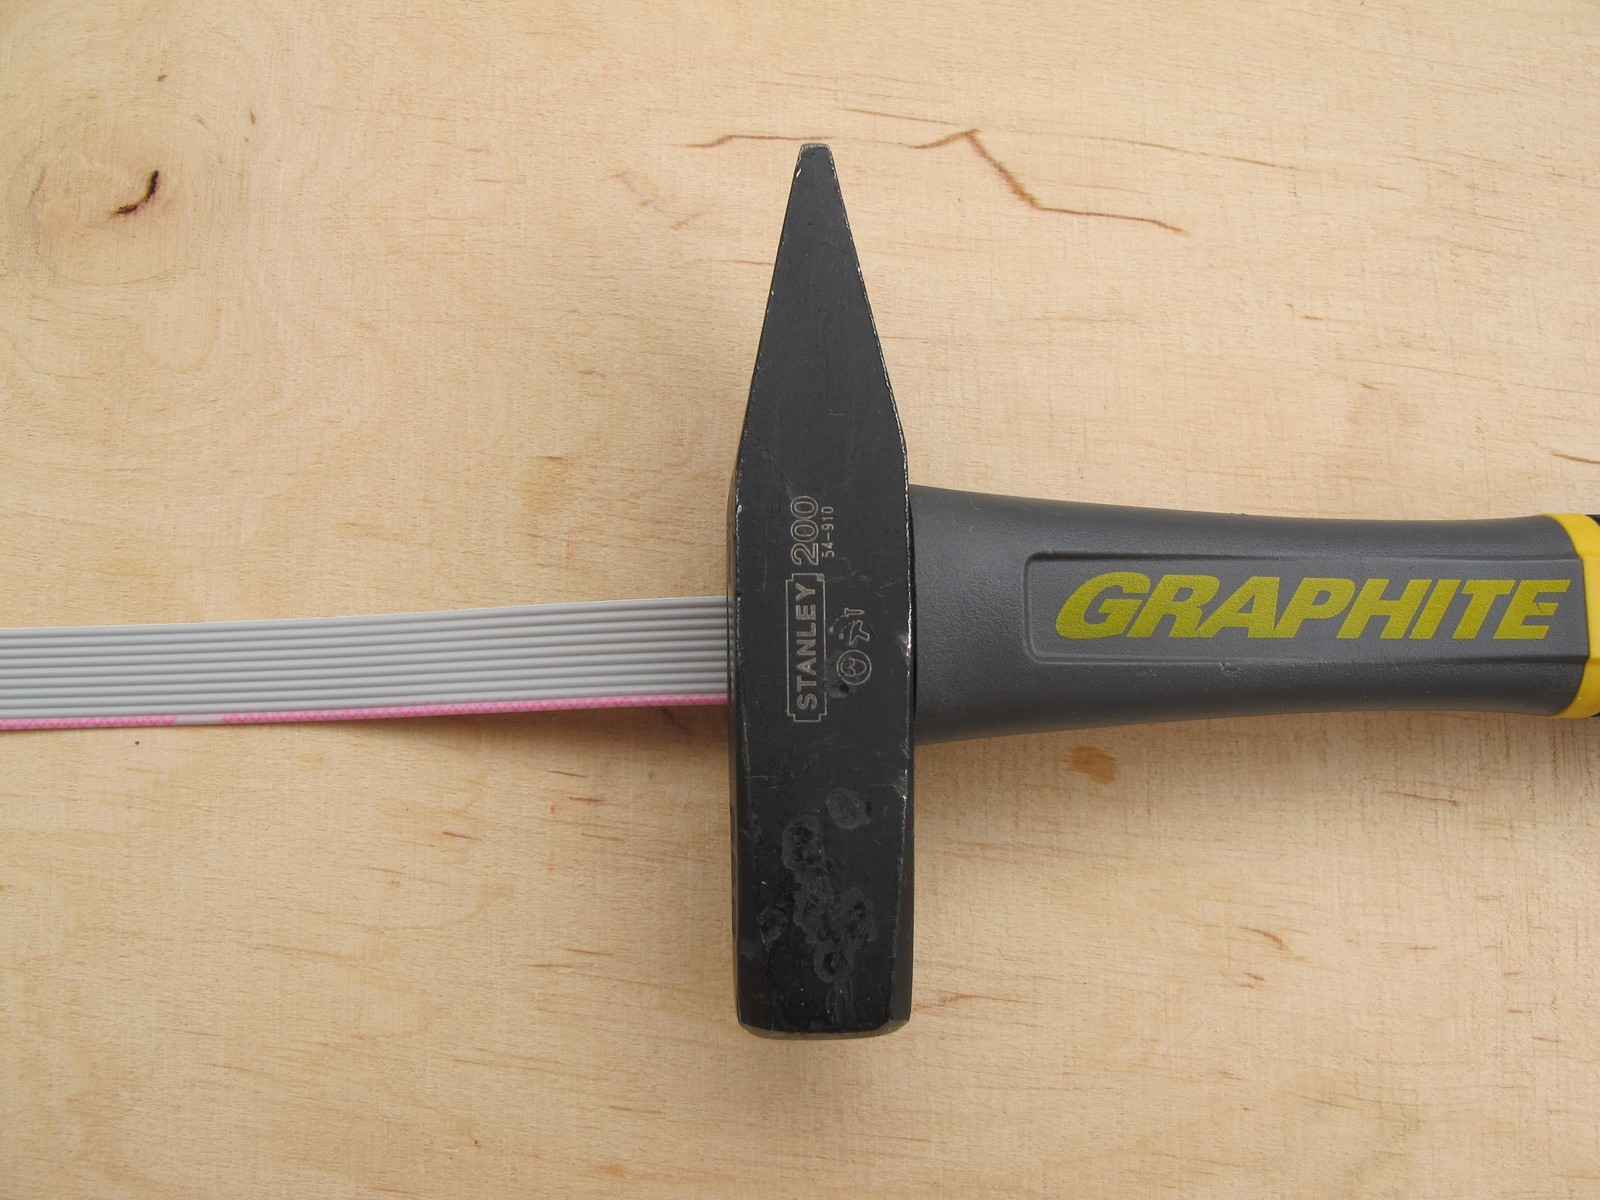
Then push! Do not hit with the hammer, rather use your bodyweight!
The idea behind the hammer is to distribute force evenly, it also ensures that top and bottom parts will be placed (almost) parallel, which is especially relevant.
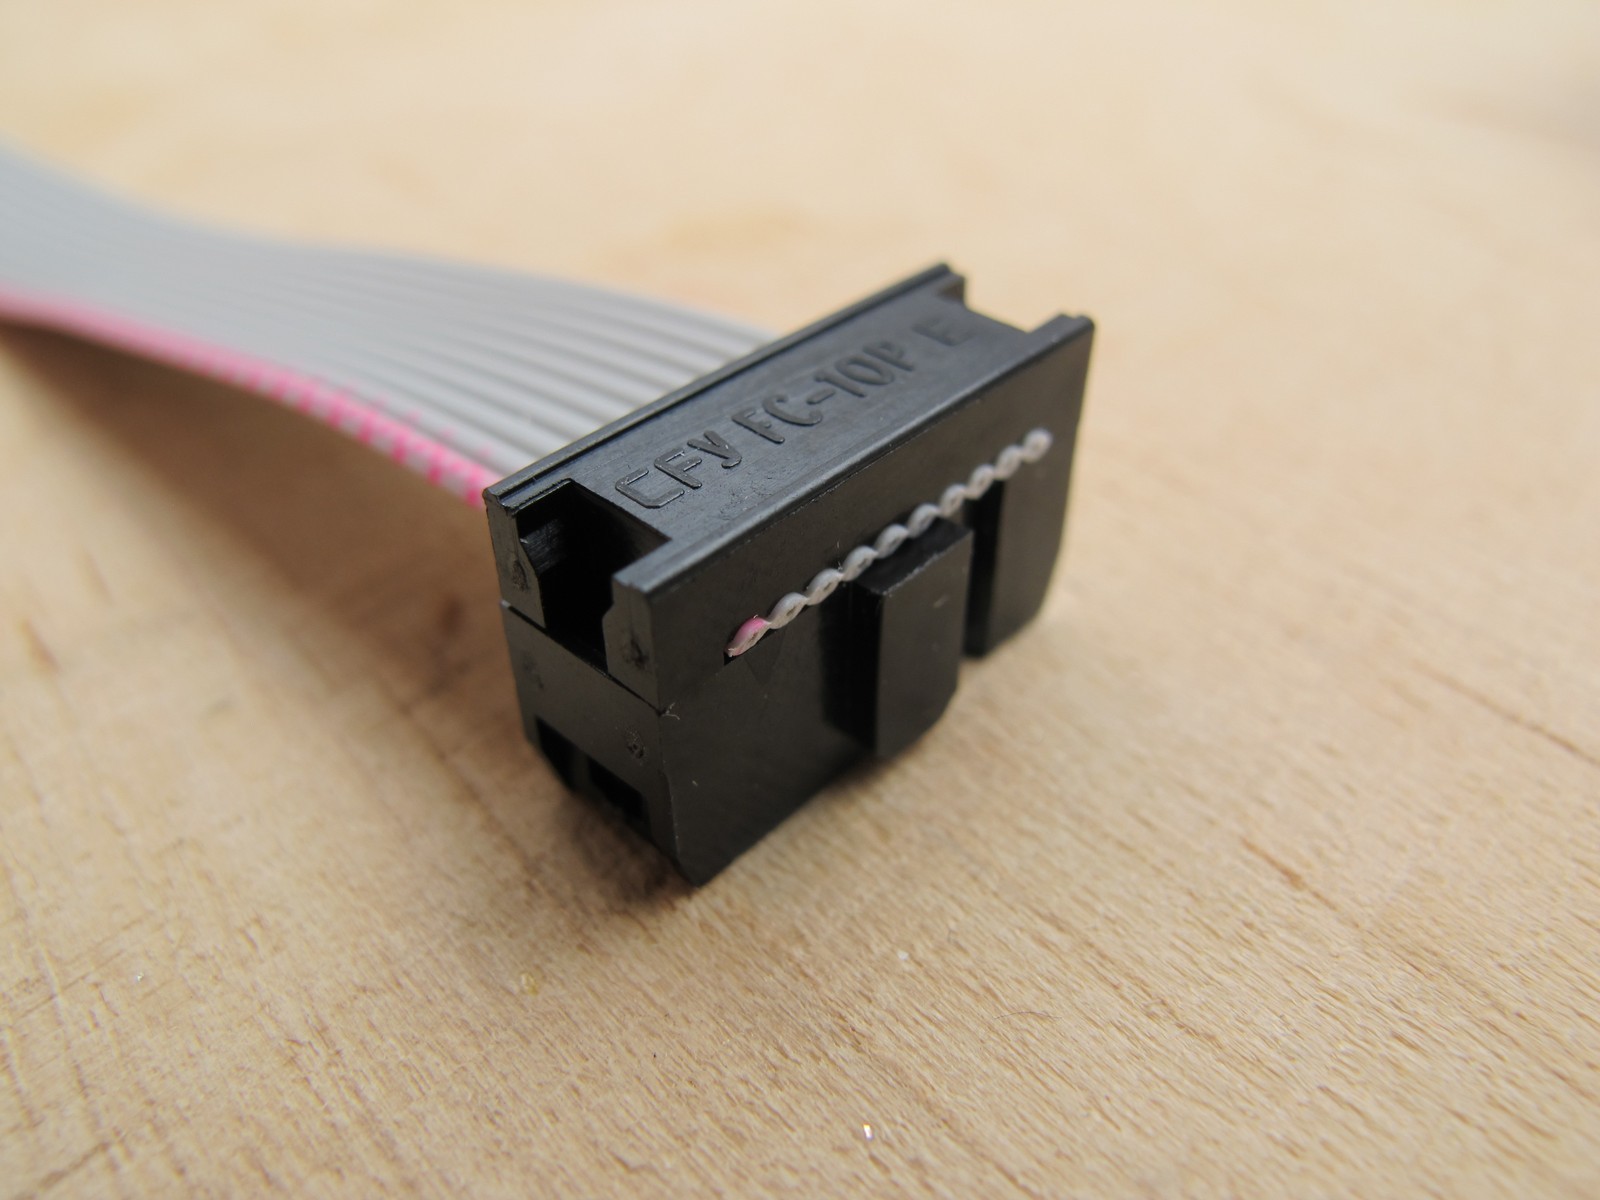
As a result the contact was made. The metal core inside the “red stripe” wire is now touching the sockets PIN1 – next connects to PIN2 etc. We can now make the same on the other side of the ribbon with the IDC16.
PIN1 mark is now under the ribbon, the picture above shows it quite clear. Now take a hammer and close it. Of course 6 pins (11 to 16) will be left unconnected, because we have 16 pin plug and only 10 wire cable :/
Securing the connection
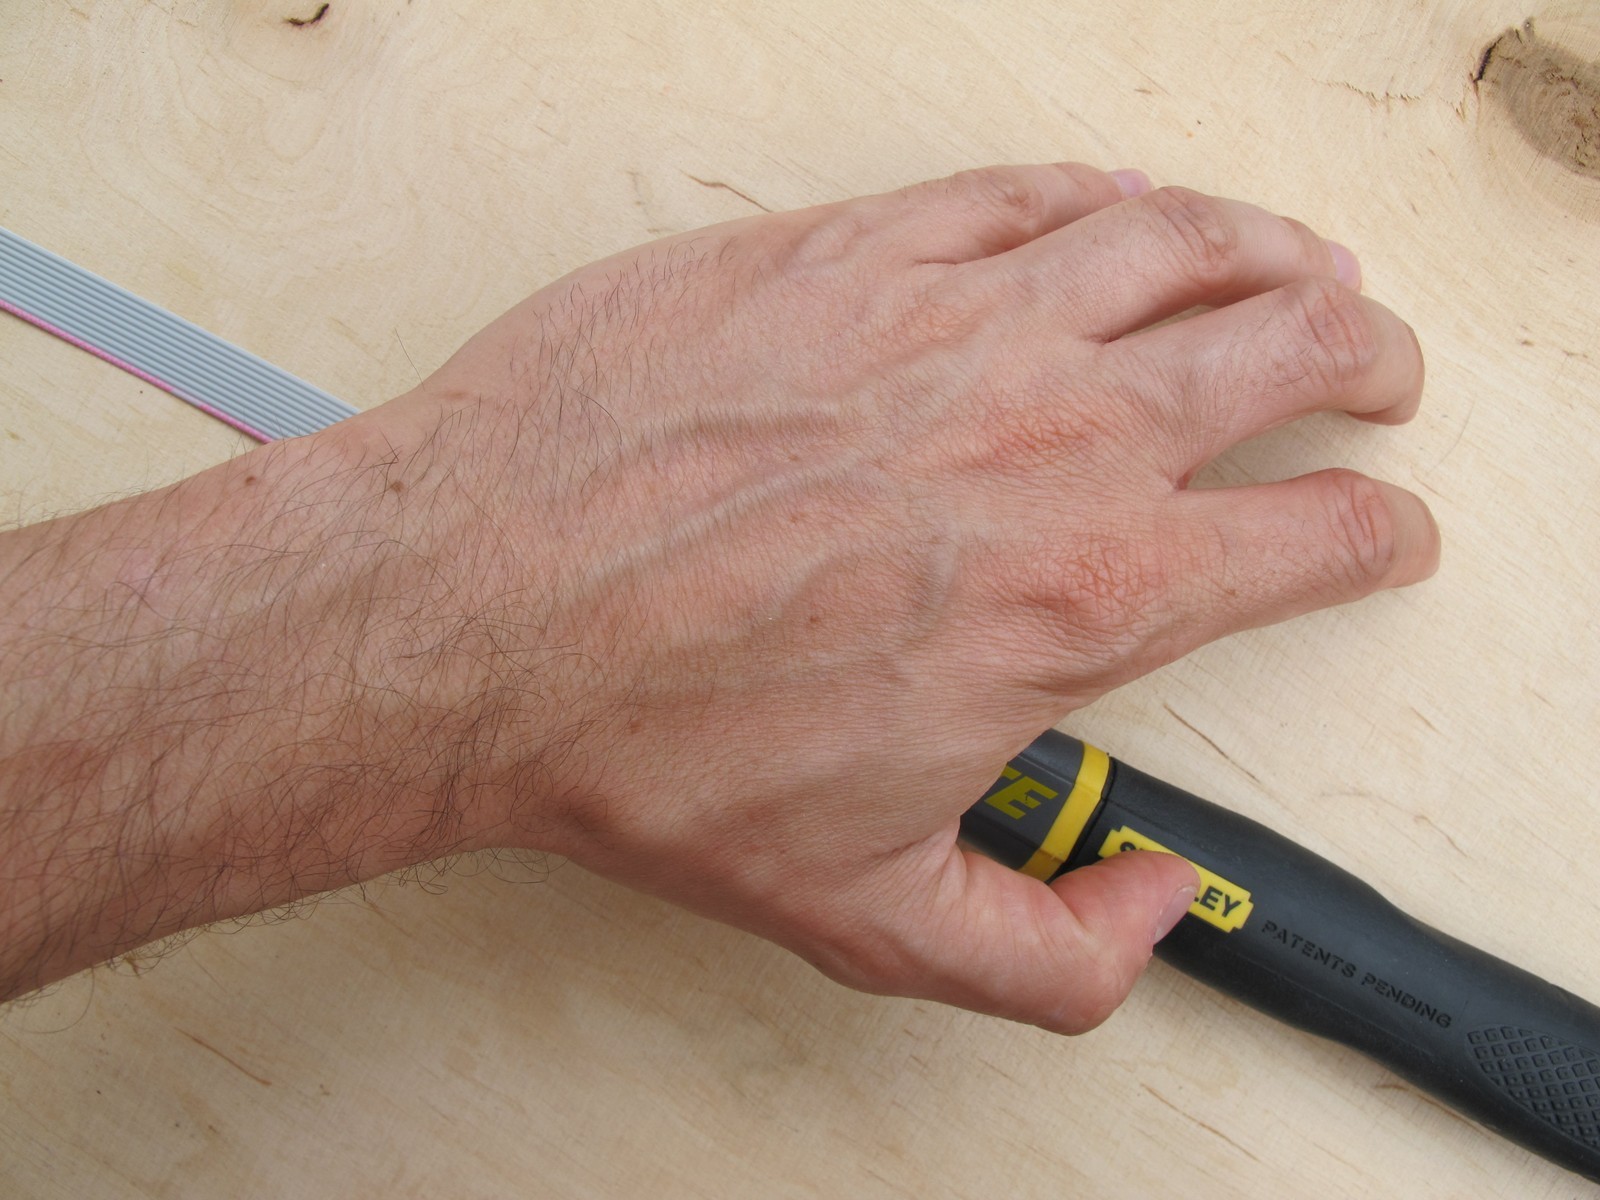
The final step is to secure the connection. No special tools are needed, just hard fingers. I’ve started with IDC10 plus.
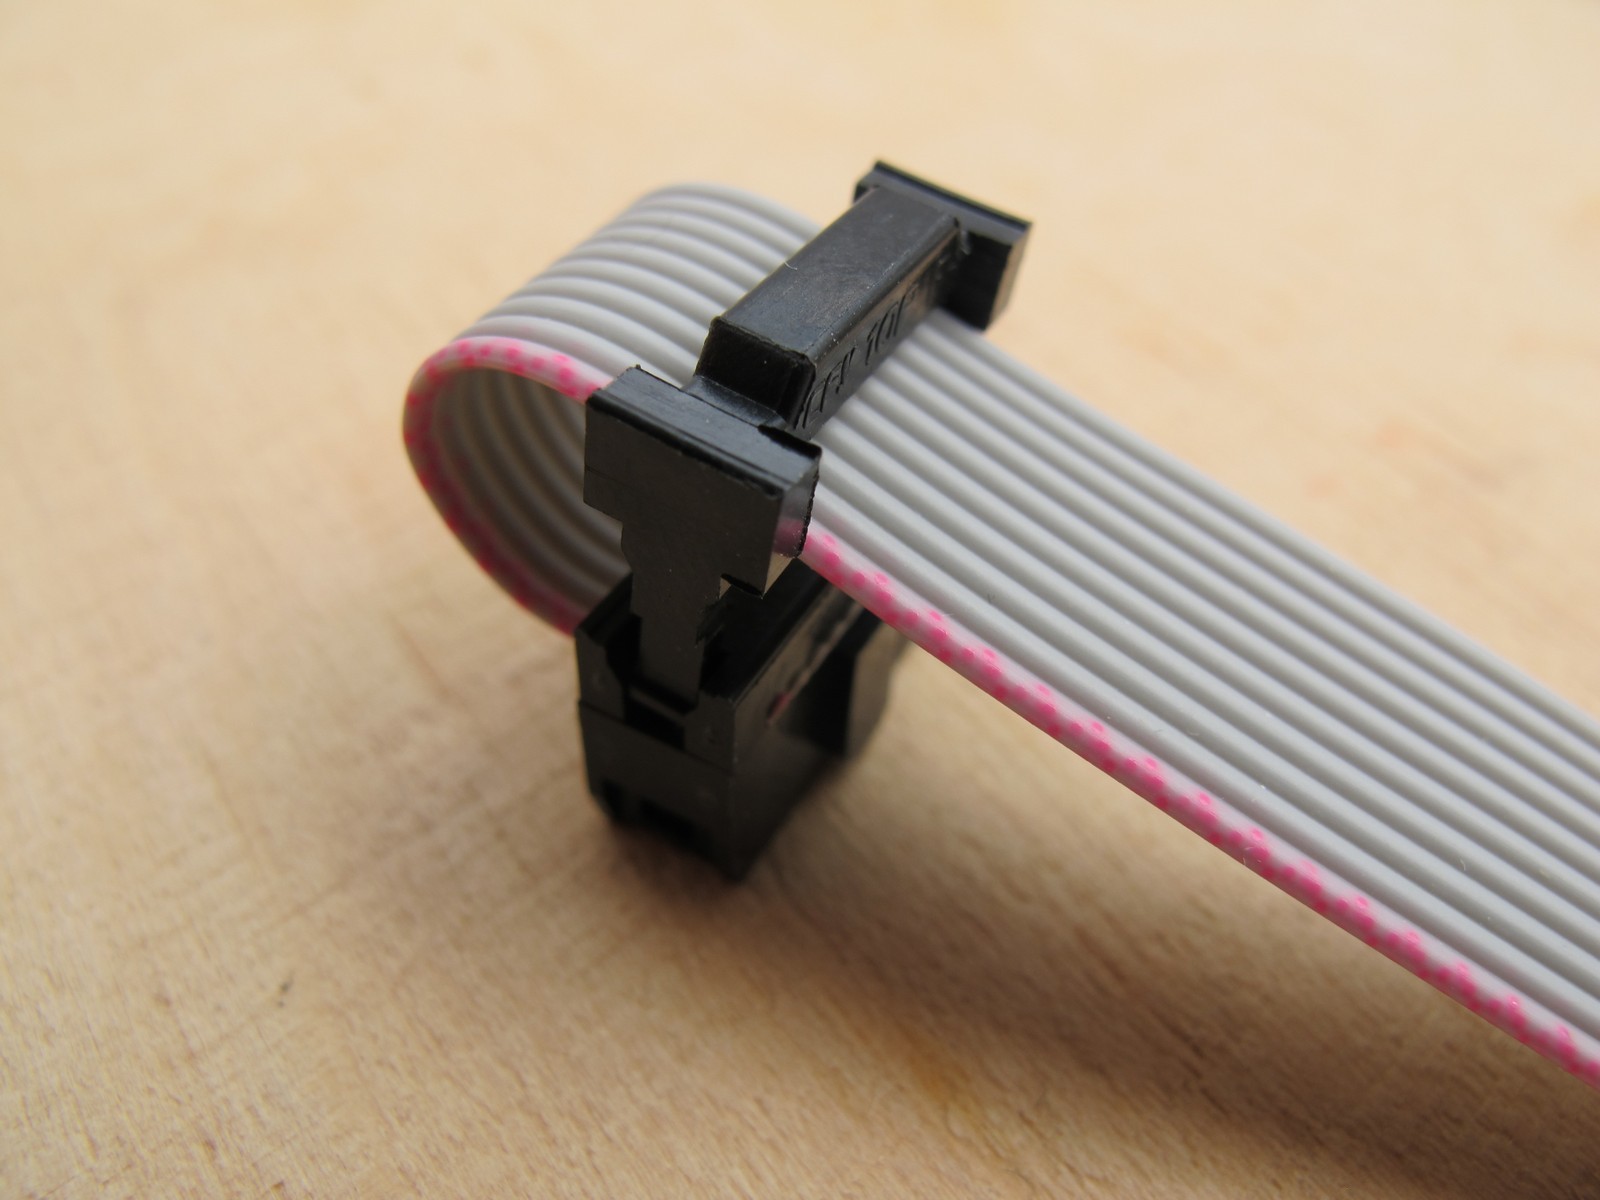
Make a small loop and put the “cable holder” [3] and push it hard till you feel click. Do the same with IDC16 on the other side. Beware, the securing holders are very hard to disconnect from the rest of the plug – just assume, you have only one shot to do this step correctly. Do the same thing fot IDC16 on the other side.
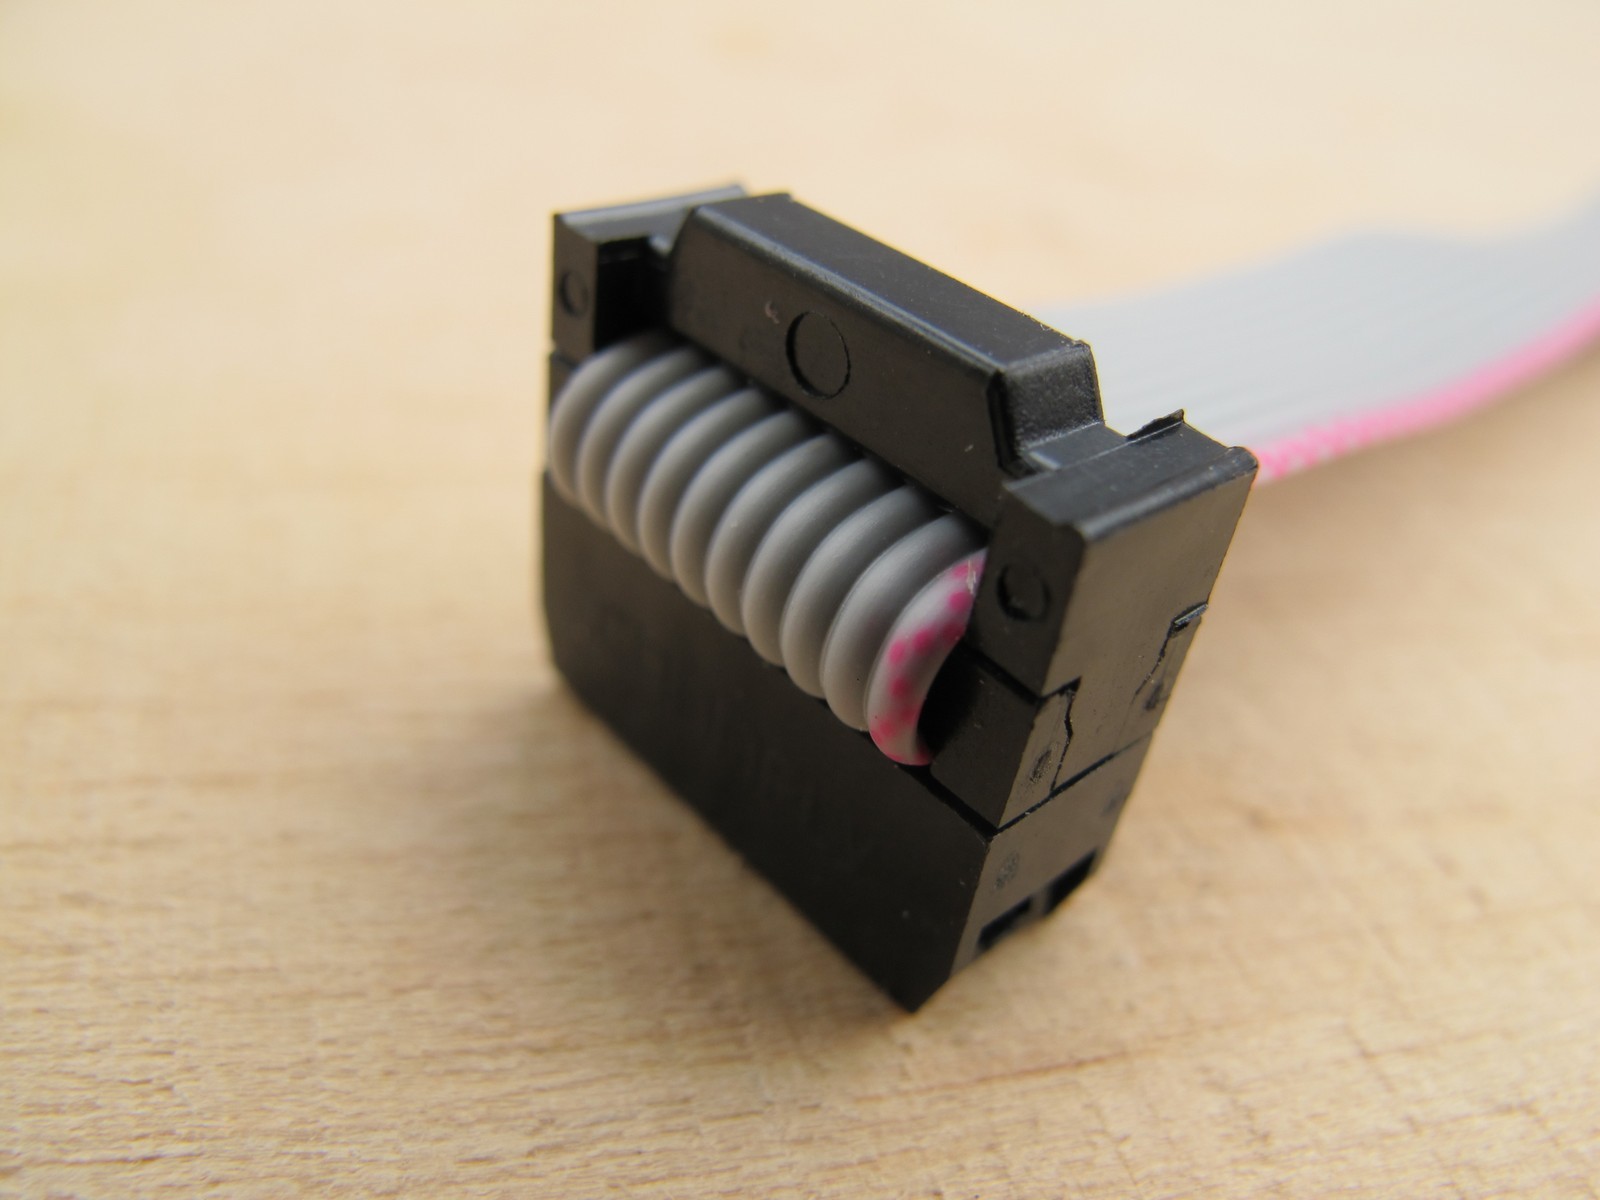
Our cable now looks like this. We almost finished our job!
Test me!
You have made a 0,5 dollar ribbon cable and now can burn a 500 dollar eurorack module! Make some measurements as fast as possible! In theory, there is not a lot of place for mistakes, but still…
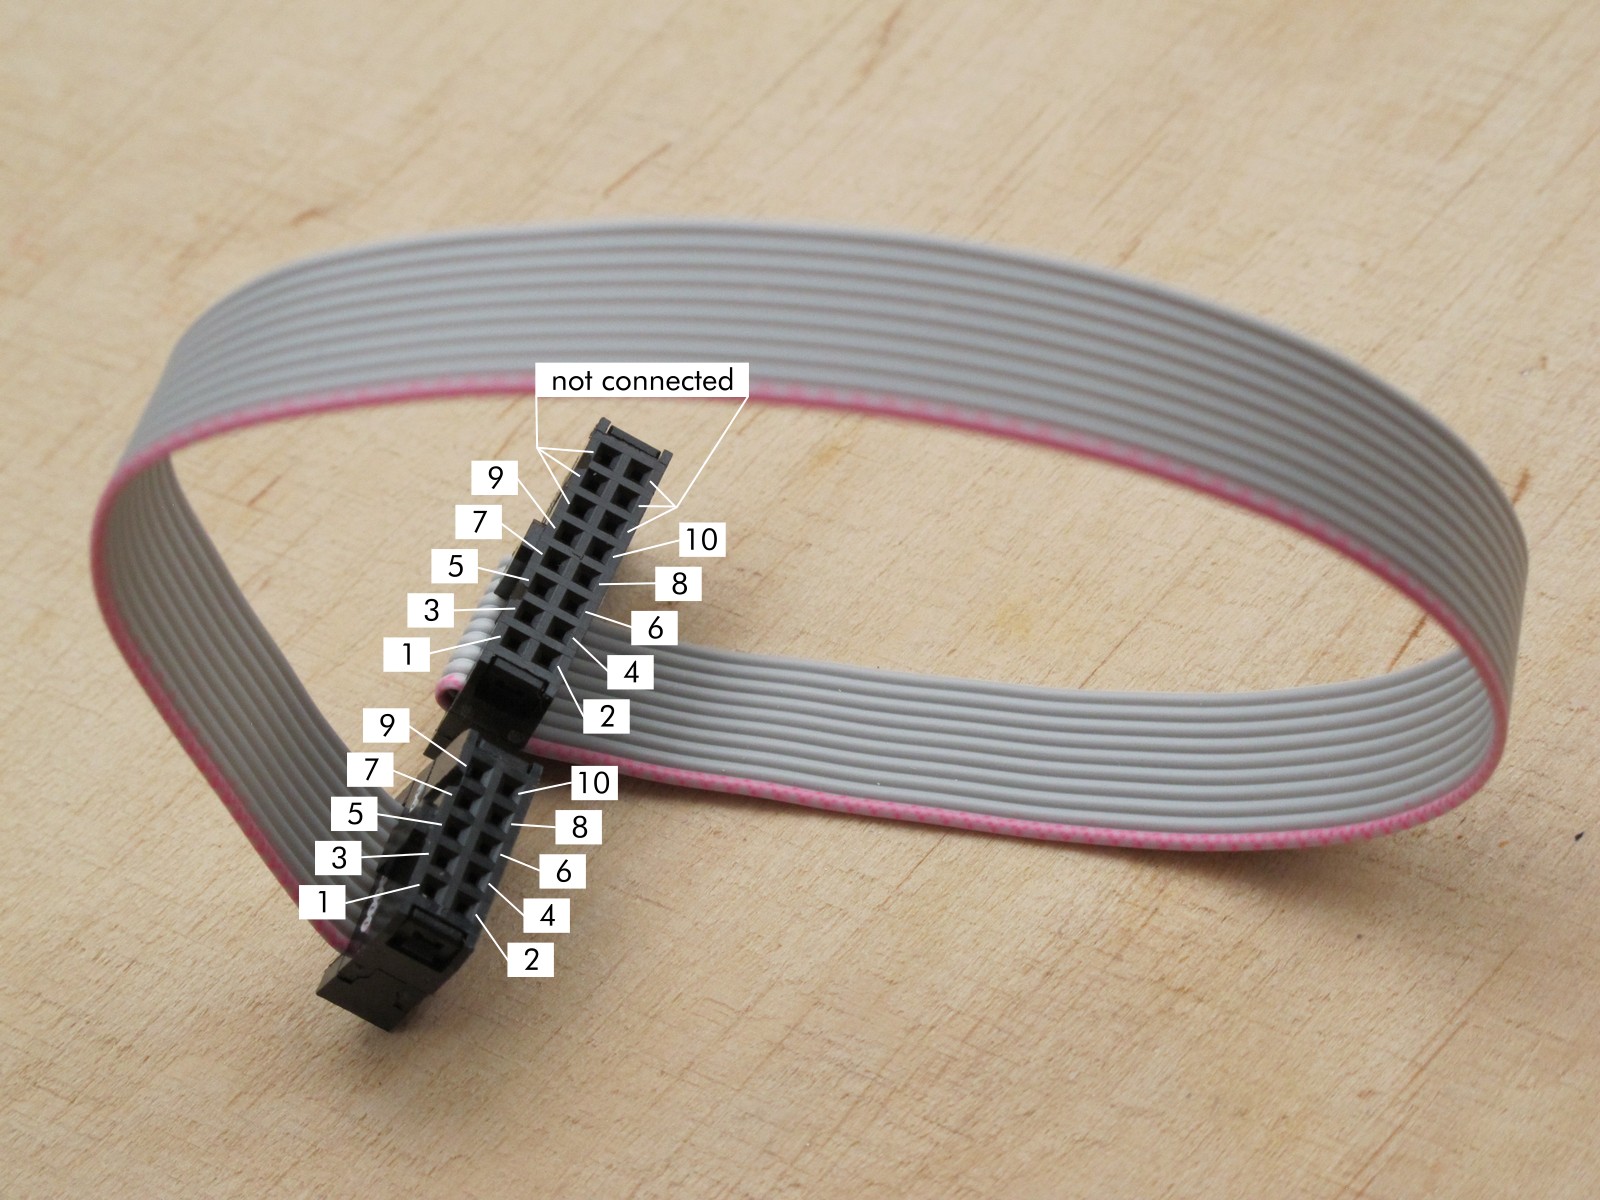
As you noticed, PIN1 of IDC10 should be connected with PIN1 in IDC16 and so long. Therefore get the multimeter, set to continuity test and make your measurements.

Congratulations! You have made a 10-to-16 pin ribbon cable for eurorack module power supply connection! I hope it will work for at least 30 years 🙂
Cheers
Jack
thank you, this is a very brief yet informative article!
Great article, very useful. Thank you
Yeah, cable DIY is a simple thing but even that brings a lot of joy 🙂
Jack, this website is incredible. I’ve just started synth DIY weeks ago, soldered my first joints, etc, and you are providing the answers to SO MANY of my questions. THANK YOU SO MUCH.
Also, your writing style is hilarious. Keep it up!